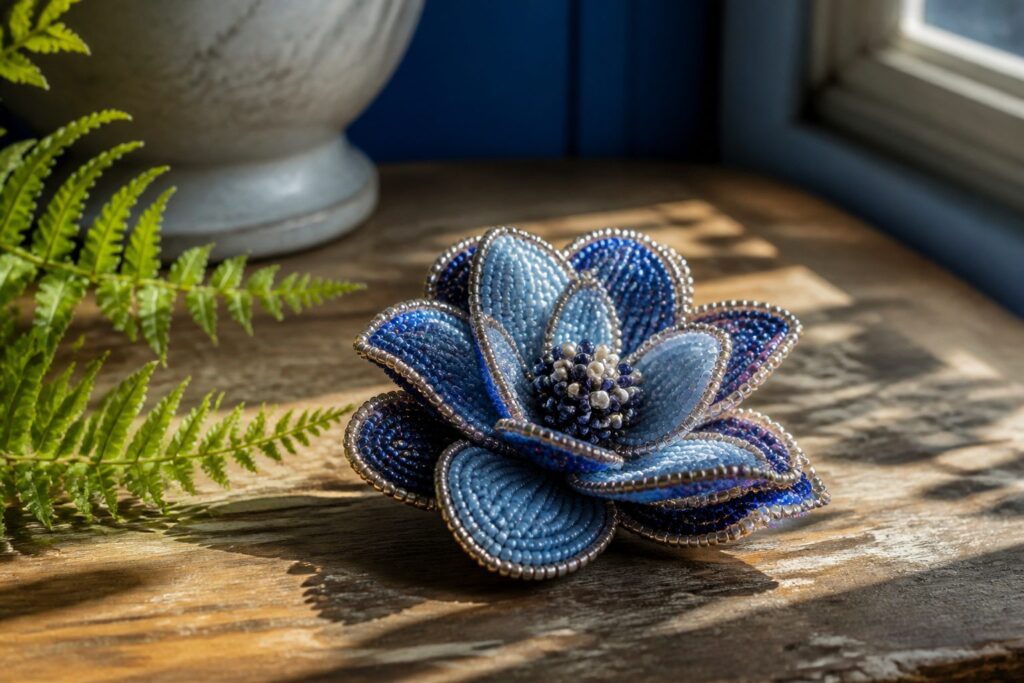
A finished beaded jewelry flower takes 15 to 30 minutes if the wire ends stay flat and the center knot does not shift.
Most beginners lose the shape right at assembly, when the petals get twisted around the center too loosely and the whole blossom tilts off-center.
Twelve inches of wire per petal gives you the extra length to correct that tension before the final twist locks everything in place.
1. Gather Materials
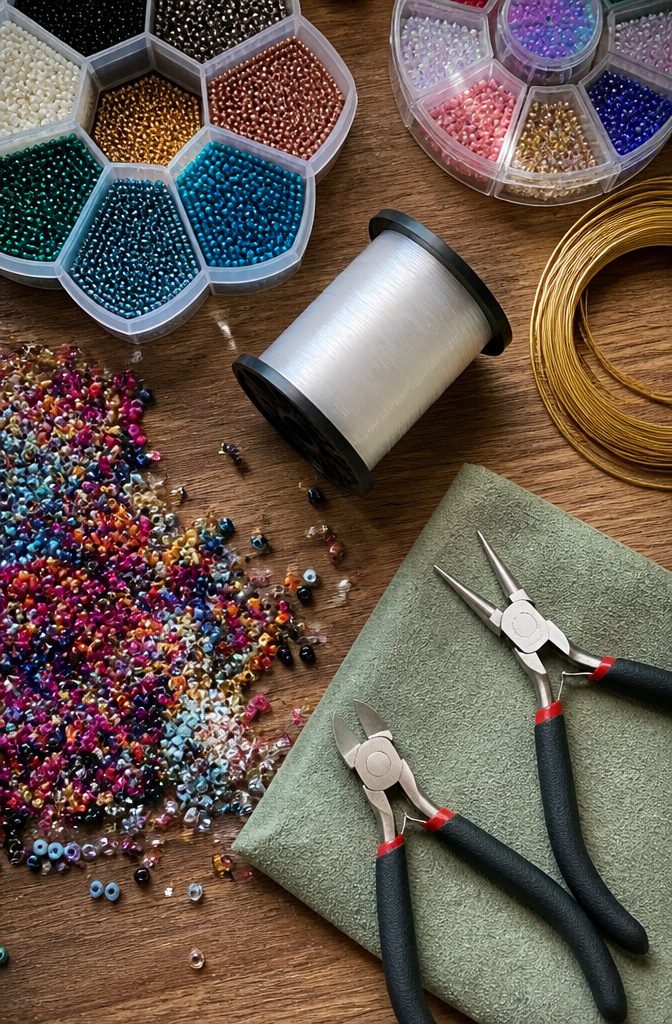
Preciosa Rocaille beads in 11/0 are the starting point for most beaded jewelry flower tutorials. Their holes measure at least 0.60mm across, which means 10lb Fireline thread at 0.20mm in diameter can pass through each bead three times without trouble.
A stiffer thread like this one holds the petals in shape better than a softer alternative once the piece is finished.
For wire, 24 or 26 gauge is the range that works.
Go thicker and the beads simply will not slide on. Twelve inches of wire per petal is the standard to plan around; multiply by however many petals your flower needs before you cut anything.
The minimum tool set is two items: wire cutters and round-nose pliers.
The cutters make clean ends on your 24 or 26 gauge wire, and the round-nose pliers shape the loops that form each petal. Needle-nose pliers help with finer gripping but count as optional rather than essential.
2. Create the Flower Center
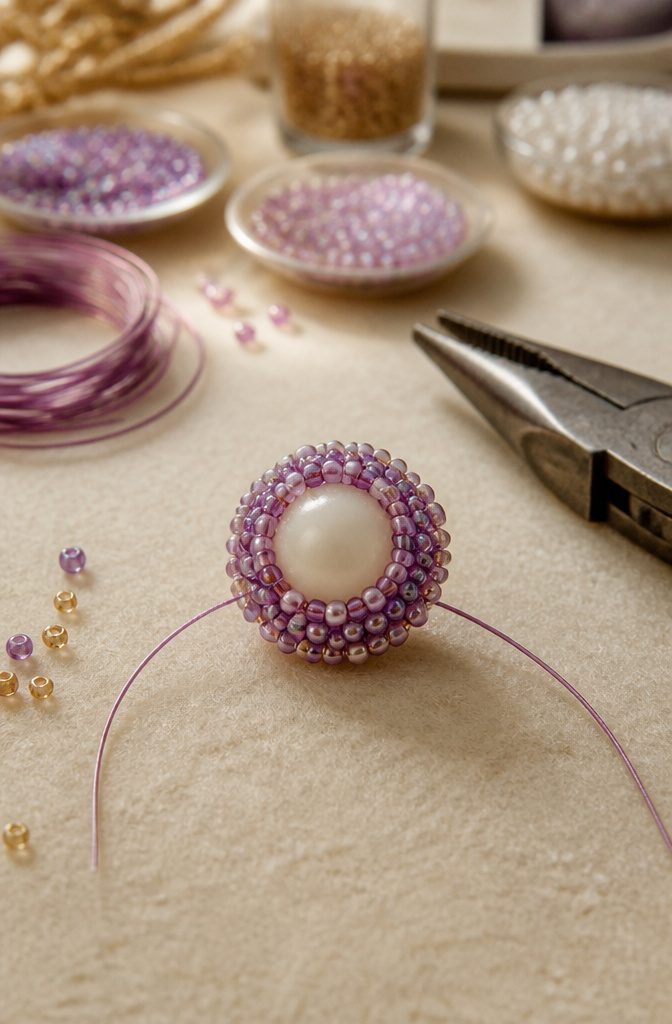
A 19mm round silicone bead gives weight and presence if your flower is large enough to carry it.
Thread it onto one side of your cord and pull it into the ring of petals so the cord seats deep between two neighboring beads.
Pull tight; the tension is what keeps this bead from sinking through or tilting off-center. Pliers help here, especially with thicker cord or tight bead holes.
For smaller flowers, skip the single large bead.
Stack four or five 11/0 seed beads instead. Their smaller footprint sits cleaner between petite petals, and the layered look reads as a textured center rather than a dot that overwhelms the shape.
Either way, the knot that locks this bead in place gets hidden inside a neighboring bead, not left exposed.
Thread back through the next two or three beads, then tie a double knot before burying the tail. A center that shifts ruins the whole flower, so do not trim until you have tested the tension by tugging each direction.
The tail ends get fused briefly with heat to stop fraying, a last step that matters more than it looks.
3. Form the Petals
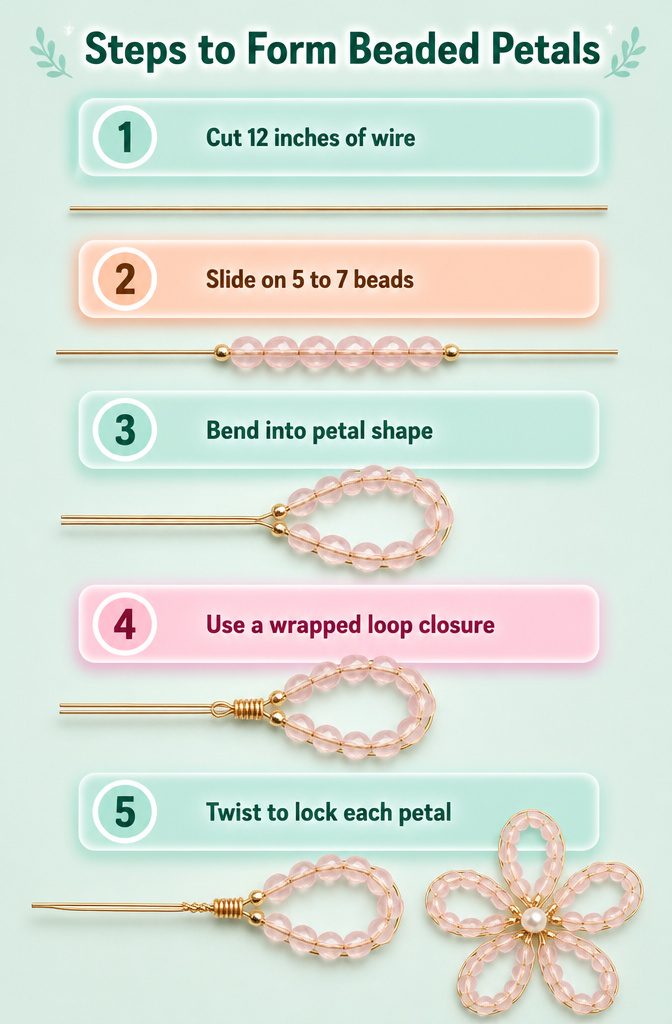
Each petal starts with about 12 inches of wire, a length that leaves plenty of room to twist and lock without running short on the last loop.
Slide 5 to 7 beads onto the wire, then bend it around into a petal shape. For a basic flower, I aim for 5 petals total; fewer looks sparse, and more starts crowding the center before you even get to assembly.
The loop closure matters more than most beginners expect. A simple loop twists shut, but a wrapped loop, with its extra coil around the base, holds its shape when the petal gets pulled in assembly.
I use wrapped loops for anything I plan to wear, since the twisting step later will stress whatever closure you started with.
Twist the wire 2–3 times below each petal to lock it before you string the next one on the same wire. The first petal sets the size; match the rest to it, or the flower ends up lopsided.
4. Assemble Petals Around the Center
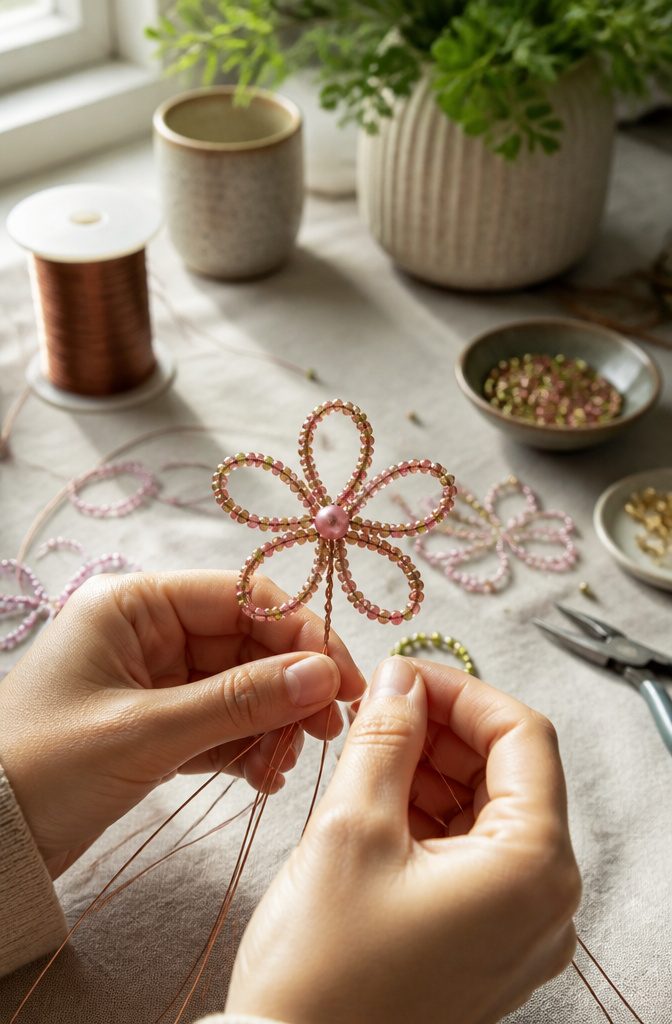
Twist all five petal wires together at their base around the center bead, pulling each one taut as you work.
The bead should sit snugly, not wobble. Now splay the petals outward and check their spacing: each petal should sit roughly 72 degrees apart for a five-petal flower, which gives even coverage without crowding.
A loose twist here ruins the shape later, so tighten gradually and adjust before the final twist locks everything in place.
The wires need to be twisted carefully and slowly; if they are not twisted tightly, the flower can fall apart.
Once the spacing looks balanced from above, give the base one more firm twist and trim any extra wire if needed. The full blossom comes together in this step, so patience now saves rework later.
5. Add Leaves
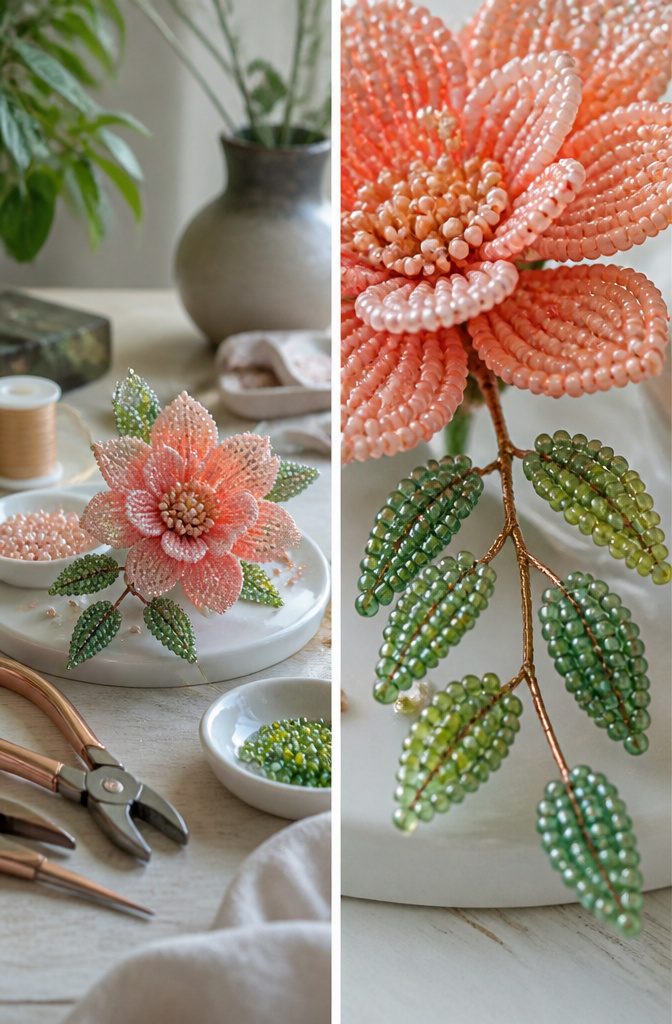
Leaves are where the design either looks bolted-on or starts to breathe. I almost always add them, because the contrast in scale between a dense flower head and smaller green shapes tricks the eye into reading the piece as real.
Each leaf takes 3 to 5 beads, wired the same way as petals but flatter and slightly longer. Fewer beads per unit keep the leaf visually subordinate; more than 5 and it starts competing with the flower itself.
I stitch these directly onto the stem wire, either clustered behind the flower head where the stem meets the base, or spaced spaced a half-inch apart down the stem if I want trailing greenery.
Weight matters more than you would think. A full flower head in 11/0 seed beads already pulls forward; three heavy leaves behind it can make the pin or pendant hang crooked.
If the finished piece feels off-balance, switch to 26-gauge wire for the leaves, or even 24-gauge twisted into a thin stem, while keeping 28-gauge for the petals. The slight stiffness anchors the visual weight without bulking the silhouette.
6. Trim and Secure
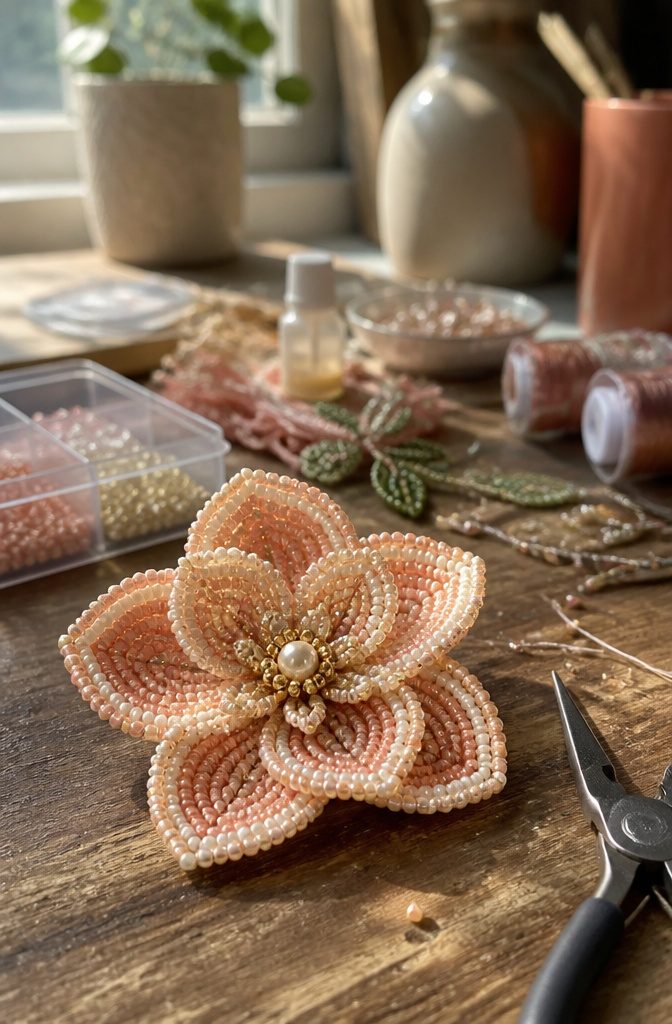
A simple beaded flower lands in the 15–30 minute range, but the last two minutes decide whether it survives a day of actual wear.
I snip wire ends flush with cutters, then use chain-nose pliers to spiral any sharp burr flat against the back of a petal or coil it into the flower’s frame where fingers never go.
Thread builders get a drop of clear glue on their final knot, worked in with a pin while the loop is still loose enough to absorb it; pull too tight before the glue sets and the knot turns brittle.
Sharp wire ends are non-negotiable on anything that touches skin or threads through fabric, and that point alone is why adult supervision belongs in any session with kids under twelve.
The tools feel basic, but skipping this flattening step is what separates jewelry from something that draws blood.
Materials and Tools Compared
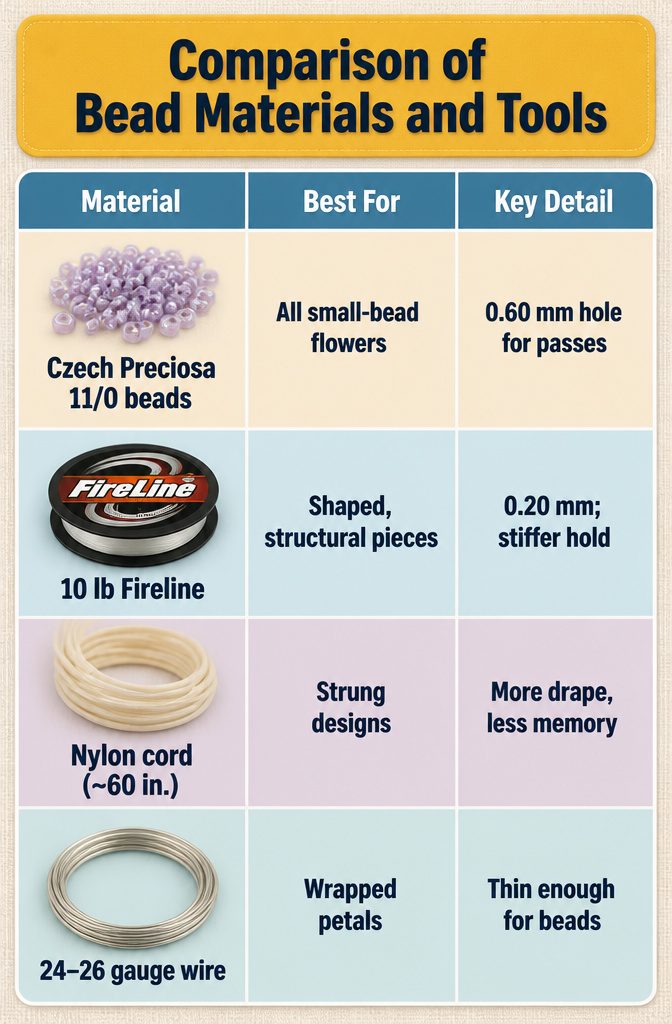
Czech Preciosa Rocaille seed beads carry a published minimum hole size of 0.60 mm, which matters more than brand prestige when you’re threading multiple passes.
Size 11/0 is the standard these tutorials assume, and that hole size is why: 10 lb Fireline at 0.20 mm diameter lets you pass through each bead three times and still move freely.
A stiffer thread like Fireline will hold the flower shape better than nylon cord, so I reach for it on earrings or any piece that needs to keep its architecture without a frame.
Wire changes the whole approach. Twenty-four or 26 gauge craft wire is thin enough for small beads to slide on; anything thicker and the beads refuse.
Strung designs work well with roughly 60 inches of nylon cord. Wrapped designs, where each petal bends around a wire skeleton, need that 24–26 gauge metal instead.
| Material | Best For | Key Detail |
|---|---|---|
| Czech Preciosa 11/0 beads | All small-bead flowers | 0.60 mm minimum hole fits multiple thread passes |
| 10 lb Fireline | Shaped, structural pieces | 0.20 mm; stiffer hold than cord |
| Nylon cord (~60 in.) | Strung, linear designs | More drape, less memory |
| 24–26 gauge wire | Wrapped, sculptural petals | Thin enough that beads actually fit |
I pick Fireline for flowers that need to stay crisp, cord for softer drape, and wire only when I’m building a wrapped structure rather than threading beads onto a line.
French Beading and Wire Wrapping
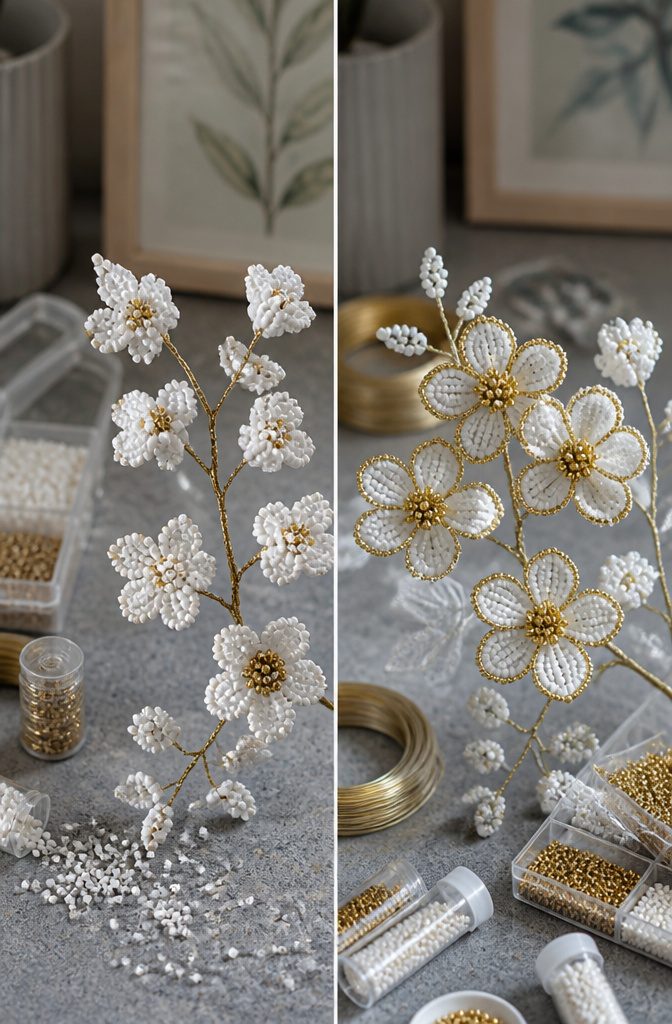
French beaded flowers build shape from hundreds of seed beads threaded onto continuous wire, with each petal formed by counted loops that graduate in size for a realistic curve.
The technique prizes accuracy over speed; a detailed bloom can run past an hour, and the results read more as botanical study than accessory.
That explains why the finished pieces tend toward home decor, wired into centerpieces or framed under glass, rather than daily wear jewelry.
The wrapped-petal method in the main procedure keeps the same 24 or 26 gauge craft wire but works it far less. You string a short row of beads, twist the wire to make a single petal, and repeat.
It is faster, lighter, and the finished flower sits flat enough against a chain or earring hook to actually stay put when you move.
For jewelry, wire wrapping wins on weight and wearability. French beading rewards patience with visual precision, but that precision comes at the cost of bulk and time that most jewelry makers would rather spend on a second piece.
Project Ideas
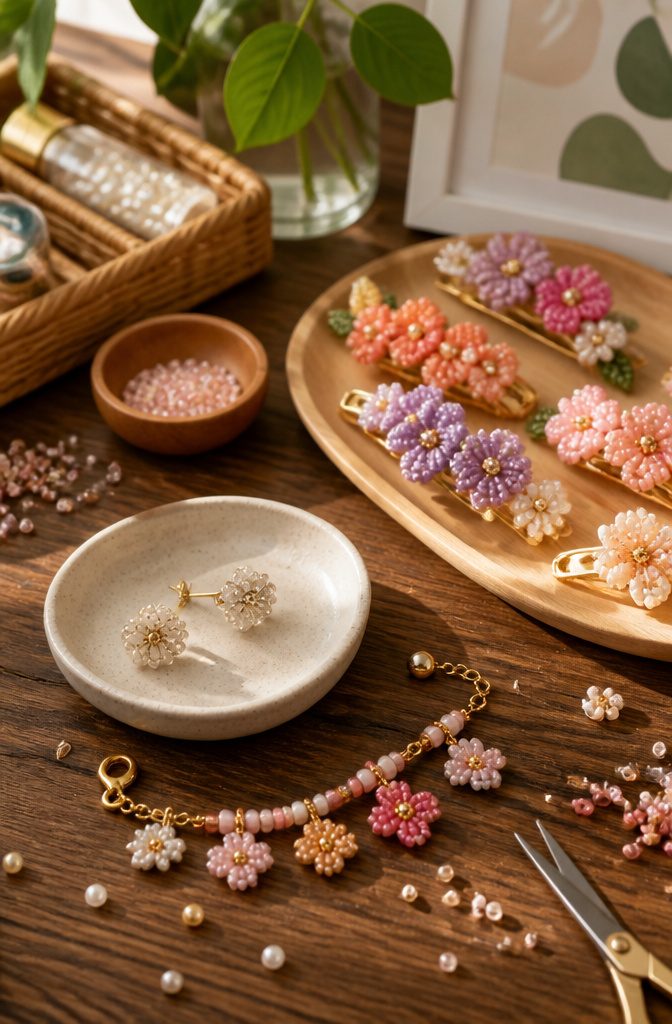
A beaded flower does not have to become a pendant to justify the time. The smallest petals work as earring studs or hair clips, where a single flower carries the whole design without extra weight.
Mini French beaded flowers scale down neatly into bracelet charms, spaced between beads so the flower stays flat against the wrist.
Wire-and-bead construction holds up better on a keychain than thread, since the keys themselves stress whatever hangs from the ring.
The beaded strawberry pattern from the video series adapts well to a baby toy ring, but only if every bead is large enough that a broken thread cannot release a choking hazard; skip anything under 6 mm for that use.
Wire and Bead Choices
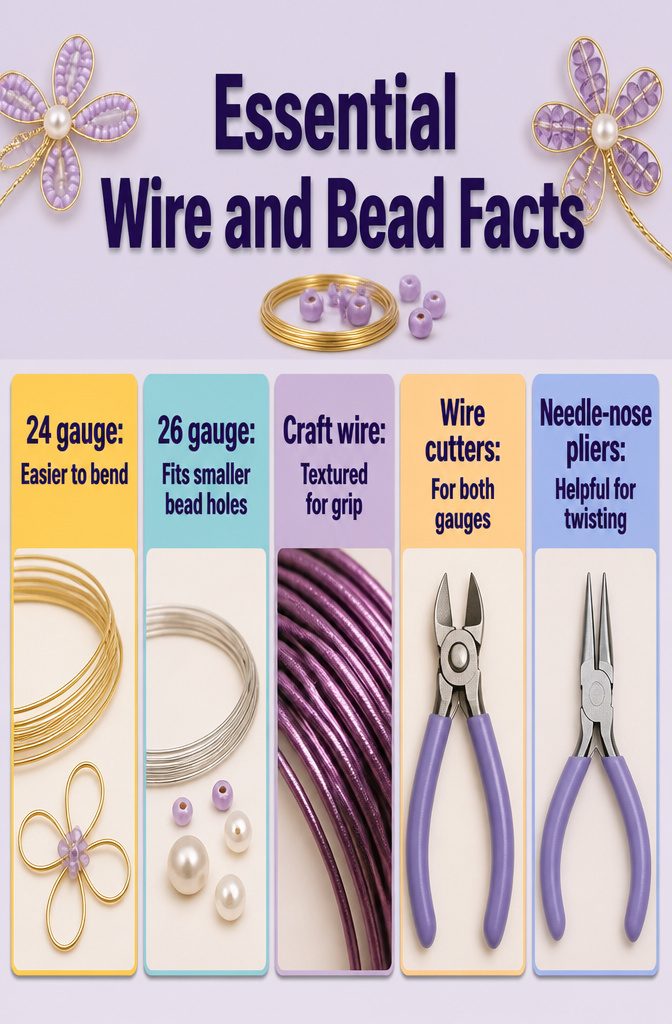
Thin craft wire between 24 and 26 gauge is what you want here, and the two gauges split the work differently.
24 gauge bends more easily around tight curves, which makes it forgiving when you are still learning to shape petals that lie flat instead of springing back. The softer bend also saves your fingertips during a longer session.
26 gauge threads through smaller bead holes that would stop 24 gauge short, and the thinner profile holds finer shapes without bulking up delicate petal outlines.
I reach for 26 gauge when the flower design calls for seed beads or when the finished piece needs to stay light on an ear wire.
Craft wire specifically, not jewelry wire, because the colored or metallic coating on craft wire grips beads and keeps them from sliding. Jewelry wire polishes smoother and looks refined, but beads rotate and cluster where you did not place them.
The slight texture of craft wire solves that without any extra technique. Wire cutters handle both gauges cleanly, and needle-nose pliers help twist the ends if you have them nearby.
Safety for Younger Makers
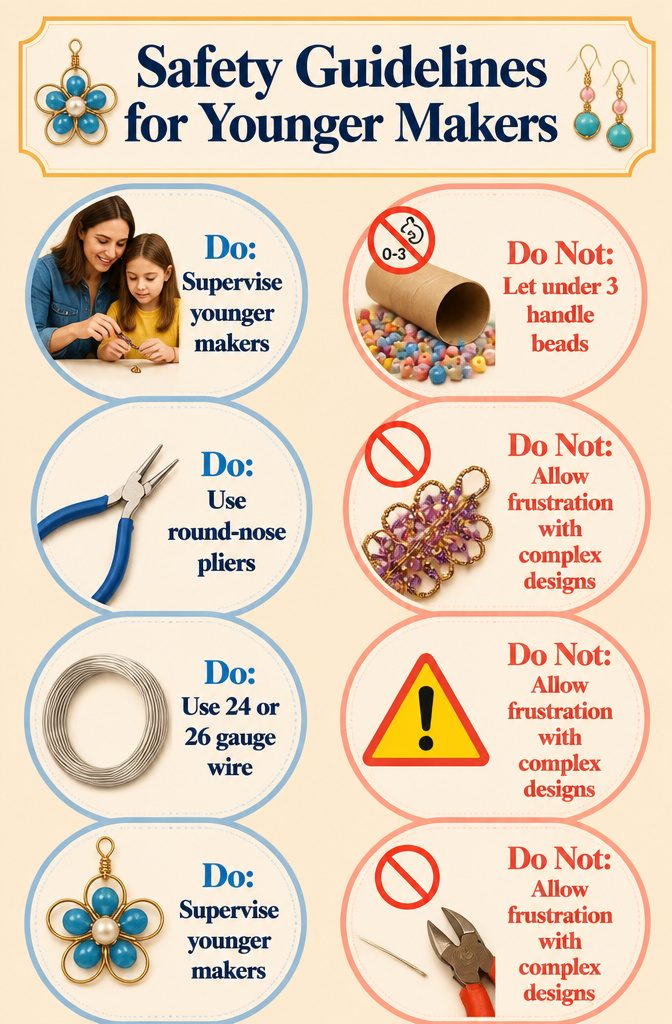
Wire ends stay sharp even after you trim them, so younger makers need an adult nearby for every cut.
I keep a pair of round-nose pliers on hand to curl those ends inward immediately; a tucked tail won’t scratch skin or snag fabric.
Children under three should not handle small beads at all, since any bead that fits through a toilet-paper tube is a genuine choking hazard.
For kids old enough to follow directions, 24 or 26 gauge craft wire bends without much force, which means less struggling and fewer slipped tools.
Still, I would skip the fancy French beading with its hundreds of seed beads for anyone under ten; the repetition frustrates quickly, and frustrated hands press harder than wire allows.
Supervision matters more than skill level here. A focused eight-year-old can finish a simple flower in 20 minutes, but only if someone else manages the sharp points.
Frequently Asked Questions
What kind of wire is best for beaded flowers?
24 or 26 gauge craft wire works best for beaded jewelry flowers.
It bends easily around tight curves while still being thin enough for small beads to slide on. Craft wire specifically grips beads better than polished jewelry wire, which keeps them from rotating out of place.
Can kids make beaded flowers with wire?
Yes, with adult supervision. Wire ends stay sharp after cutting, so an adult should handle the snips and immediately curl any tails inward with pliers.
Children under three should not handle small beads at all due to choking hazards, and kids under ten will likely find French beading too repetitive and frustrating.
What are French beaded flowers?
French beaded flowers use hundreds of seed beads threaded onto continuous wire, with counted loops that graduate in size for realistic curves.
The technique produces precise botanical results suited more for home decor and framed pieces than daily wear jewelry, since the work runs past an hour per bloom and creates noticeable bulk.
What beads do you use for beaded flowers?
Preciosa Rocaille seed beads in size 11/0 are the standard starting point, with holes measuring at least 0.60 mm across.
That opening fits 10 lb Fireline thread at 0.20 mm diameter through multiple passes while still moving freely. Nylon cord works for softer, draped designs, and a 19 mm silicone bead serves as a weighted center for larger flowers.
What are some examples of beaded flower patterns?
Simple five-petal wire flowers work as earrings, hair clips, or bracelet charms.
Mini French beaded flowers scale down for wrist jewelry when spaced flat between beads. Wire-and-bead construction holds up on keychains, and trailing leaf designs attach behind the flower head or spaced down the stem for pins and pendants.
How to make a flower bead bracelet without a needle?
Use the wrapped wire method instead of thread. Slide 5 to 7 beads onto 24 or 26 gauge craft wire, bend into a petal, and twist the wire shut.
Assemble multiple petals around a center bead by twisting their base wires together, then attach the finished flower directly to bracelet chain or cord. No needle passes through beads at any point.





