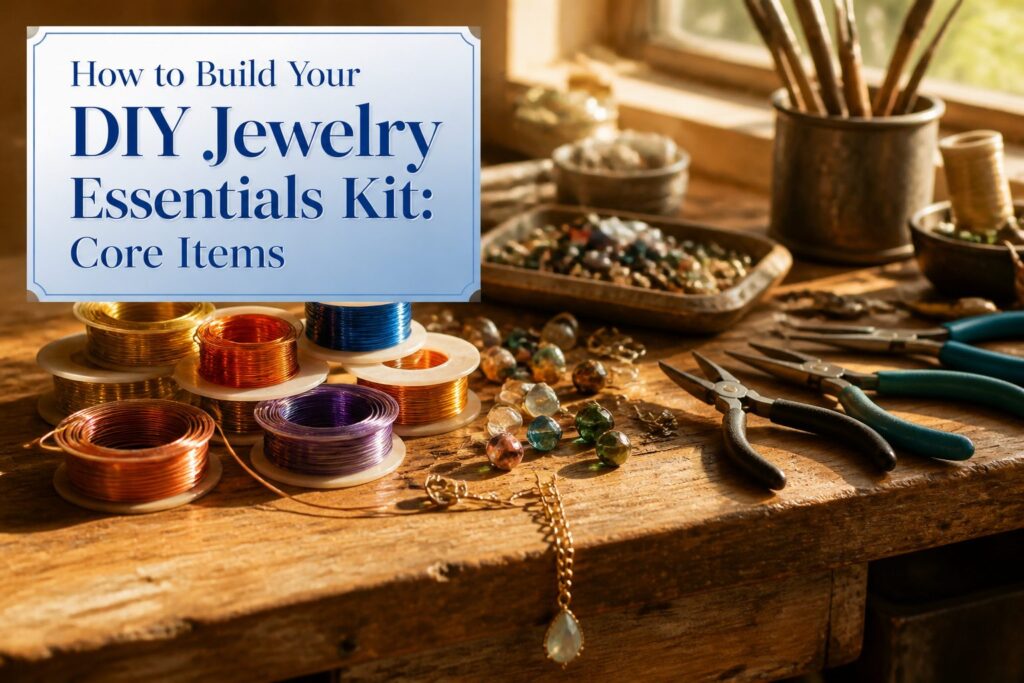
A complete diy jewelry essentials kit runs about the cost of a mid-range dinner and fits in a shoebox.
The mistake most beginners make is buying beads first and wire second, when it should be the other way around. Your 20–24 gauge craft wire dictates which bead holes will actually thread, not the other way around.
1. Beads
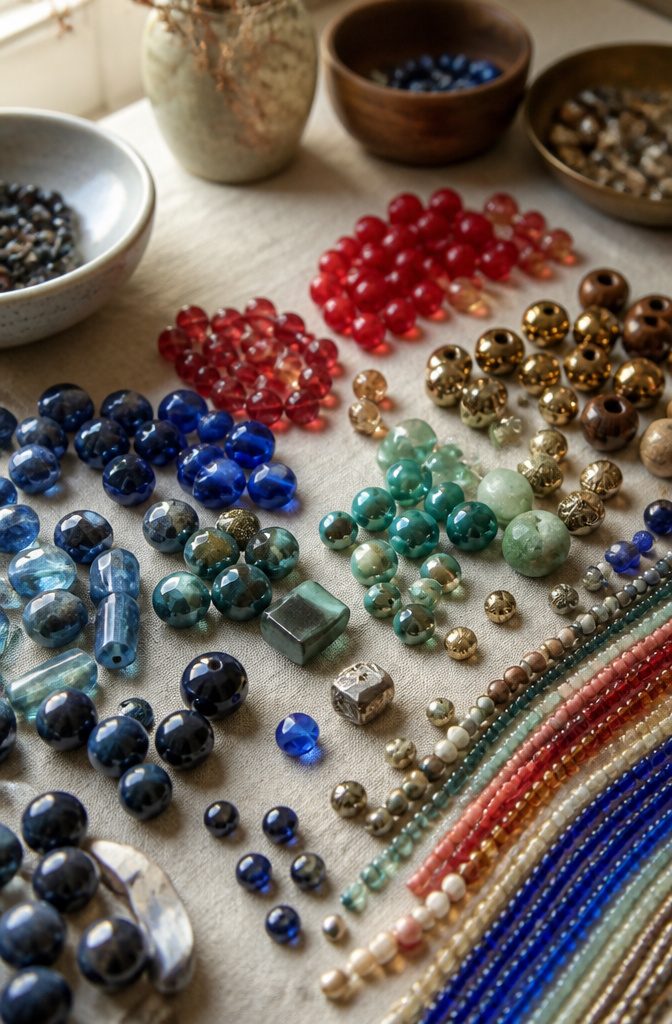
Glass beads are where most beginners land, and for good reason.
Czech glass gives you color range and durability without the fragility that makes crystal beads risky for first projects. Seed beads run smaller with holes that limit your thread gauge, while larger glass rounds accommodate heavier cord or leather.
Metal beads add weight that helps a necklace hang properly; I reach for them when glass feels too casual for the piece. Wood beads warm up a design but keep them away from pieces that will see water.
Hole diameter, not bead size, is what determines whether your cord or wire will pass through.
A 4 mm bead with a 1 mm hole takes leather cord. A 4 mm bead with a 0.5 mm hole needs silk thread.
For memory wire bracelets, the bead hole must clear that stiff steel loop, so aim for beads marked with wider drill options like top-drilled or fully drilled holes rather than half-drilled styles meant for gluing onto posts.
Projects point the choice. Layered charm necklaces need spacer beads with small holes that sit tight on thin chain.
Rope statement pieces and macrame work demand big-hole beads in 8 mm and up. Mix textures, glass with metal or wood with gemstone, but never mix hole sizes that force you to swap stringing materials mid-project.
2. Wire
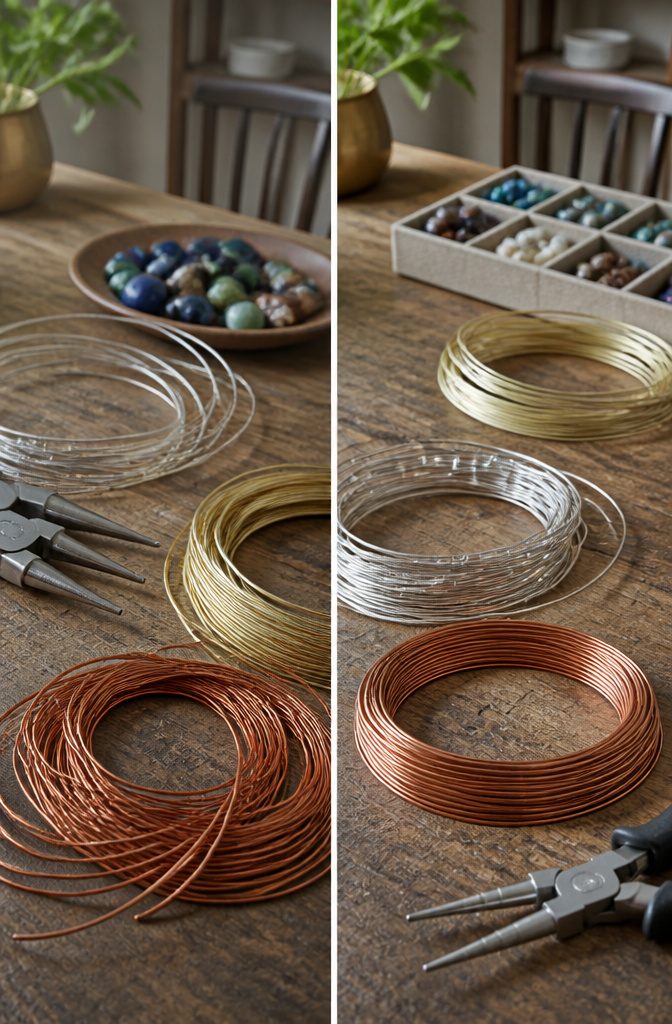
Wire splits into three families, and the difference matters from the first project.
Beading wire is the flexible stranded cable you string beads onto, finished with crimp beads and a clasp. It behaves like heavy thread and carries the weight of stone or glass without stretching.
Craft wire is the solid-core copper or copper-alloy wire you bend by hand or with pliers, the stuff of wrapped loops, ear wires, and small structural shapes.
Memory wire is a hardened stainless steel that springs back to its coil shape no matter how far you bend it, and that rigidity is exactly its point.
For craft wire, the beginner range to buy is 20–24 gauge, with 20 being thick enough to hold a shape and 24 thin enough to pass through most bead holes twice.
I keep 22 gauge as the workhorse; it threads standard beads and still takes a crisp bend.
Memory wire beats flexible beading wire for any piece that needs to hold its form without a clasp, a cuff bracelet or a choker that simply loops on.
The finish is the catch: memory wire ends are sharp and need proper cutting pliers, not your usual wire snips, and the steel will chew through bead holes that softer wires glide through.
For a strung necklace with a clasp, beading wire wins every time.
3. Pliers
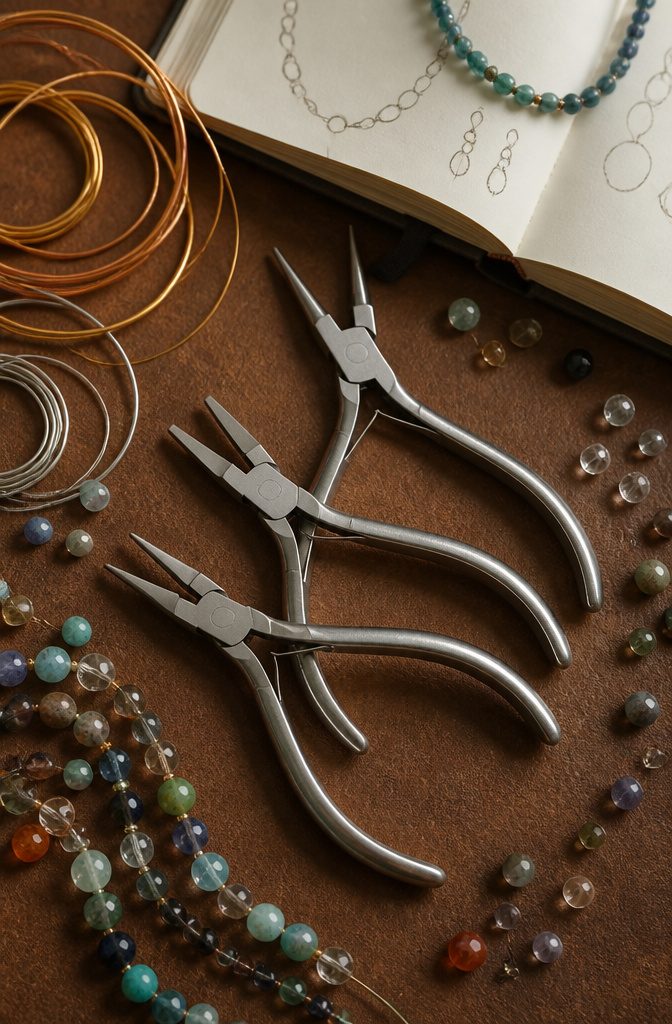
Round-nose, flat-nose, and chain-nose pliers are the trio that handles almost everything a beginner touches. I think of them as the minimum viable toolkit, and anything else is a later upgrade.
Round-nose pliers form loops and curves in wire. Their tapered, fully rounded jaws let you roll consistent circles for ear wires, links, and wrapped connections.
Flat-nose pliers grip and hold findings without marring the surface, but only if the jaws are smooth, never serrated. Chain-nose pliers slip into tight spots the other two cannot reach, bending close to beads and crimping in confined spaces.
Each jaw shape does something the others fundamentally cannot.
Round-nose pliers cannot grip flat surfaces without slipping. Flat-nose pliers cannot form a curve.
Chain-nose pliers reach where bulkier jaws block, but their narrower tips lack the holding power of flat jaws for torque tasks. Together they cover opening jump rings, shaping wire, crimping, and fine manipulation without scratching soft metals.
A mid-range set lasts years before you need to consider higher-end options. I started with a basic three-piece set and added specialty pliers only when projects demanded them, which kept initial costs reasonable and avoided tools that sat unused.
4. Jump Rings
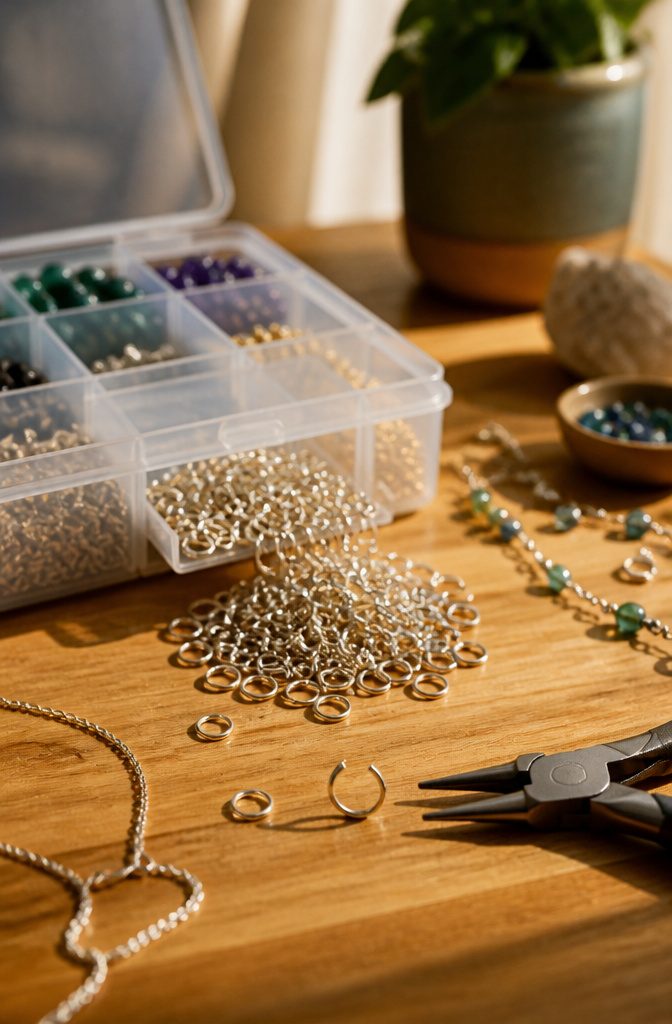
Jump rings are the mechanical backbone of almost any jewelry project, small metal circles that open and close to chain pendants, clasps, or beaded sections together.
The direction you open them matters more than most beginners realize: pull one side toward you and the other away, in a twisting motion parallel to the ring’s plane.
Pulling the ends straight apart to expand the gap weakens the metal and eventually snaps it. Two pairs of pliers, one on each side, give the control you need.
Standard jump rings and split rings serve the same linking purpose but hold differently.
A standard ring has one continuous loop with a single slit; it closes neatly but can work open under stress. A split ring works like a tiny keyring, with two full coils that thread the component through both turns.
For heavy pendants or pieces that take daily tugging, the split ring wins. For dangle earrings or delicate charms where bulk shows, the slimmer standard ring looks cleaner and closes flush with practice.
5. Clasps
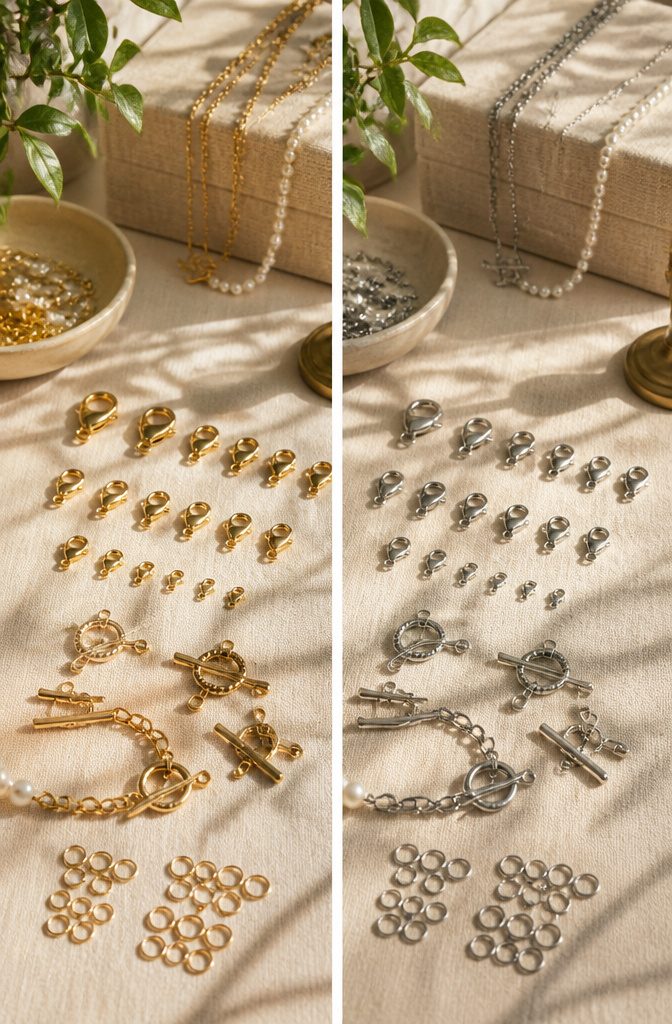
Lobster clasps earn their spot in most beginner kits because the spring-loaded gate closes without fuss and the hook shape gives your fingers something to grip.
I reach for them on necklaces I plan to fasten behind my own neck, since one hand can guide the ring in while the thumb releases the lever.
They handle moderate weight fine, though a dense gemstone strand will eventually work the spring loose over years of daily wear.
Toggle clasps trade security for drama. The bar slips through the ring and gravity keeps it seated, which means they fail on bracelets that dangle loose or collars that flip.
I use them only on fitted cuffs and heavy bib necklaces where the fabric or weight pins the bar in place. The upside is instant release, no small parts to fumble.
Spring rings look tidy and cost less, but the circular guard shrinks your target to almost nothing.
I have dropped more of these in couch cushions than I care to admit, and I would not wish them on anyone with arthritis or long nails.
Save them for anklets and lightweight chains you fasten in front of a mirror. For pieces over an ounce, lobster wins every time.
6. Stringing Material
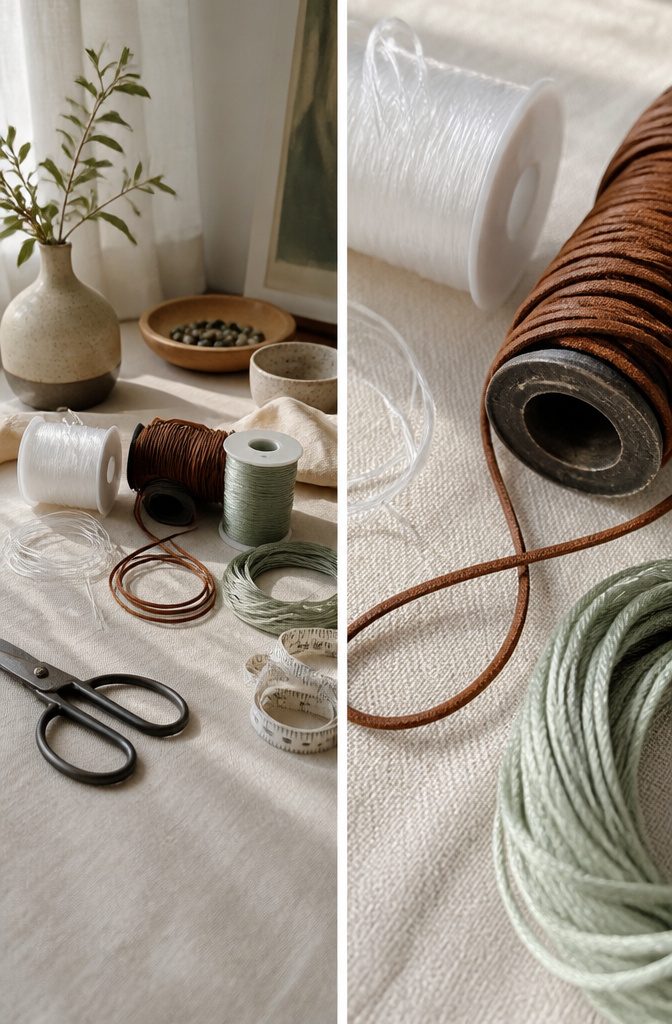
Nylon cord carries the most weight of the three common options, which makes it my default for glass or stone beads with sharp edges that would slice through lighter thread.
A 1mm nylon cord handles most bracelet and necklace projects without stretching out of shape, though I would not trust it for a pendant heavier than a few ounces.
Leather cord looks best with large-hole beads and adds texture that thread cannot match. It comes in bulkier gauges than nylon, so the bead hole needs to match; a 2mm leather cord through a 1.5mm hole kinks and frays.
I use it for chokers and short necklaces where the cord itself is part of the design, not hidden.
Silk thread, or the synthetic polyesters that imitate it, drapes more softly than either nylon or leather.
Silk is the traditional choice for pearls because it knots neatly and the fine gauge does not bulk between beads. Synthetic substitutes last longer and cost less, though they lack silk’s slight grip that keeps knots tight.
Necklace length dictates cord choice more directly than most beginners expect.
A 14 to 16 inch choker sits tight at the throat and needs cord with no stretch, or the fit loosens within hours. The 20 to 24 inch matinee length is the most forgiving; any of these three materials works.
At 28 to 32 inches for an opera necklace, weight becomes the problem. Leather or heavy nylon keeps the strand from swinging, while silk this long tangles unless you double it.
7. Findings
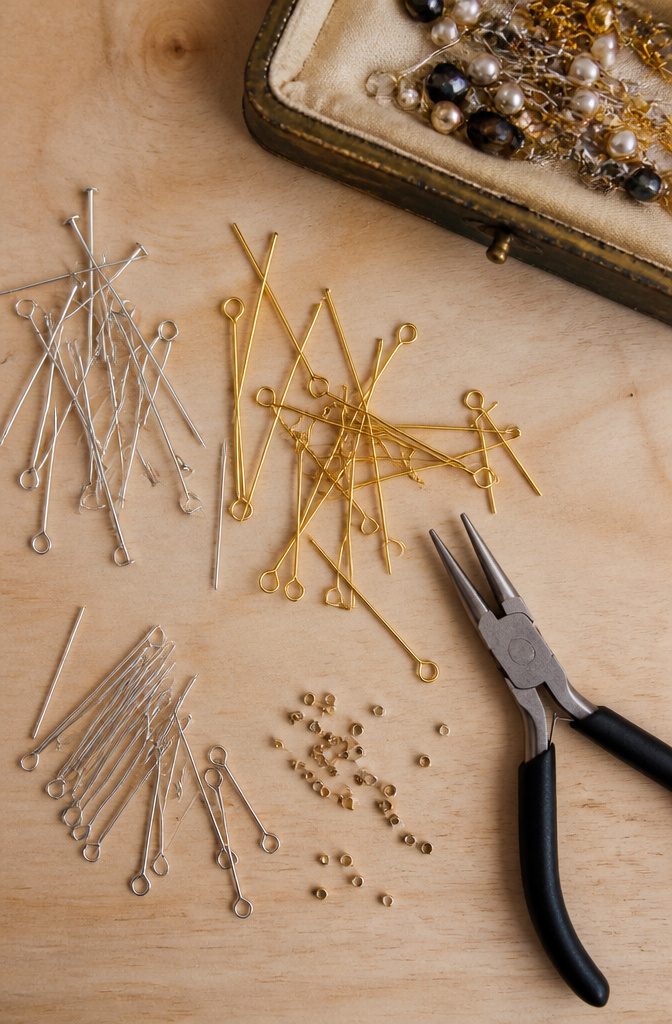
Head pins and eye pins fill gaps that wire alone cannot. A head pin’s small flat stopper lets a bead dangle without sliding through, which is how drops hang from earrings or a single pearl suspends on a chain.
Add your bead, bend the wire at 90 degrees with flat-nose pliers, clip the excess to about 3/8", and roll the stub into a loop with round-nose pliers.
Eye pins work the same way but finish in an open loop already formed, so they link beads into chains or connect separate elements without soldering.
Crimp beads matter more than their size suggests.
These hollow metal cylinders anchor beading wire to clasps and stop beads from drifting along the strand. Thread the wire through the crimp, through the clasp loop, then back through the crimp again.
Flatten the tube with chain-nose pliers or use crimping pliers to fold it into a smaller, stronger bead. A properly closed crimp holds tension like a knot.
A lazy one, or a skip, and the whole necklace loosens with wear. Cheap starter pins help here; softer metal forgives crooked loops while you learn the plier angles.
8. Glue
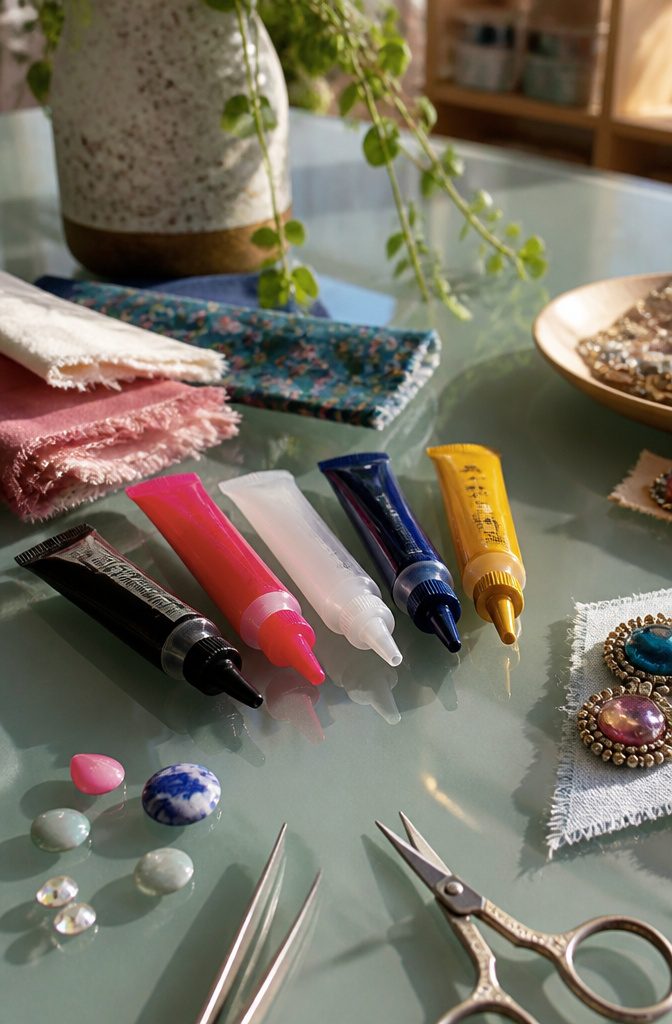
Glue earns its place in a diy jewelry essentials kit for two situations where metal and thread fall short: fabric-based pieces and cabochon settings.
Satin cord, leather, or ribbon ends need a clean bond inside a ribbon crimp or cord end, and a stone or glass cabochon sitting in a bezel cup has no prongs to bend.
Jewelry glue needs to be strong and quick-drying, because a shifting stone ruins the setting and a slow cure leaves fingerprints pressed into the finish for hours.
Superglue tempts beginners because it is already in the drawer.
It fails on jewelry for two reasons. The bond turns brittle and cracks under flex or impact, and the thin formula soaks into porous stone or fabric, leaving a white bloom on the surface.
Specialized jeweler’s epoxy, by contrast, stays slightly flexible once cured and resists both water and skin oils.
Most formulas set in five minutes and reach full strength in 24 hours, which is fast enough to keep working but slow enough to reposition a cabochon that sits crooked.
The right glue depends on the material. Rubber, leather, metal, stone, glass, fabric, ceramics, rhinestones, and sequins each pair with a specific adhesive type, so matching the label to the project matters more than buying the most expensive tube.
9. Storage Solutions
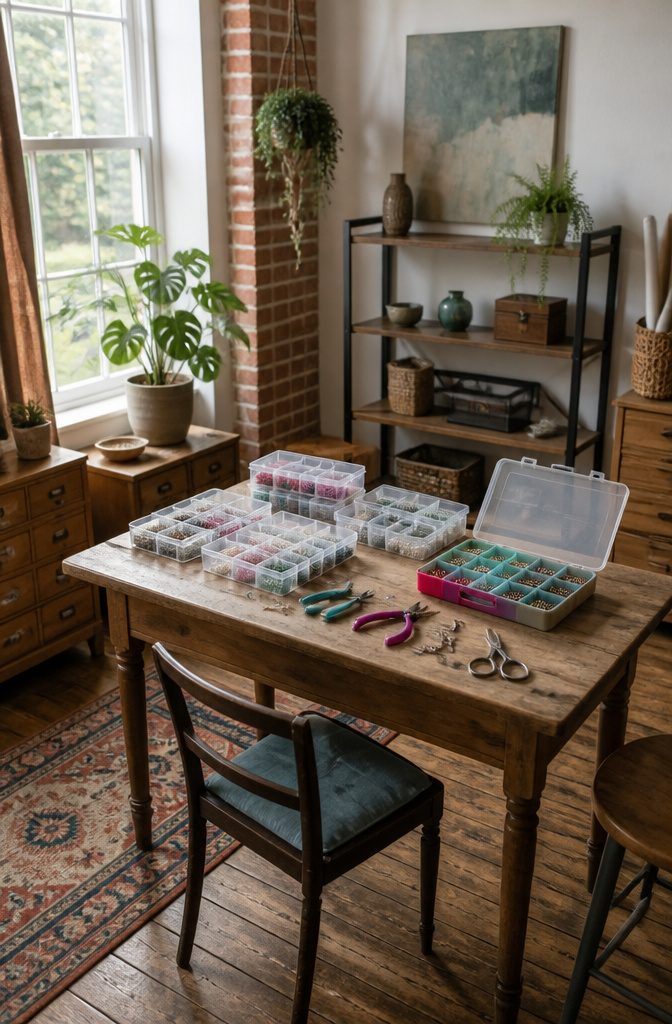
Finished pieces need a place to wait, but supplies that stay sorted get used; the same beads in a jumbled tin tend to stay in that tin.
I favor organizers with fixed compartments for seed beads and small findings, since those tiny walls keep 11/0s from migrating into your 8/0s. Adjustable dividers work better for mixed components, chains, and bulk findings that change size project to project.
Some makers I follow repurpose tackle boxes, and the logic holds: the latches are sturdier than craft-store plastic, and the handle means you can carry the whole shop to the kitchen table. Where the two paths split is visibility.
Stackable bins with lids keep dust out but hide what you own; a wall-hung organizer or shallow drawer with clear lids puts color and finish in front of you every time you sit down.
For the materials you reach for weekly, that glance-ability finishes more projects than any lid ever saved.
Stringing, Wrapping, and Knotting
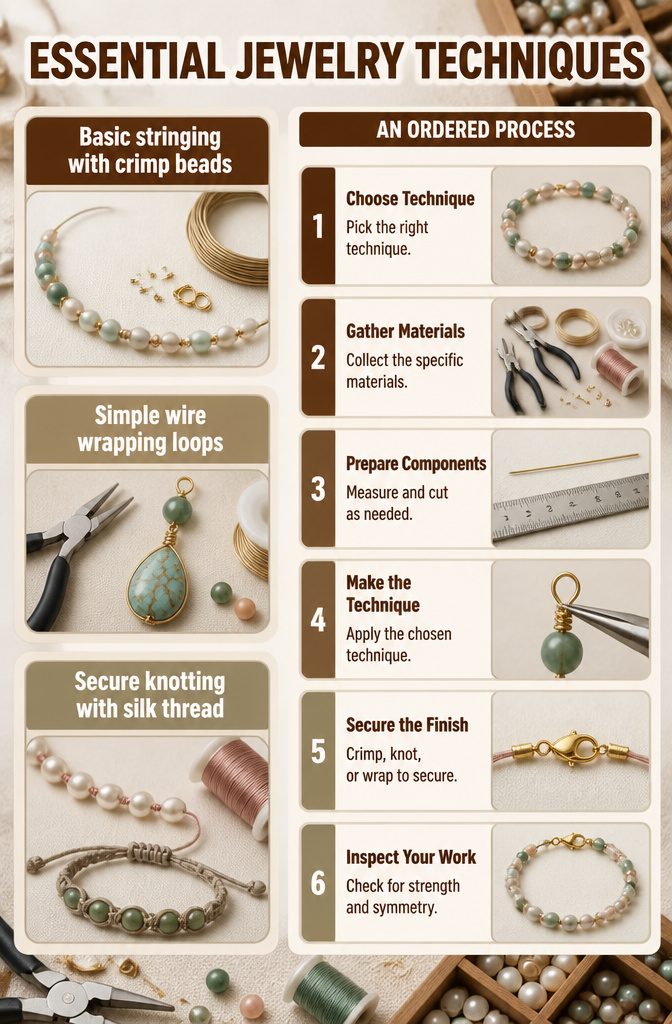
Three techniques carry most beginner projects, and each pairs cleanly with the materials from earlier in this kit.
- Basic stringing loads beads onto flexible cord or coated wire for necklaces and bracelets. Crimp beads secure the ends. This works with bead spinner setups for speed, and the cord or stringing wire from your supplies fills it out. Round-nose pliers help guide the wire through tight spots.
- Simple wire wrapping bends wire into loops or wraps it around itself to link beads or set pendants. It wants wire, beads, and your flat-nose pliers. A wrapped loop beats an open loop for strength, and this is the first technique where you feel how silver wire behaves under pressure.
- Secure knotting strings pearls or beads with a knot between each one so they never slide and scratch. Silk thread is the usual choice for pearls; linen or hemp cord suits heavier stone beads. Lark’s head knots start macrame bracelets, and spacing beads between knots adds structure.
The work goes faster once you know which technique the project calls for before you pick up a tool.
Safety and Where to Start
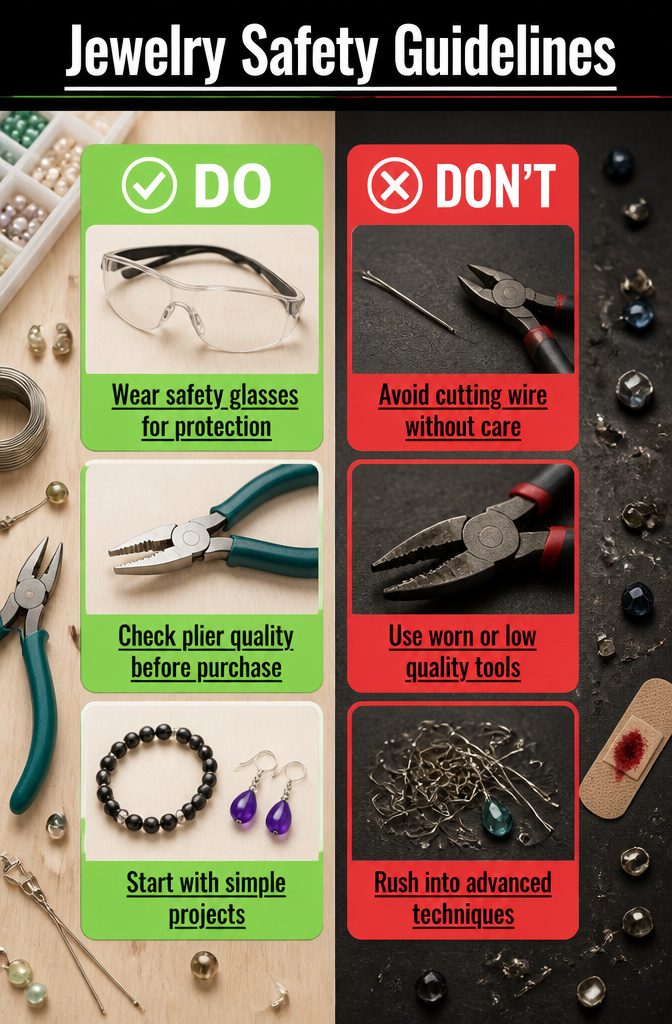
Eye protection belongs in your kit before anything else. A clipped wire end can fly faster than you’d expect, and a snipped steel memory-wire coil can rebound hard enough to mark skin.
Wear safety glasses every time you cut wire, even on quick trims. The cost of skipping this is a trip to urgent care for a corneal scratch, and the glasses cost less than your first pair of pliers.
Pliers deserve their own caution. The jaws on bargain sets wear smooth faster than you’d think, and once that grip loosens, the tool spins in your hand instead of holding the finding steady.
A sprung ring across the room is the lucky outcome; a gouged bead or a slipped cutter into your palm is the other one.
Feel the jaws before you buy. If the serrations already feel shallow, move up to mid-range tools: the ones designed for jewelry work hold their edge long enough to repay the difference.
Simple projects train your hands faster than ambitious ones.
A stretch bracelet teaches tension and spacing without demanding a perfect wrapped loop. A basic drop earring gets you comfortable with head pins and opening jump rings.
Save the wire-wrapped briolettes for after those skills feel automatic. Rushing to advanced techniques builds bad habits that take longer to unlearn than the projects take to finish.
First Projects That Actually Finish
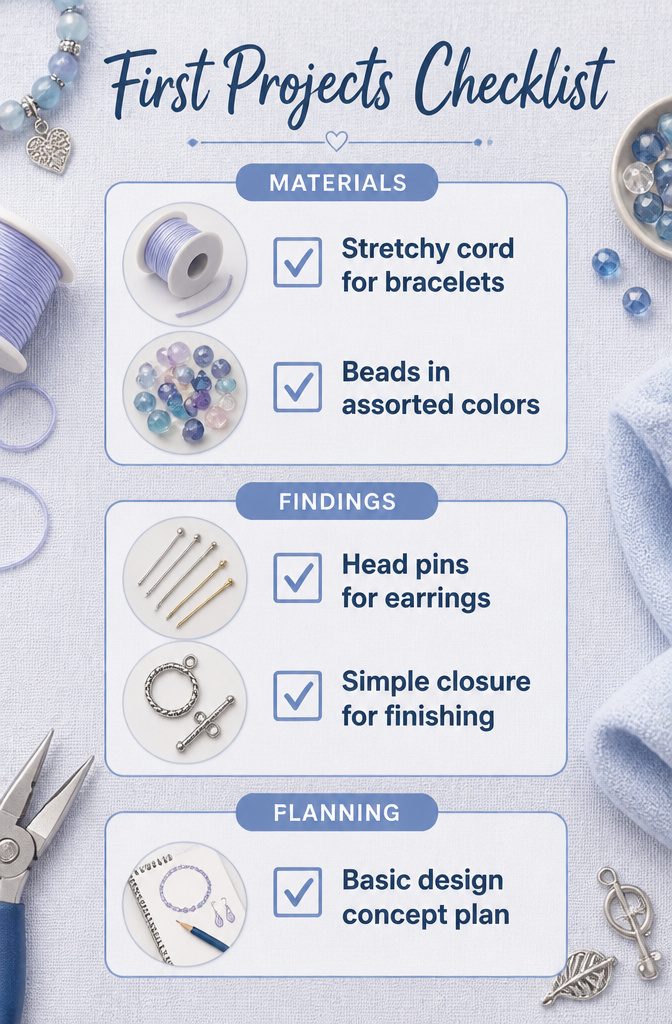
The first project you finish teaches you more than the first project you start.
A stretchy cord bracelet is the place to begin: it forces you to learn tension, how tight to pull before the cord frays or the beads gap, and how to hide your knot so the piece looks intentional rather than abandoned.
One finished bracelet on your wrist beats three half-started necklaces in a drawer.
Simple drop earrings come next. They practice the loop you will use everywhere, but they ask for only two of them, not the twenty a necklace demands.
You can hold an earring in one hand, see your mistake, and fix it without untangling three feet of chain.
- Bracelets teach finishing because the closure is the whole point; a sloppy knot and the piece is unwearable.
- Earrings teach scale; if your loop is uneven, the bead hangs crooked and you see it immediately.
- Wearable beats impressive every time; a plain bracelet you made yourself builds the habit of completing before you chase complexity.
Sustainable Materials and Old Jewelry
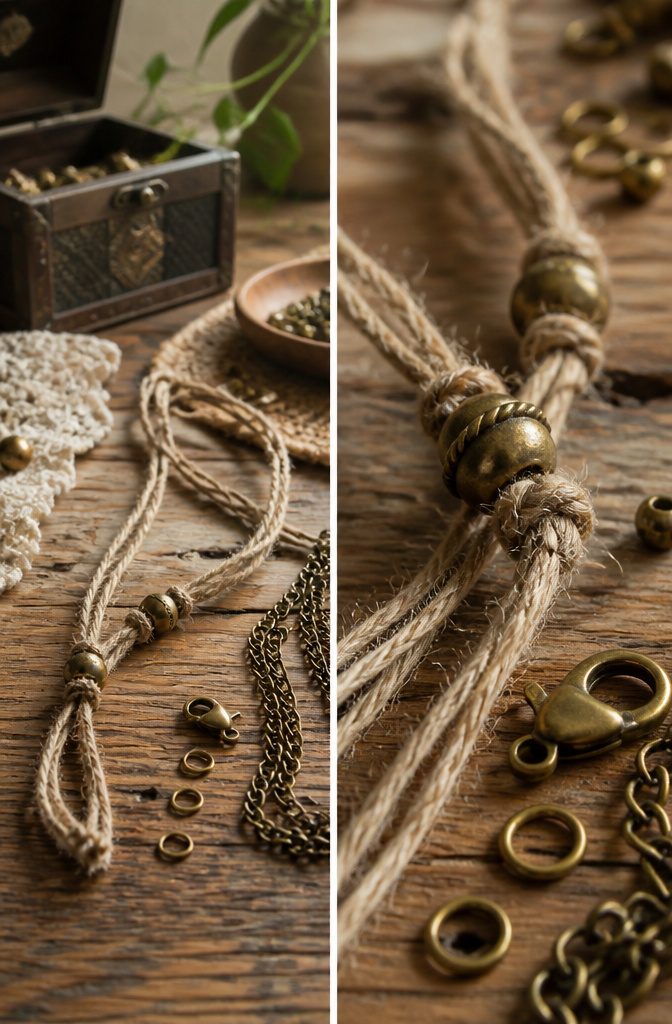
Hemp cord earns its place in a kit built around plant-based choices.
It carries more texture than cotton and holds knots without the stiffness of leather, though it runs thicker than linen thread and needs larger bead holes to pass through cleanly.
For summer pieces, linen still wins for comfort against skin, since flax fiber does not trap moisture the way hemp can.
Broken jewelry sitting in a drawer is a free parts bin. Chains, beads, and clasps all salvage cleanly if you know what to check first.
Test old clasps by opening and closing them twenty times; the spring inside bolt rings and lobster claws weakens with age, and a clasp that fails that test belongs in scrap metal, not on a wrist.
Jump rings from old pieces are riskier. Hairline cracks hide along the inner curve where pliers gripped them, and a ring that opened once has already stressed its structure.
I discard any jump ring that shows scoring, flattening, or resistance when I twist it closed. The two cents a new one costs beats losing a bracelet to guesswork.
Selling What You Make
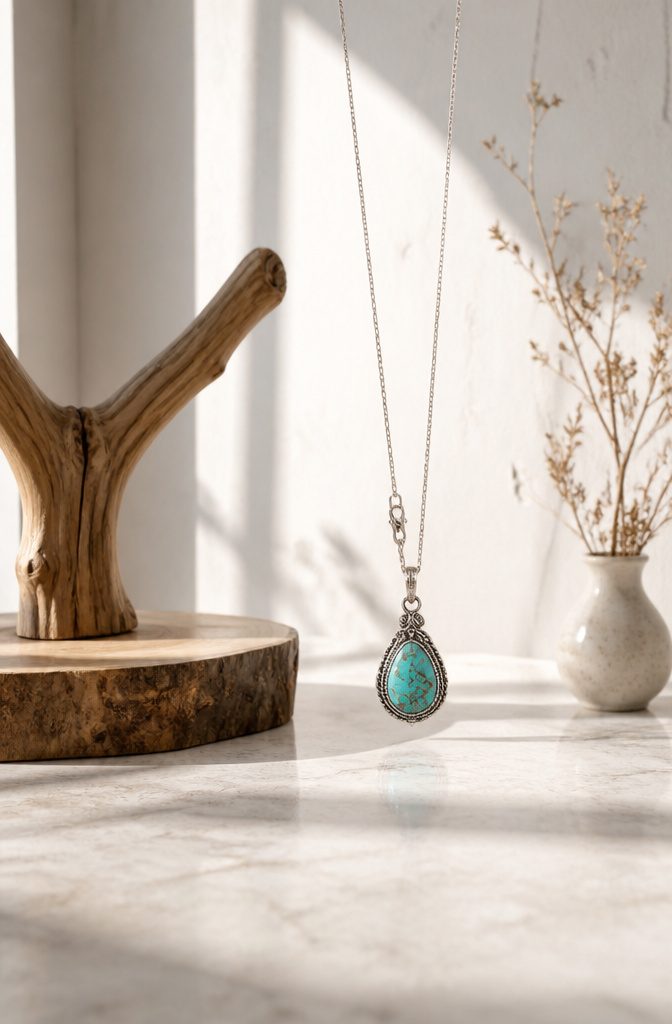
A finished piece earns nothing sitting in a drawer. The first sale starts with a photo against a plain background, daylight from the side, no clutter behind the chain.
The metal reads true that way, and a 14k stamp or a garnet inclusion actually shows up instead of fighting a busy print.
Descriptions sell the material, not the mood. Name the metal, name the stone, state the clasp type.
Someone browsing on lunch break compares your sterling silver turquoise pendant against six others; "sterling silver, natural turquoise, lobster clasp" wins over "handcrafted boho treasure" because she can verify what she is buying.
Price by materials plus time, then compare against the market. If your wire and stone ran $12 and the piece took an hour, $28–$32 covers you without overshooting what similar work sells for.
Online marketplaces like Etsy reach buyers who already search for handmade jewelry, but they take fees and demand fresh listings to stay visible.
Local craft fairs cost a table fee and a Saturday, yet let people handle the weight and try the fit. The fair wins for bracelets where scale matters; the listing wins for earrings that ship flat and cheap.
Frequently Asked Questions
What do I need to make my own jewelry?
Start with round-nose, flat-nose, and chain-nose pliers, plus wire cutters.
Add 20–24 gauge craft wire, beading wire, memory wire, beads with matched hole sizes, jump rings, clasps, nylon cord or silk thread, head pins, eye pins, crimp beads, and jeweler’s epoxy. Safety glasses belong in the kit before anything else.
What are the essential things to make jewellery?
Tools for cutting, gripping, and bending; materials for stringing and linking; and adhesives for settings where metal fails.
What is the easiest jewelry to start making?
Stretchy cord bracelets come first. They teach tension and hiding knots without demanding perfect loops.
Simple drop earrings follow, practicing the wrapped loop on just two pieces rather than twenty. Bracelets teach finishing because a sloppy knot makes the piece unwearable; earrings teach scale because crooked loops show immediately.
Where can I buy jewelry findings?
Craft stores, online retailers, and specialty suppliers carry them.
How can I prevent tarnishing?
Tarnishing is oxidation on copper, silver, and brass, so it cannot be fully stopped. Slow it with anti-tarnish papers, polishing cloths, or water-based acrylic lacquer.
Household options like baking soda or lemon juice also work. Store finished pieces in compartments that keep metals separated and visible so they get worn rather than forgotten.
What materials are best for starting to make metal jewelry?
Copper and copper-alloy craft wire in 20–24 gauge suit beginners. Copper is soft enough to bend by hand or with pliers, and 22 gauge threads standard beads while still holding a crisp shape.
Avoid full-hard wire until you have tools for its brittleness; half-hard works for ear wires and jump rings once you advance.
What is the 2:1:1 rule for jewelry?
It does offer a practical pricing guide: add materials cost to time, then check against market rates. If wire and stone ran $12 and the piece took an hour, $28–$32 covers you without overshooting similar handmade work.
What are the top 10 must-have jewelry pieces?
Instead, it recommends three projects that actually finish: a stretch bracelet for tension practice, simple drop earrings for loop skills, and then advancing to wire-wrapped work only after those feel automatic. Wearable beats impressive for building the habit of completing.





