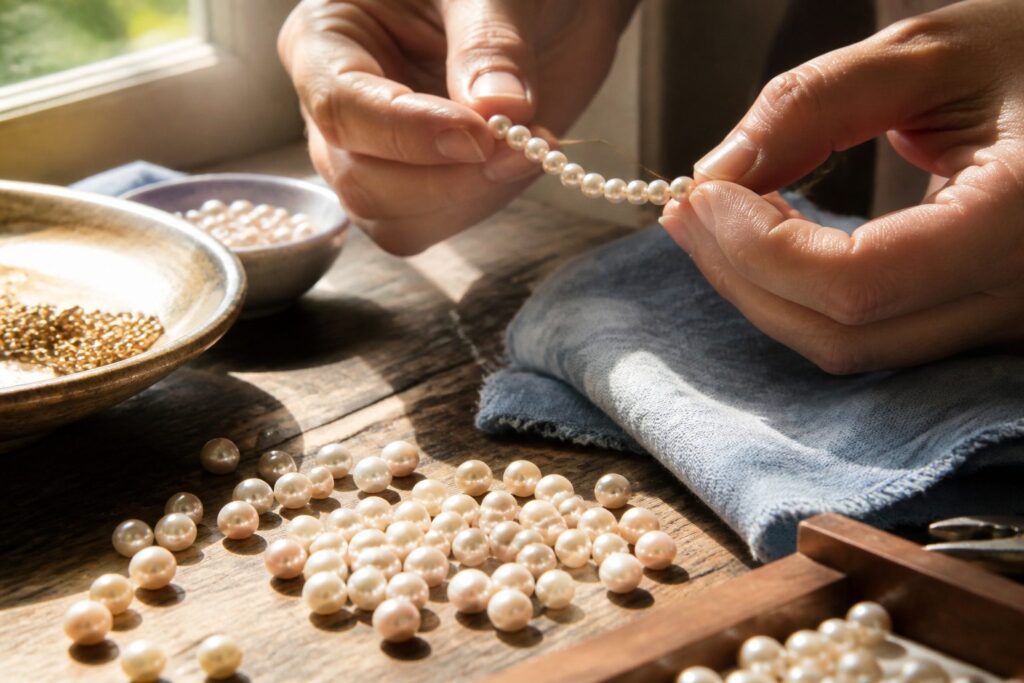
Pearl jewelry making is the craft of selecting ready-drilled pearls and joining them with metal findings into wearable pieces.
The distinction that matters most is freshwater versus saltwater: freshwater pearls tolerate beginner mistakes in knot tension and wire pressure, while saltwater Akoya or Tahitian stock can crack under the same handling.
Start with 6–8mm freshwater rounds at roughly $0.50–$5 each; their solid nacre absorbs the learning curve that would ruin thinner-skinned saltwater pieces costing $3–$50 per pearl.
What Pearl Jewelry Making Means
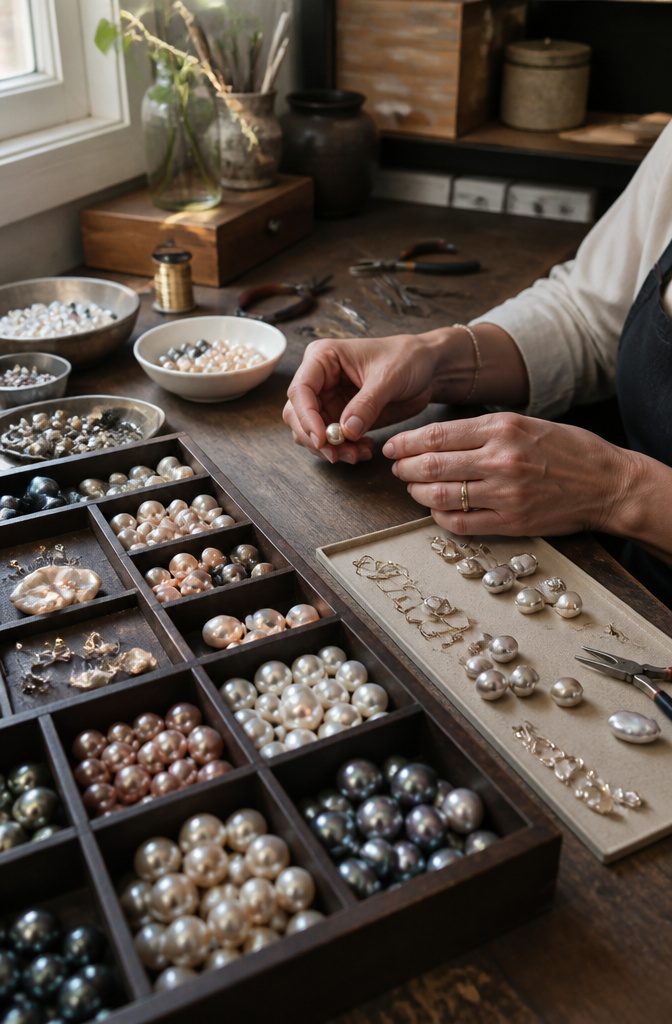
Pearl jewelry making is the craft of selecting already-prepared pearls and joining them with metal findings into pieces meant to be worn.
This is not pearl farming, and it is not drilling the holes; the pearls arrive ready at the bench, and the maker’s job is to judge which ones belong together and what hardware will hold them.
The two categories that matter at the bench are freshwater and saltwater. Freshwater pearls run 4–13mm in a range of shapes, with the irregular ones often called baroque.
Their nacre is thick enough to forgive beginner mistakes in tension and spacing. Saltwater covers Akoya and Tahitian pearls, which tend rounder, carry a higher price, and demand gentler handling because their nacre layer is thinner.
Freshwater pearls win for beginners not because they are lesser pearls but because their durability absorbs the learning curve.
A cramped knot or overtightened wire on a freshwater pearl usually survives; the same error on a saltwater piece can crack the nacre.
Start there, and the saltwater work becomes a natural next step once your hands know the tension by feel.
Gather Materials
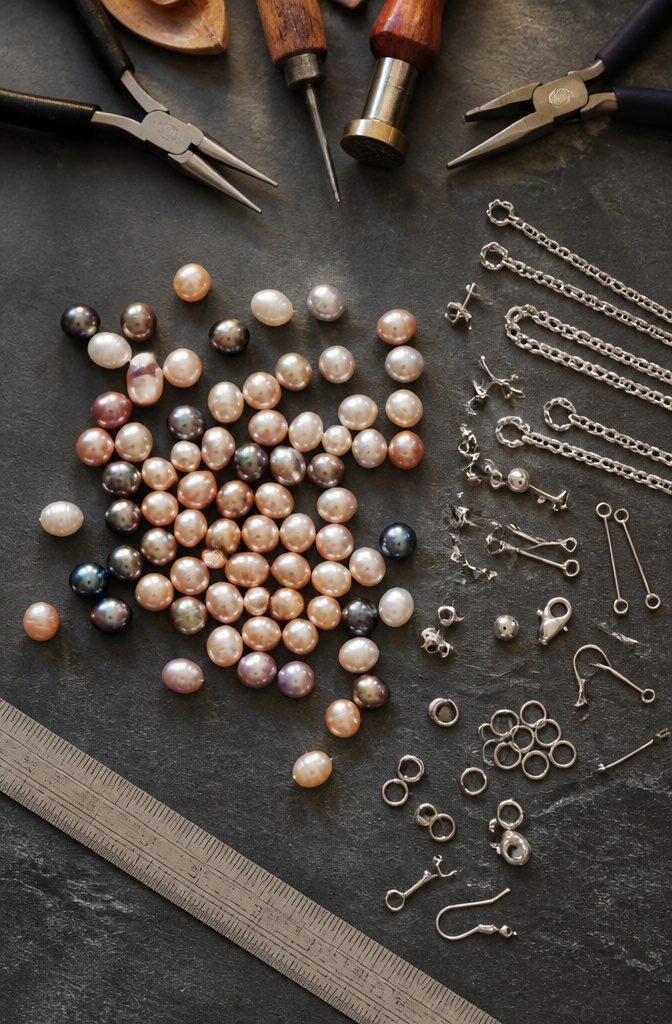
Freshwater pearls run 4mm to 13mm, but most projects work best somewhere in the middle of that range.
6–8mm handles earrings without dragging the lobe, 7–9mm fills a bracelet strand with presence, and 8–10mm earns its place as a necklace focal point where the eye lands first.
Sterling silver findings carry the structure. For chain, a 16-inch length is standard for necklaces.
Jump rings at 4–6mm and 20–22 gauge link elements cleanly; lobster clasps at 12–15mm feel secure without bulk. Earring posts with backs, ball headpins, and crimp beads round out the kit.
Stringing material is the real choice. Silk cord with traditional knotting between each pearl protects the strand, but 49-strand nylon-coated stainless steel beading wire bends easier for beginners and holds tension without fraying.
Upcycled vintage pearls are an option if sustainability matters.
The drilled holes may not match modern findings, so test fit before committing to the layout. I would check compatibility with your chosen wire gauge and the pearl’s bore diameter before any money leaves my cart.
Prepare Tools
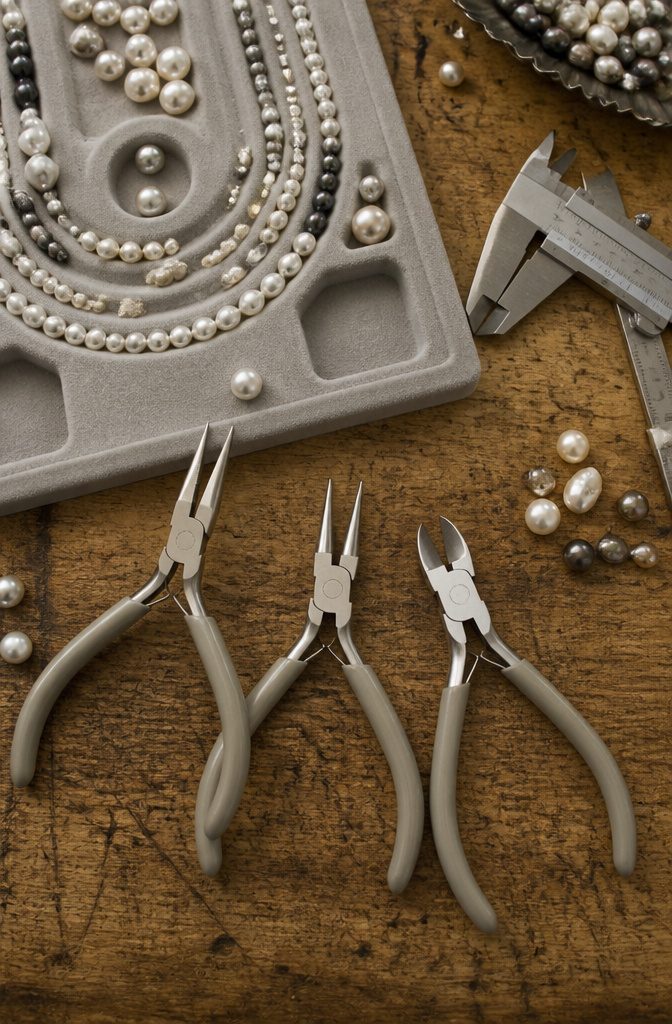
Three pliers do the actual work in pearl jewelry making. Chain-nose pliers grip tight and straighten wire without marring the surface: flat inside, tapered outside, so they reach into awkward angles.
Round-nose pliers give uniform loops, their two tapered cylinders graduating from thick to thin so I pick the diameter and repeat it.
Flush cutters finish cleanly, one flat jaw meeting one pointed jaw so the wire end sits flat against the stop, not jagged.
For measuring, a bead board with its grooved channels lets me lay out a necklace before stringing anything, and a ruler or caliper checks pearl sizing where visual guess fails.
Crimping pliers matter only if I am working with beading wire rather than silk; knotting tweezers help with silk, though some fingers manage fine without.
Tool quality shows up in loop consistency round after round.
A $15 pair of chain-nose pliers opens and closes jump rings faithfully; a $40 pair keeps its edge years longer and does not develop the wobble that ruins symmetry. I would rather own fewer tools that work than a drawer of near-enough.
Build Loops and Knots
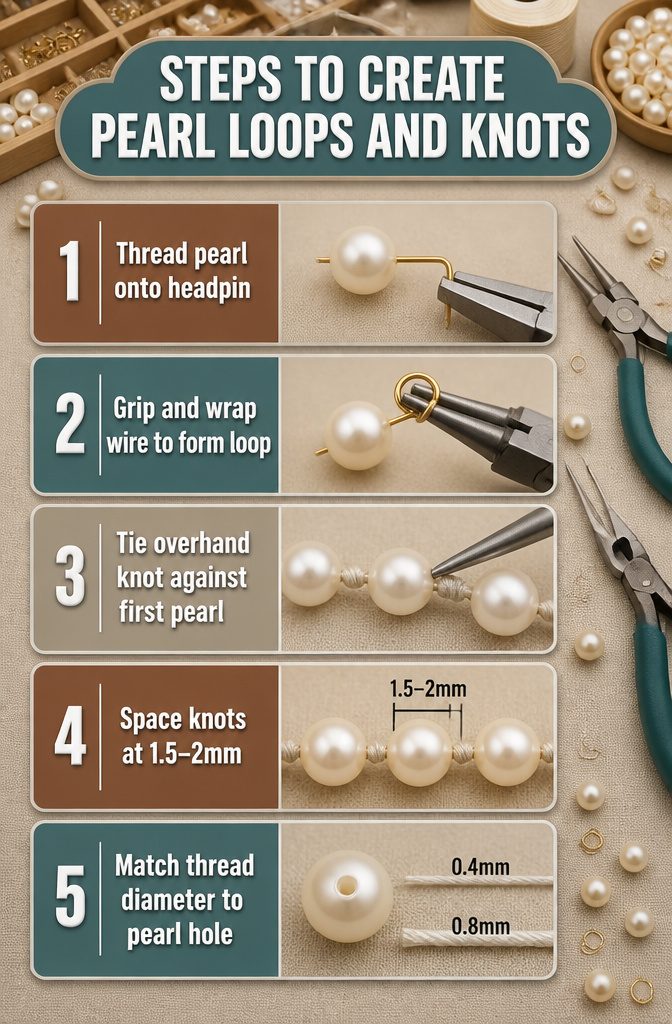
- Thread the pearl onto a headpin, then bend the wire 90 degrees at the top with your chain-nose pliers so the tail sticks out flat.
- Grip the bend with round-nose pliers and wrap the tail around one jaw to form a loop, turning the pliers to complete the circle before trimming the excess with flush cutters.
- For silk knotting, string your pearls and tie a simple overhand knot right against the first pearl, then use a knotting tweezer or awl to push that knot tight to the pearl surface so there is no visible gap.
- Repeat between each pearl, spacing knots at 1.5–2mm; tighter spacing wastes silk without benefit, and looser spacing lets pearls knock together and defeats the purpose.
- Match your thread or wire diameter to the pre-drilled hole, which typically runs 0.4–0.8mm on pearls intended for stringing; too thick and it will not pass, too thin and the knot will slip through.
Assemble the Piece
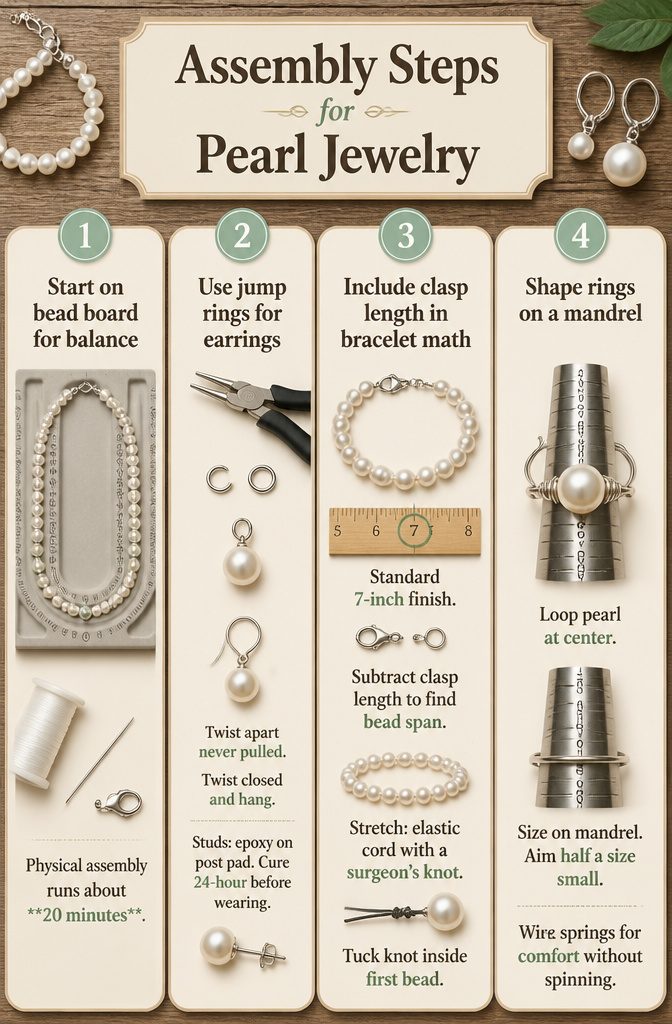
- A necklace starts on a bead board so the pattern stays balanced left to right. Silk thread takes a needle and double knot at the clasp; wire needs a crimp bead closed with crimping pliers. String in the planned order, then finish the second side as a mirror image of the first. Once the layout is set, the physical assembly runs about 20 minutes.
- Earrings come together with jump rings opened sideways, twisted apart never pulled, so the circle keeps its shape. Loop the pearl through, twist closed, and hang from the ear wire. Studs need two-part epoxy dotted on the post pad, the pearl seated flat, and a full 24-hour cure before wearing.
- Bracelet length includes the clasp in the math: a standard 7-inch finish means subtracting the clasp length to find the bead span. Stretch bracelets use elastic cord knotted with a surgeon’s knot, then tucked inside the first bead to hide the bulk.
- Rings form on bead wire shaped to a shank, the pearl looped at center, and the whole piece sized on a ring mandrel. I aim half a size small; the wire springs just enough for a comfortable grip without spinning on the finger.
Finish for Wear
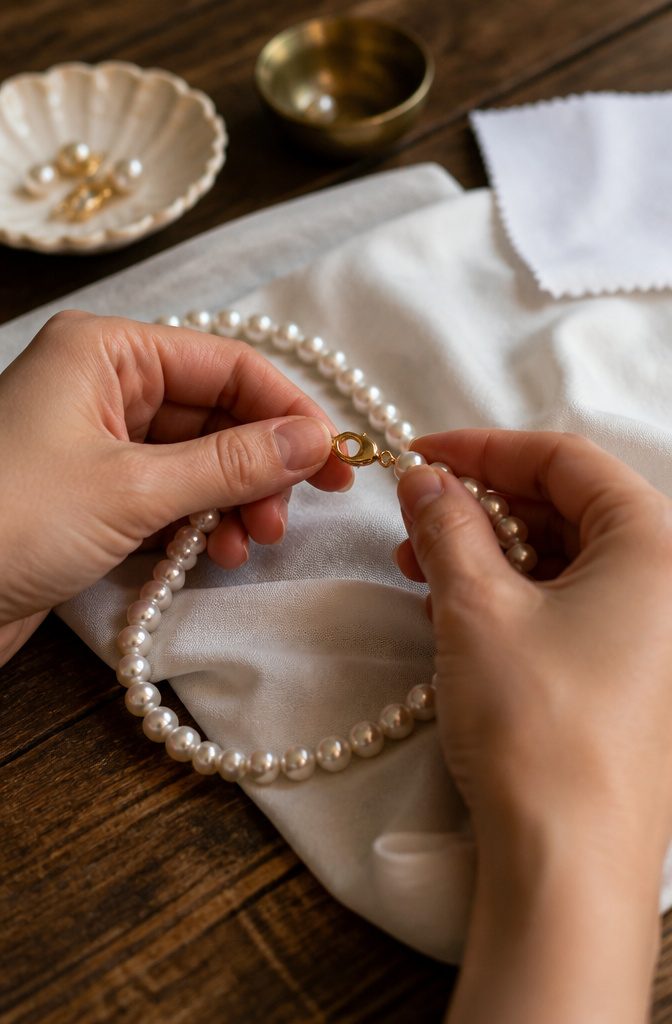
A lobster clasp should snap shut with moderate thumb pressure and hold against a 2–3 lb pull. Anything less and the piece leaves your bench unfinished.
Open the clasp, press it closed, then tug. If it drifts open, the spring is fatigued and the whole clasp needs replacing, not bending, since bent spring steel only weakens further.
Run a nylon stocking over every wire end and crimp.
A catch you feel with your fingertip will snag skin or silk. File or re-tuck until the stocking glides.
For necklaces, roll the strand on a flat surface. Twisted silk kinks the drape and accelerates wear; the fix is removing the pearl and restringing that section, not forcing it straight.
Earring posts need intentional pull. A back that slides off freely will be lost in a day.
Test by gripping the post, pulling the back straight away with deliberate force. If it releases too easily, swap for a tighter friction back or a slightly larger size.
Nacre dulls from the oils your hands leave behind. A final wipe with a lint-free cloth is the last step; solvents, even mild ones, can damage assembled settings or degrade silk thread.
Handle the finished piece by its clasp or edges, not the pearls themselves, and it keeps the luster you built in.
Present or Store the Finished Piece
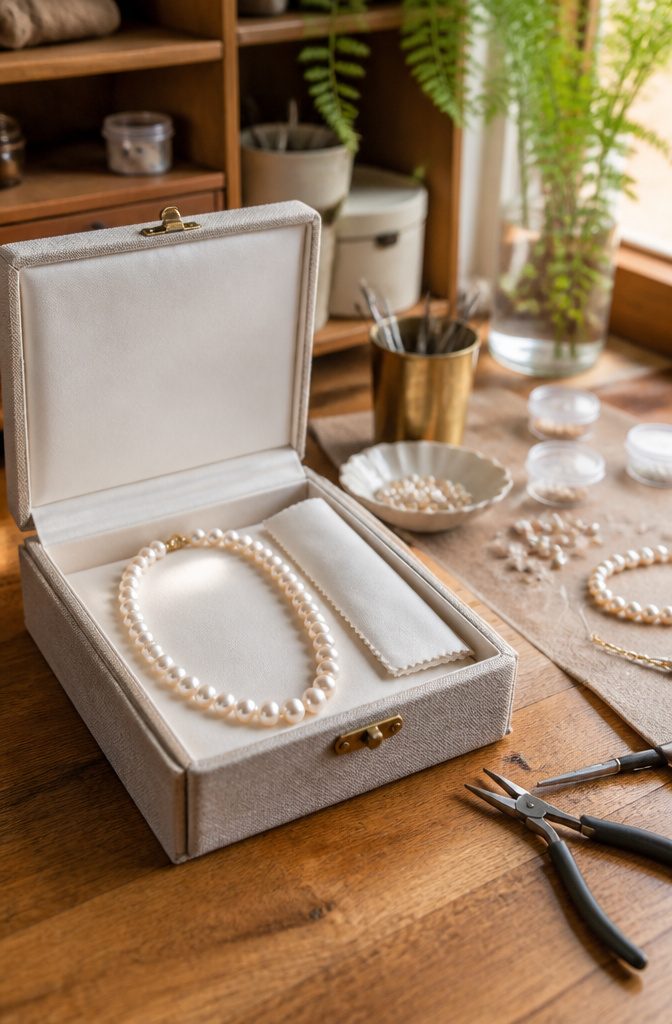
Anti-tarnish bags with silver findings are non-negotiable if you expect the piece to survive gifting season intact.
Pearls scratch each other on contact, so individual soft pouches or compartmented trays are the minimum; tossing finished earrings loose into a drawer ruins the surface you just spent an hour perfecting.
Cotton-filled boxes run 3x3x1 inches for earrings, 5x5x1.5 for necklaces, 7x5x1.5 for bracelet-and-earring sets.
Tuck an anti-tarnish strip inside before sealing. Pearl jewelry left in open air will tarnish silver in 2–6 months depending on humidity; sealed storage pushes that past 12 months.
That gap matters whether you are selling on Etsy or wrapping for your sister’s birthday. Poor packaging undoes careful bench work faster than any mistake at the vise.
Pick Your Project
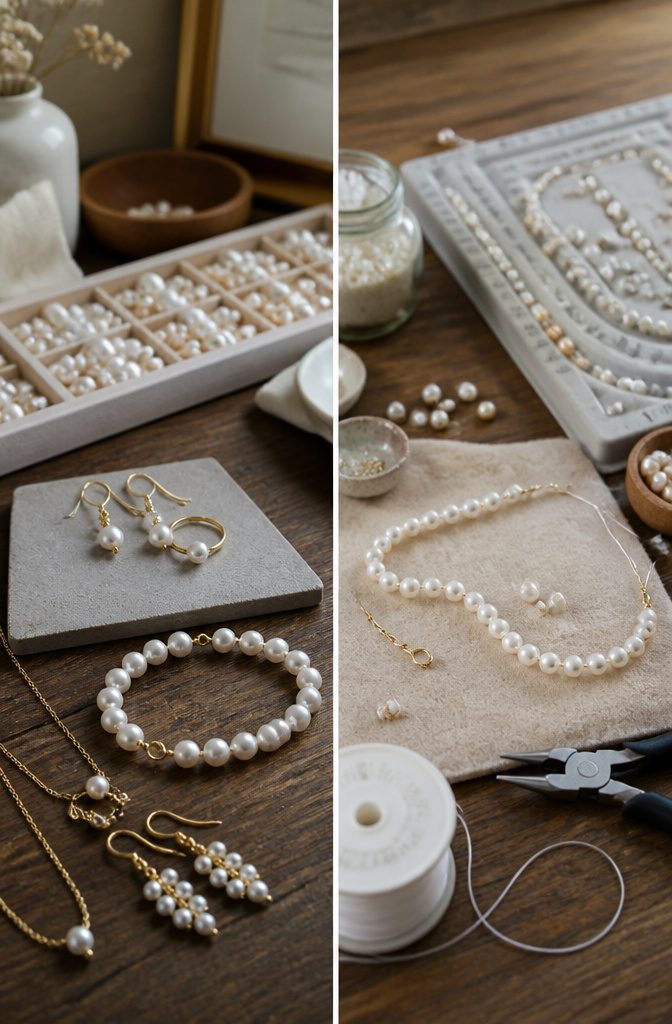
Each pearl jewelry type teaches a different skill. Choose based on what you want to learn first.
- Earrings use 2–6 pearls and finish fast. Posts suit daily wear, wires add movement, and drops demand clean loop technique. I reach for these when I need to practice closing a wrapped loop without committing an afternoon.
- Necklaces force you to manage spacing and tension across a full strand. A choker runs 14–16 inches, princess length 18, matinee 20–24. Centering the focal pearl reads traditional; offsetting it reads modern. Either way, the drape will betray sloppy knot tension.
- Bracelets live or die by length. Standard wrist sizing falls 6.5–7.5 inches, but stretch cord, rigid memory wire, and linked constructions each handle that length differently. I find stretch easiest to size and hardest to repair once the elastic fatigues.
- Rings fight size stability. Beaded construction shifts; wire-wrapped bands hold shape better and let you adjust slightly after the fact.
- Sets teach the harshest lesson: matching tone and luster across pieces is harder than it looks. Buy pearls from the same lot or plan for visible variation between earring and necklace.
You give up something either way. Earrings build loop skills fastest.
Necklaces teach spacing and tension. Sets demand consistency above all else.
Design Without Clashing
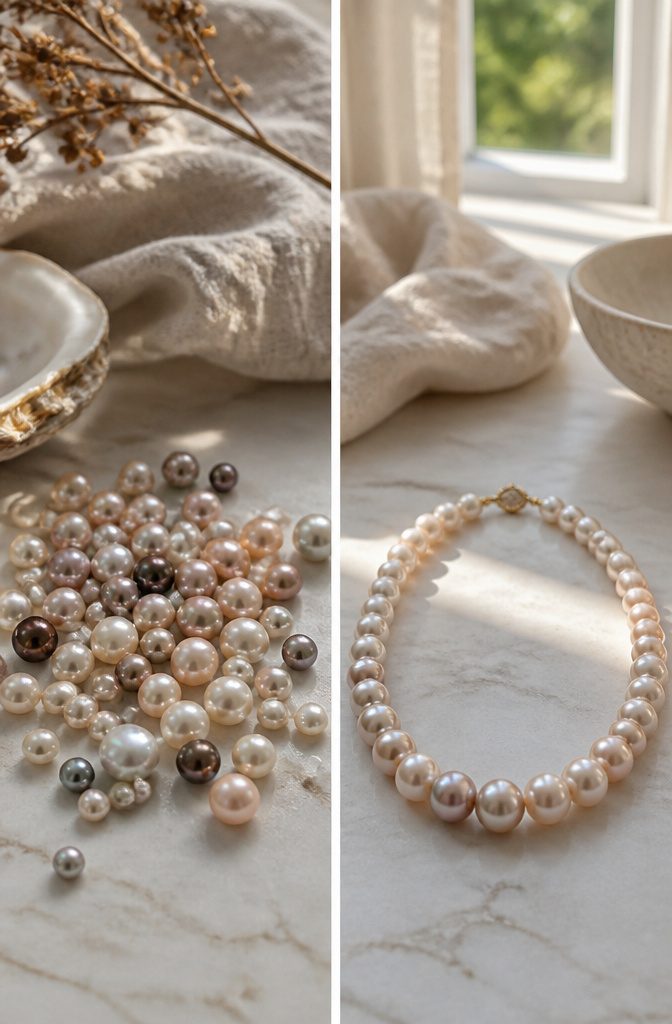
Warm skin tones carry cream and gold pearls with an easy glow that white never quite matches, while cool skin tones read white and silver-pink as the natural choice.
The overtone matters as much as the body color itself; a rosé sheen over a white base performs differently than a silver sheen, and pairing that wrong against undertone is where hobby pieces drift from pieces that sell.
Size-to-wearer ratio decides whether the work flatters or fights. 6mm pearls disappear on a larger frame, and 10mm overwhelms a small face; earring size scales to jawline width, not rule of thumb.
A 4mm pearl pairs with a 4mm jump ring and small lobster clasp, while an 8mm pearl demands the heavier finding.
Balance reads as intention through odd numbers of focal pearls, three or five or seven, where even numbers scan as matched pairs unless graduated.
The clasp carries visual weight equal to roughly one focal pearl; dominate and it becomes the story, disappear and the strand looks unfinished. These proportions are what separates expendable craft from jewelry someone pays for.
Freshwater and Saltwater on the Bench
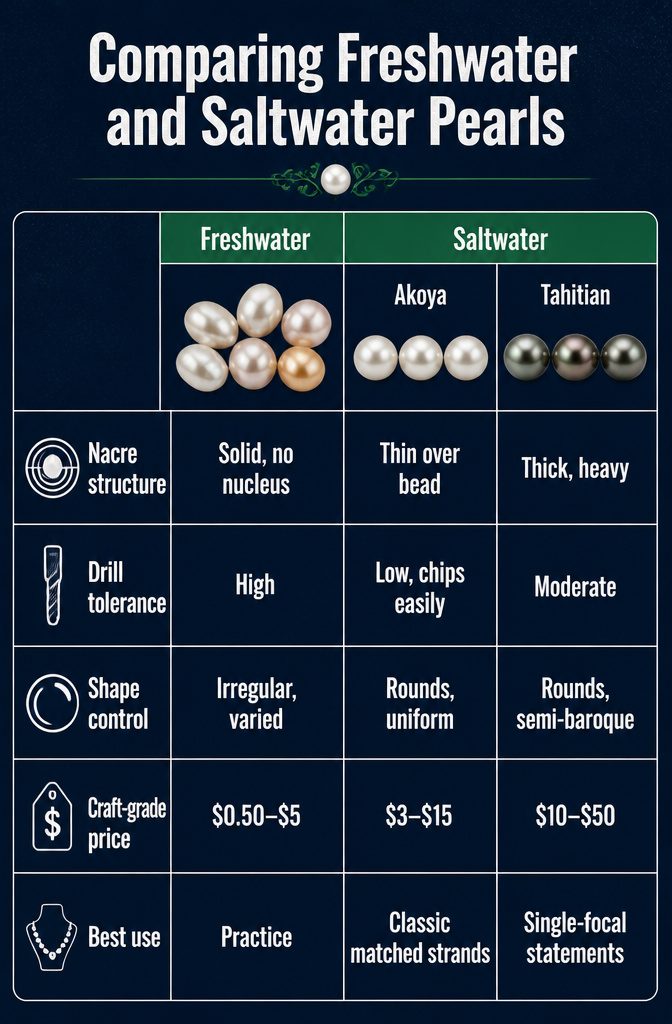
Freshwater pearls carry 100 percent nacre, no bead nucleus inside, so a drill bit running warm won’t crack the core the way it can on saltwater stock. That tolerance matters when you’re learning to pierce straight and true.
Shapes run irregular, especially in baroque grades, which forces creative placement in wire-wrapped pieces rather than uniform rows. Craft-grade freshwater runs $0.50–$5 per pearl, cheap enough to bury mistakes in.
Saltwater Akoya gives the roundness that makes classic strand spacing effortless, but the bead nucleus sits under thin nacre.
Let the drill skid even slightly and a chip shows white. At $3–$15 per pearl, I count that as tuition I don’t want to pay twice.
Tahitian pearls run 9–14mm, heavy nacre, dark color that needs no dyed findings to set it off, and $10–$50 per pearl. One ruined drill hole stings.
| Freshwater | Akoya | Tahitian | |
|---|---|---|---|
| Nacre structure | Solid, no nucleus | Thin over bead | Thick, heavy |
| Drill tolerance | High | Low, chips easily | Moderate |
| Shape control | Irregular, varied | Rounds, uniform | Rounds, semi-baroque |
| Craft-grade price | $0.50–$5 | $3–$15 | $10–$50 |
| Best use | Practice, wire-wrapped irregulars | Classic matched strands | Single-focal statements |
I start students on 8mm freshwater rounds, shift them to baroque shapes once they read drill angle by feel, and only hand over saltwater after twenty finished pieces. By then they’ve paid for the lesson in cheaper stock.
Frequently Asked Questions
How do you make pearl jewelry?
Pearl jewelry making starts with selecting ready-drilled pearls and matching them to sterling silver findings.
You thread the pearls onto headpins or silk cord, form loops with round-nose pliers or knot between each pearl, then attach clasps and hardware to finish the piece.
A simple necklace takes about 20 minutes to assemble once the layout is set on a bead board.
What types of pearls are best for jewelry making?
Freshwater pearls are the practical starting point because their solid nacre forgives beginner mistakes in tension and spacing. Saltwater Akoya and Tahitian pearls give rounder shapes and finer luster, but their thinner nacre cracks under overtightened wire or cramped knots.
Begin with 6–8mm freshwater rounds, move to baroque shapes for wire-wrapping practice, and switch to saltwater after about twenty finished pieces.
What materials are best for making a pearl necklace?
Freshwater pearls at 8–10mm work well as necklace focal points, paired with a 16-inch sterling silver chain and a 12–15mm lobster clasp.
For stringing, 49-strand nylon-coated stainless steel beading wire bends easily and holds tension for beginners; silk cord with knotting between each pearl protects the strand traditionally.
Match your thread or wire diameter to the pearl’s drilled hole, which typically runs 0.4–0.8mm.
Where can I buy real pearls for jewelry making?
Craft-grade freshwater pearls run $0.50–$5 per pearl, Akoya $3–$15, and Tahitian $10–$50, which gives a price frame for evaluating sellers. If buying upcycled vintage pearls, test that the drilled holes match modern findings and your chosen wire gauge before purchasing.





