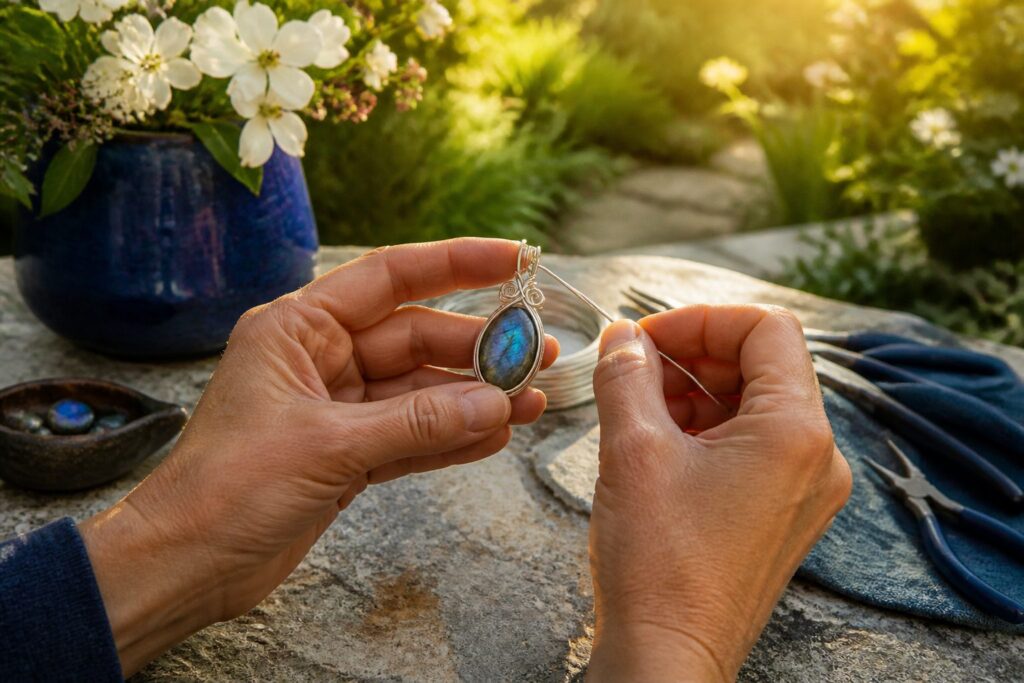
A finished wire-wrapped pendant takes one to three hours, and the difference between the quick ones and the keepers is almost always tension.
Most beginners bend the frame around the stone first, then try to tighten; by then the silver is already scratched and the grip sits lopsided.
The stone goes in only after the front frame is shaped, and matching bends on both sides matters more than forcing them tight.
1. Select Materials
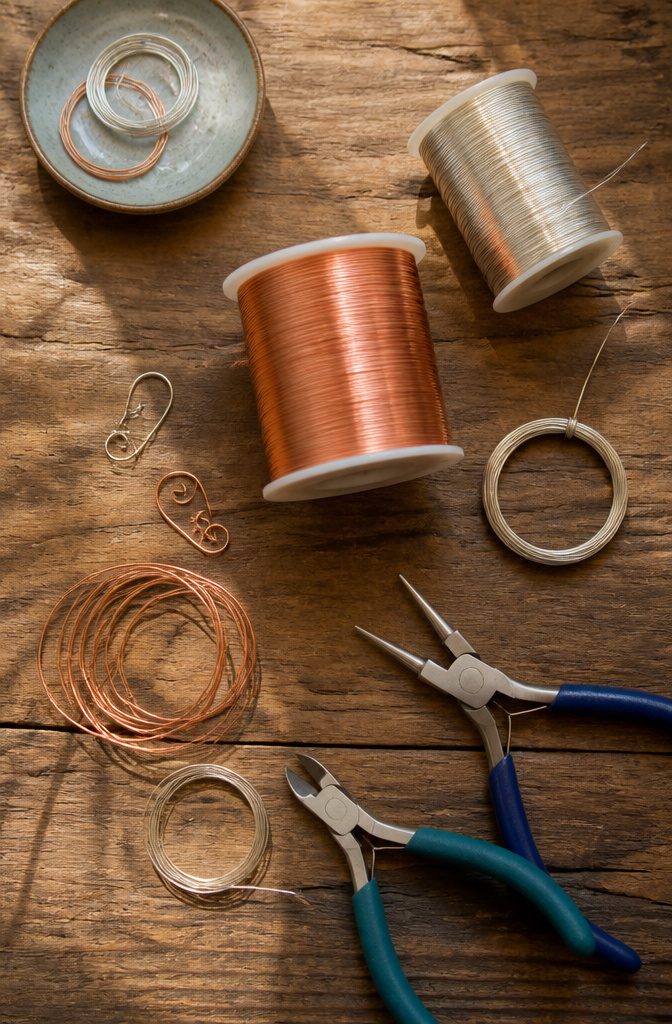
Copper wire belongs in your first cart because it moves without fighting back. The metal is soft enough to forgive crooked wraps, and a spool costs a fraction of what sterling or gold-filled runs.
I keep a few gauges on hand: 18 to 22 for frames and general wrapping, 28 when the design calls for fine coils or detail work, and 10-gauge stock for clasps that take real stress.
Dead soft temper is what you want for all of it, since every bend you make work-hardens the metal and can eventually snap it.
Sterling silver comes next, stiffer than copper but still workable and kind to most skin.
Gold-filled holds its color longer than brass, which tarnishes fast and traps grime in wrapped joints. Memory wire keeps its coil shape and suits quick beaded bracelets or chokers where you do not need a clasp at all.
The tool list stays short: wire cutters, round-nose pliers for loops, and chain-nose pliers for gripping flat surfaces and sharp angles. Bent-nose pliers help with fine detail, though they are not required to start.
2. Create the Base
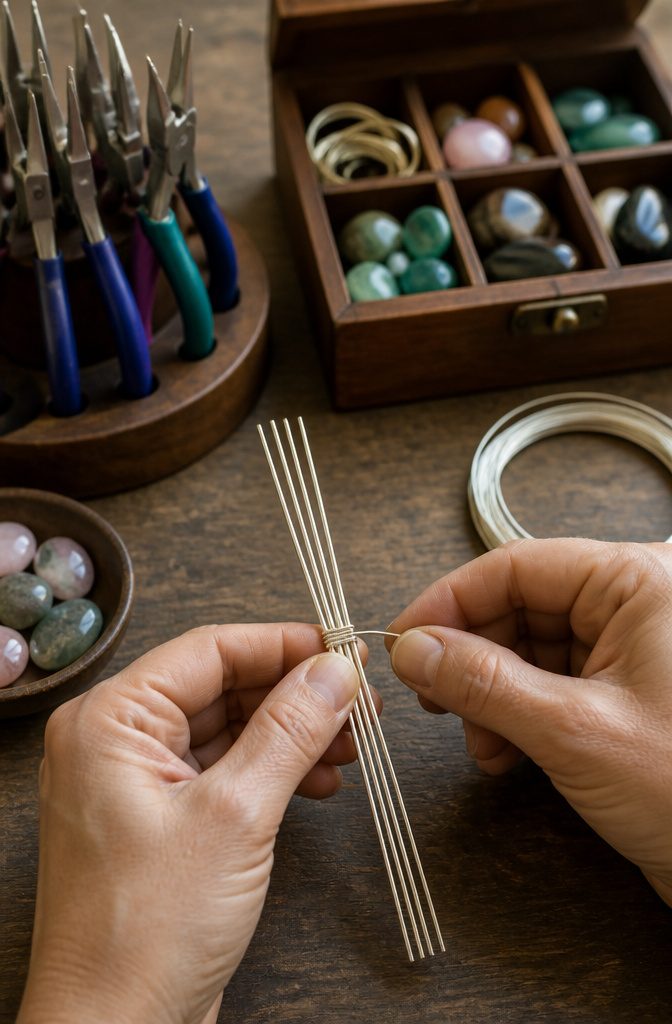
Cut four lengths of round wire to roughly the same length, using 18-22 gauge wire, then add a two-foot length of half-round wire for the wrapping.
Exact measurements for any given project are not standard; sources do not specify them, and experience says it is safer to cut more than you think you need.
Gather the four shorter wires and wrap the half-round wire around their center.
Flatten that wrapped section with pliers and continue until you have about an inch of wrapped wire, or roughly the size of the stone you intend to set. This flat section becomes the seat the stone rests on.
The wires extending from that cluster will eventually bend around the stone itself.
For now, the task is building a frame that matches the stone’s outline. Anchor wraps, two to four depending on size and shape, hold the thicker wires together; bends placed after those wraps must follow the stone’s edges exactly.
An oval or teardrop might manage with two anchor wraps, one near each side of the bottom.
A larger or irregular cabochon needs more. A bend in the wrong place means straightening and rebending, which is why getting the base flat and centered now saves work later.
3. Wrap and Secure the Stone
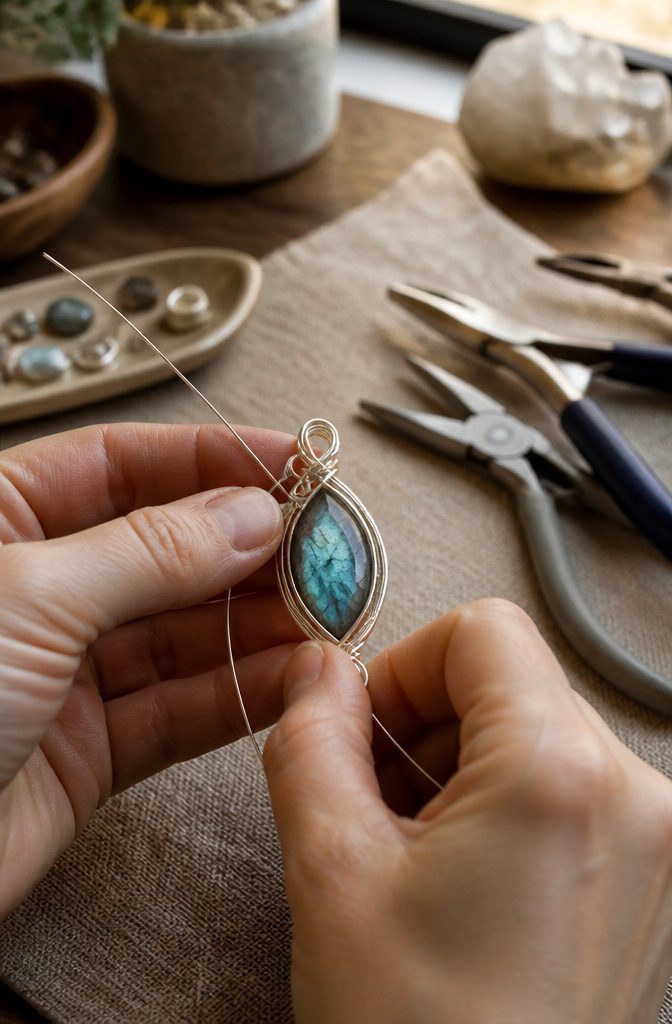
The stone goes in only after the front of the frame is already bent to shape; doing the bends first keeps the silver wire from getting scratched by repeated tool contact.
Once the stone is seated, the frame wires get bent around it, and matching the bends on both sides matters more than making them tight if the stone is symmetrical at all.
A lopsided grip looks careless even from a distance.
Tension is what keeps the stone from shifting, not length. Too little and the stone rotates; too much and the wire work distorts or the stone itself takes pressure it was not cut to handle.
I check the back as carefully as the front, since uneven rear wires telegraph through to the front once the piece is worn.
The bail can wait or not. Sometimes the two loose top wires get wrapped and bent back before the stone is locked in; other times the stone security comes first and the bail follows.
Either works, but finishing the bail with half-round wire or with the frame’s own tails gives a cleaner back than leaving extra ends visible.
4. Create the Bail
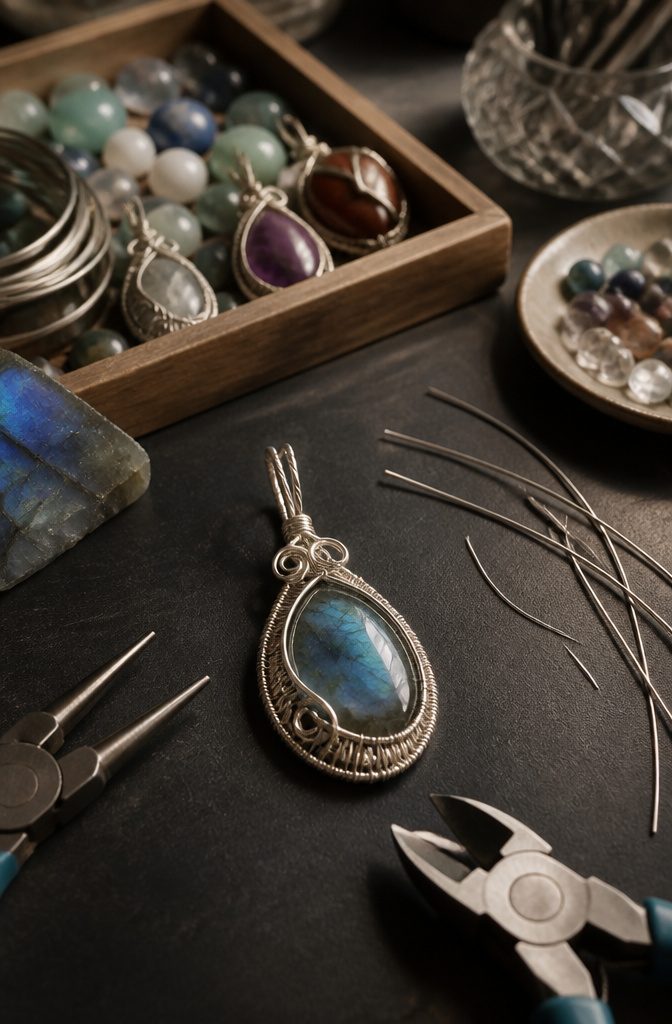
The bail is the loop at the top of a wire-wrapped piece that lets you thread a chain or cord through.
I usually build it from two of the back wires after closing the frame, wrapping them together and bending them into a loop that sits centered above the stone.
A bail placed even a millimeter off-center will tilt the whole pendant forward or sideways when it hangs, so I check the balance before I commit to the final bend.
Some makers finish the bail before securing the stone; others wait until after. I prefer to shape it early, since the wrapped wire at the top also closes the frame and locks the stone in place.
The wrapped section itself becomes a design element, and you can carry the same half-round wire down into decorative swirls or loops around the base rather than trimming it flush.
Either way, the bail carries weight as well as looks, so the wraps need to be tight and the loop large enough for your chain to pass through without catching.
5. Add Decorative Elements
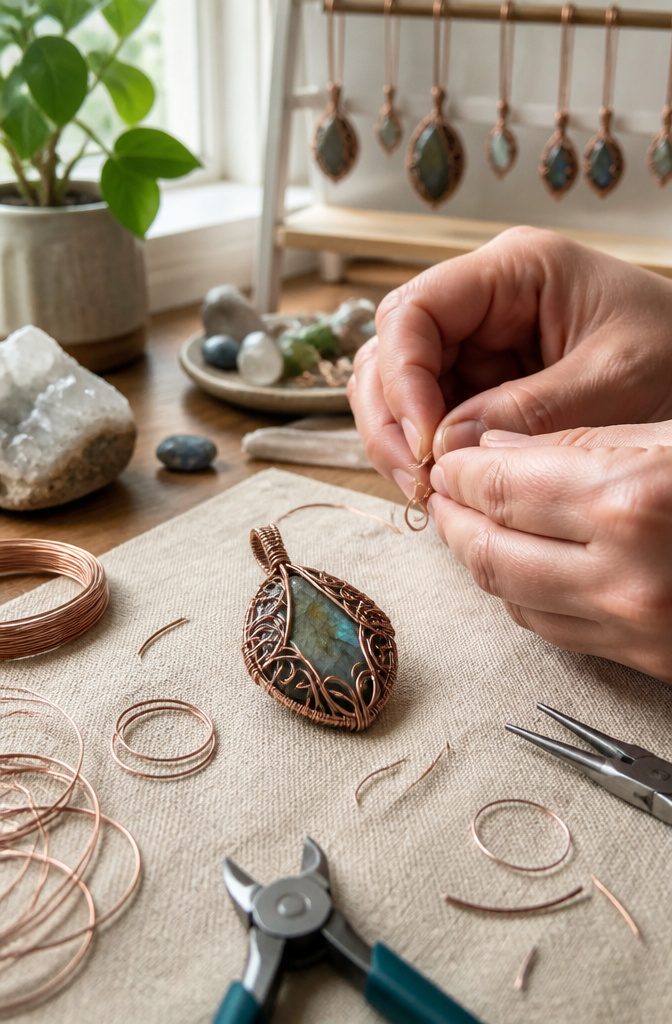
Once the stone sits tight and the bail is set, the leftover frame wires are where a piece shifts from functional to personal.
I loop the ends into small swirls, drape them around the bail base, or coil them down the front for texture.
Some shapes of stone fight back against extra wire, so I keep the embellishment lighter on trickier ones and save the dense coils for easier silhouettes.
This stage is optional. A clean frame with tucked ends is finished jewelry, and no rule says you must add more.
But the coils and loops are where I notice a maker’s hand most clearly, and where my own style has actually developed over time.
A full piece, from first wrap to final tuck, runs me 1 to 3 hours total. Rushing rarely works; the experimental wraps are the ones that push me toward the longer end, and sometimes they fail and get clipped off.
I still try them. The 90-minute pieces are reliable, but the 3-hour ones are usually the ones I end up wearing.
6. Finish and Tidy Up
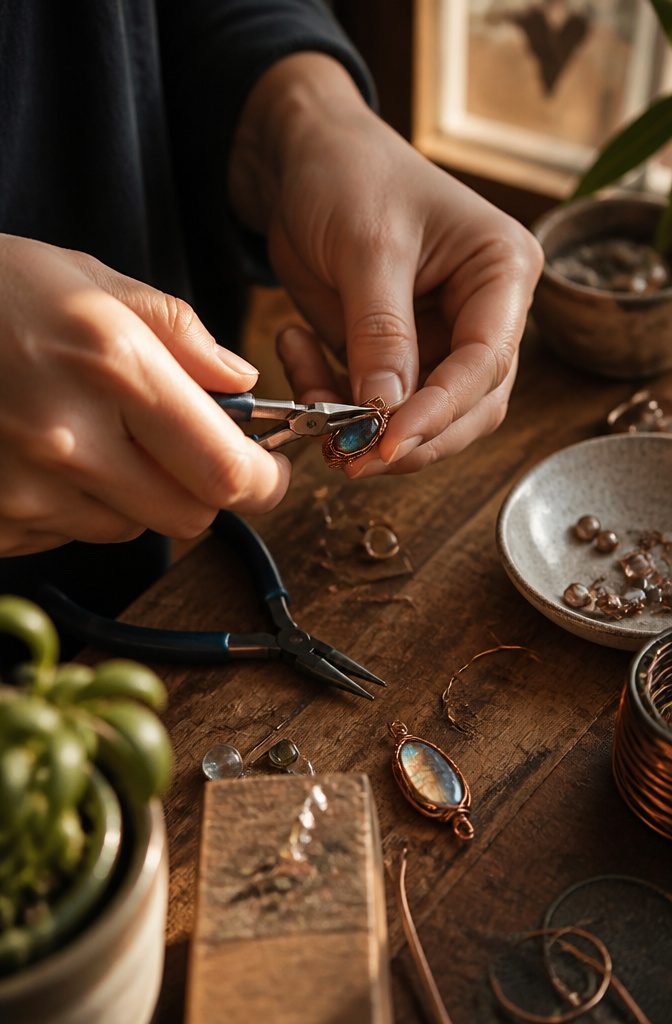
Flush cutters make the difference between wire jewelry you can wear and wire jewelry that snags every sweater you own.
I always trim with the flat side of the blade pressed toward the finished coil, which leaves a cut so clean you barely feel it with a fingertip.
Wire ends that stick up even a millimeter will catch skin or clothing, so after snipping I run chain-nose pliers over every termination point, pinching anything that isn’t perfectly flat against the surrounding wrap.
Some instructors teach tucking wire ends under coils for security, but I’ve found that leaves the coil itself looser over time.
Leaving the end snug and flush against the surface keeps the wrap tight and the surface smooth, especially with thinner gauges that stay put on their own.
If a stray end still resists, I draw it taut with pliers before the final snip so nothing springs free later. Nylon-tip pliers help here too, since you can press and snug without marring the metal you’ve already shaped.
Work-hardening from all that bending means the wire fights back a little at this stage, which is actually what you want: a stone that shifts in its setting after a week of wear almost always traces back to ends that were not fully secured at the finish.
Wire Types Compared
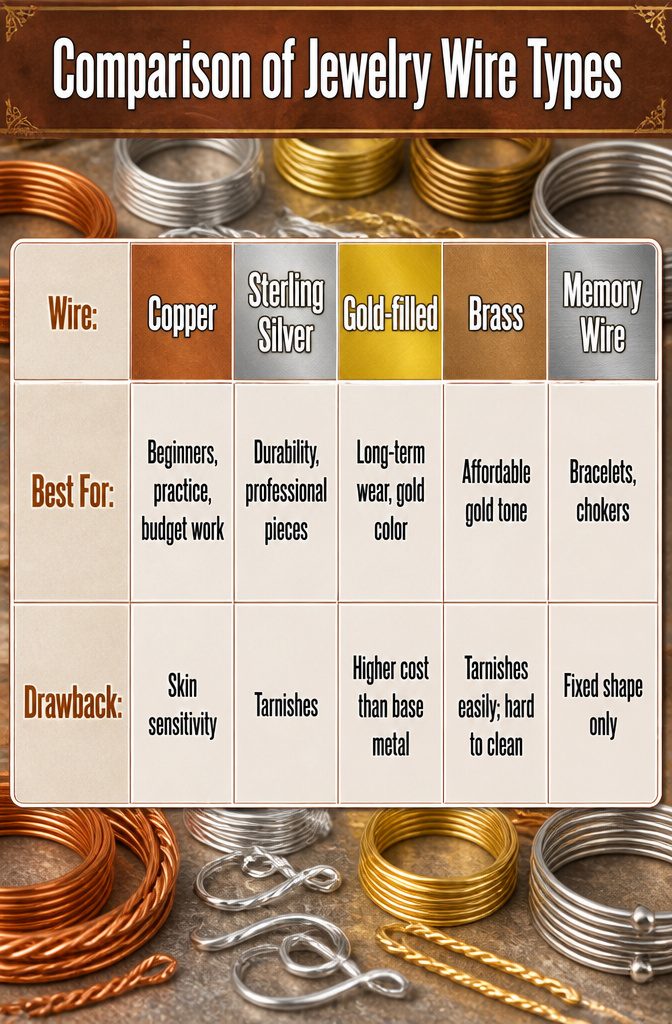
Copper wire is where I started, and it is still the material I reach for when I am learning a new weave or teaching someone their first wrap.
It is soft enough to shape without fighting back, cheap enough that a mistake costs pennies, and it takes a patina that some people prefer to bright metal.
Skin sensitivity matters more than price: more people react to copper than to sterling silver, so earrings and rings meant for daily wear need thought.
Sterling silver is stiffer, holds its form better under stress, and carries a weight that reads as quality. It will tarnish, which means a polishing cloth lives in your kit if you use it often.
Gold-filled wire gives the color and longevity of gold without the solid 14-karat price tag; the layer is thick enough to last through years of wear, not a plating that flakes off in months.
Brass gets you a gold tone at a lower price, but it tarnishes fast and the crevices of a wrapped design make cleaning tedious.
Memory wire is a different category entirely: it keeps its coil no matter how often you take the piece on and off, which makes it practical for quick bracelets and chokers though it offers no flexibility of shape.
| Wire | Best For | Drawback |
|---|---|---|
| Copper | Beginners, practice, budget work | Skin sensitivity |
| Sterling silver | Durability, professional pieces | Tarnishes |
| Gold-filled | Long-term wear, gold color | Higher cost than base metal |
| Brass | Affordable gold tone | Tarnishes easily; hard to clean |
| Memory wire | Bracelets, chokers | Fixed shape only |
Project Ideas
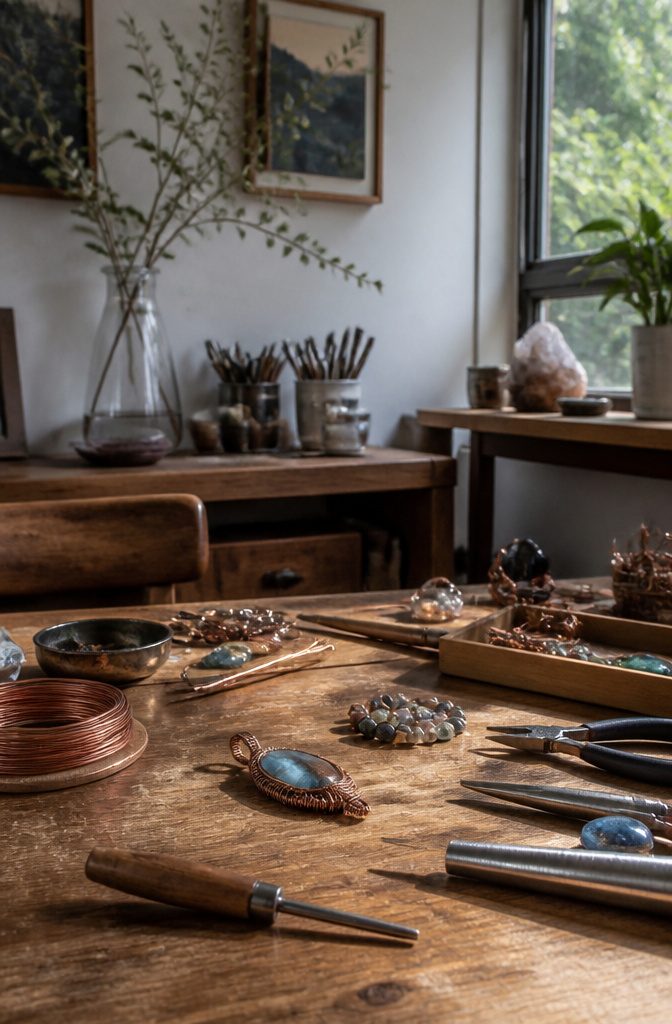
A pendant is the most forgiving first project because gravity works with you, not against you. The same six-step wire wrapping procedure works across three common builds:
- Pendants pair best with 22 gauge square dead soft sterling silver and half-round wire for the frame and bindings. The cabochon sits flat, so you can focus on tension without fighting the stone’s weight.
- Earrings call for finer gauges, 28 gauge or similar, because bulk kills the dangle. Dead soft wire lets you weave delicate coils that stay light; chandelier findings give you a prefab frame to wrap beads onto if freehand shaping still feels shaky.
- Bracelets run on memory wire if you want speed, since it keeps its coil and needs no clasp engineering. For a wrapped-link bracelet, drop to half hard wire so the loops survive the pull of daily wear without work-hardening every joint by hand.
Setting Up a Workspace
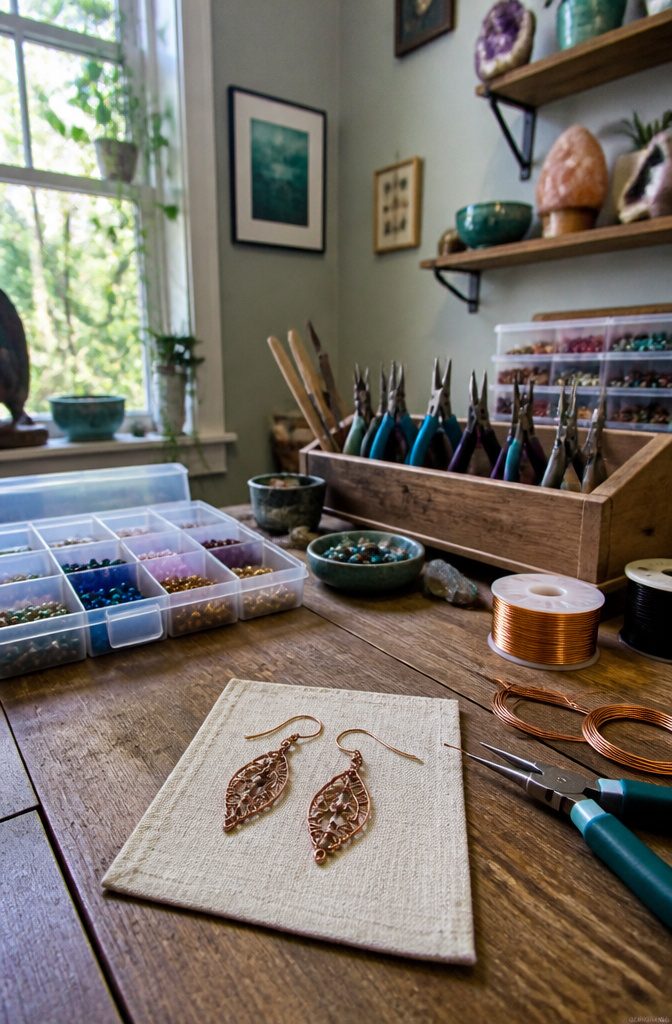
A kitchen table and a comfortable chair are enough to start, though I find that wire rolls quickly become a mess without a system.
File folders for different wire gauges keep spools from tangling, and small bead boxes separate jump rings from finished cabochons.
The tools stay cleaner, too, when each pair of pliers and cutters has its own slot rather than rattling loose in a drawer.
Plastic storage bins work for bulk material, but the items you reach for constantly, round-nose pliers and flush cutters, earn a spot on the work surface itself.
I keep mine in a desktop caddy so I am not digging mid-project. Half-hard 20-gauge wire and your most-used pliers should live within arm’s reach; everything else can wait in the bin.
This same habit carries over to displaying finished pieces. A pegboard or small wall-mounted rack keeps necklaces from knotting and lets you spot what you have at a glance.
At Zabana, we favor storage that protects the metal finish, whether that means anti-tarnish strips in a closed box or simple hooks that do not pinch delicate chains.
A good workspace lets you pick up any tool or any stone without breaking focus, because wire wrapping rewards steady hands and an unbroken rhythm.
Frequently Asked Questions
What materials do I need to start wire wrapping?
You need wire cutters, round-nose pliers, and chain-nose pliers as your core tools, plus wire in a few gauges.
Copper in 18–22 gauge works for frames, 28 gauge for fine detail, and 10 gauge for clasps. Dead soft temper is the right choice for all of it, since bending work-hardens the metal as you go.
How do I wrap a stone with wire?
Bend your frame wires to match the stone’s outline first, then seat the stone and bend the frame around it.
Matching both sides matters more than pulling tight on symmetrical stones, and tension, not length, keeps the stone from shifting. Check the back as carefully as the front, since uneven rear wires show through once the piece is worn.
What gauge wire should I use for jewelry making?
Use 18–22 gauge for frames and general wrapping, 28 gauge for fine coils and detail work, and 10 gauge for clasps that take stress.
Dead soft temper is what you want for all of it. Heavier pendants need thicker wire to support their weight, while earrings call for finer gauges so the dangle stays light.
How do you tie a pendant with wire?
The bail, the loop at the top, is built from two back wires after closing the frame. Wrap them together and bend into a loop centered above the stone.
A bail even a millimeter off-center will tilt the whole pendant when it hangs, so check the balance before the final bend. The loop needs to be large enough for your chain to pass through without catching.
How long does it take to make a piece of wire jewelry?
A full piece runs 1 to 3 hours total.
Reliable, simpler designs land near 90 minutes; experimental wraps with added decorative elements push toward the longer end. The 3-hour pieces are usually the ones worth wearing.
What is the best wire for beginners?
Copper belongs in your first cart because it moves without fighting back and a spool costs a fraction of sterling or gold-filled.
It is soft enough to forgive crooked wraps and takes a patina some prefer to bright metal. Skin sensitivity is the real concern, so earrings and rings meant for daily wear need thought.
How do you finish wire ends so they do not snag?
Trim with the flat side of flush cutters pressed toward the finished coil, then run chain-nose pliers over every termination point.
Pinch anything not perfectly flat against the surrounding wrap. Leaving the end snug and flush against the surface keeps the wrap tight and smooth, especially with thinner gauges that stay put on their own.





