These 8 DIY bracelet designs run from a 20-minute braided cord project to metal stamped leather that needs a bench block and rawhide mallet, with most falling in the hour-long middle ground where beads and chain do the structure work.
The one question that sorts them is whether you want the bracelet to disappear into your outfit or carry its own weight: the simple leather wrap has no clasp to break and fades into daily wear, while the studded punk cuff catches on door frames by design.
For me, the figure that stuck was 3 yards of embroidery floss per color in a chevron friendship bracelet, which is the first pattern I teach anyone who wants to start.
1. Braided Bead Bracelets
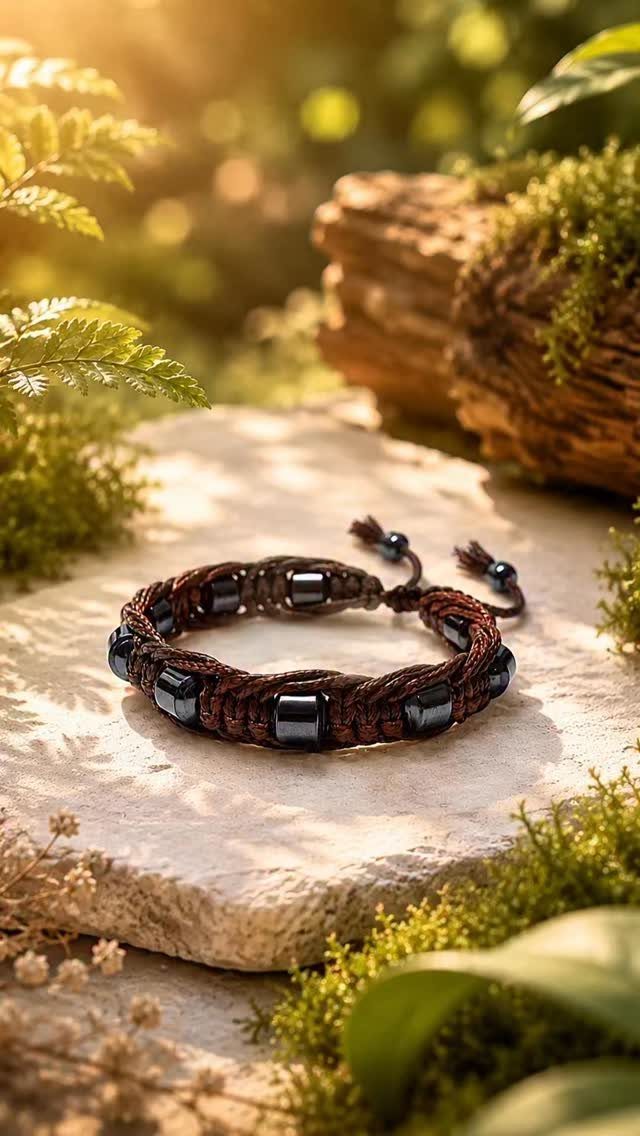
Brown cord and dark metallic beads make a bracelet that works with almost anything in your closet. The braid itself is a simple three-strand, which I learned first and still use when I want something finished in under 20 minutes.
String beads onto one strand before you start braiding, or thread them onto all three for a tighter, more integrated look. Waxed linen cord holds shape better than plain cotton if you plan to wear it daily.
2. Metal Stamped Leather Wrap Bracelet
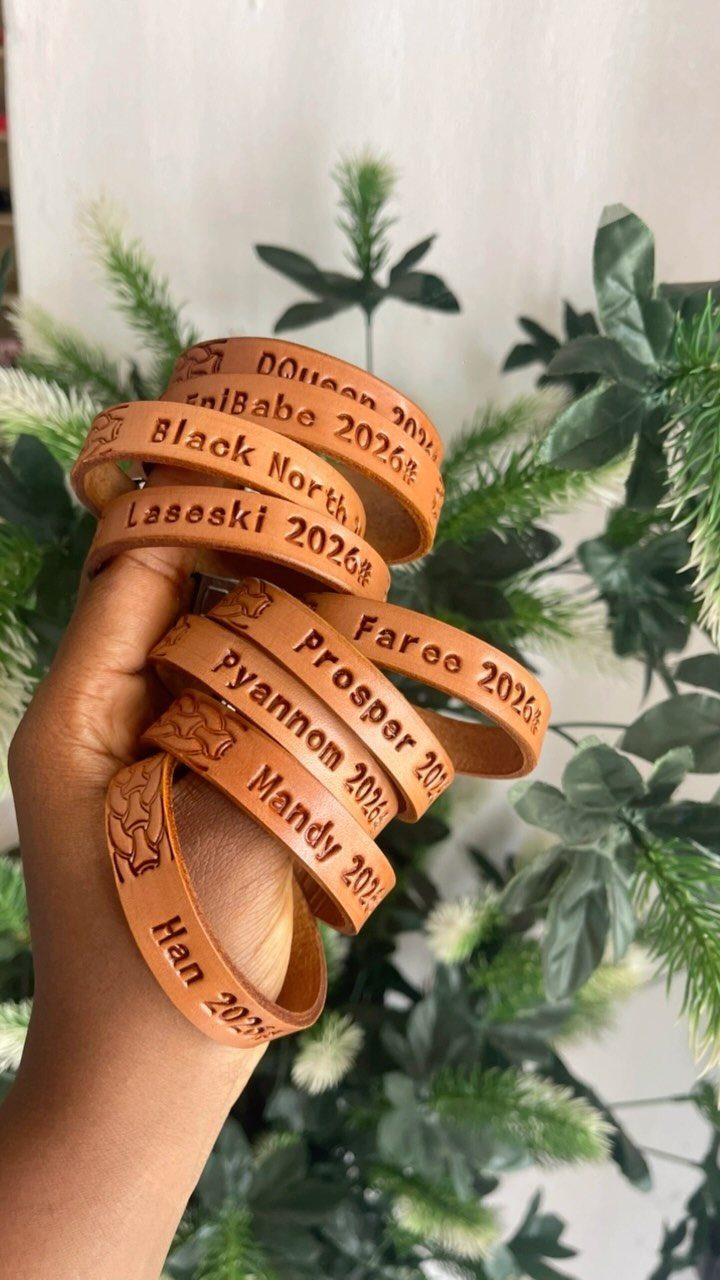
Stamping leather turns a plain wrap into something you would not find in a store.
A metal stamp set is worth buying, and a rawhide mallet matters more than the hammer you already own; steel mallets bounce and blur your letters.
I set my stamps on a steel bench block, but any flat piece of scrap metal works to start.
Practice on the back strip first. Veg tan leather stamps cleanly and ages to a deeper brown with wear, which is what you want for this.
3. Paracord Survival Bracelet
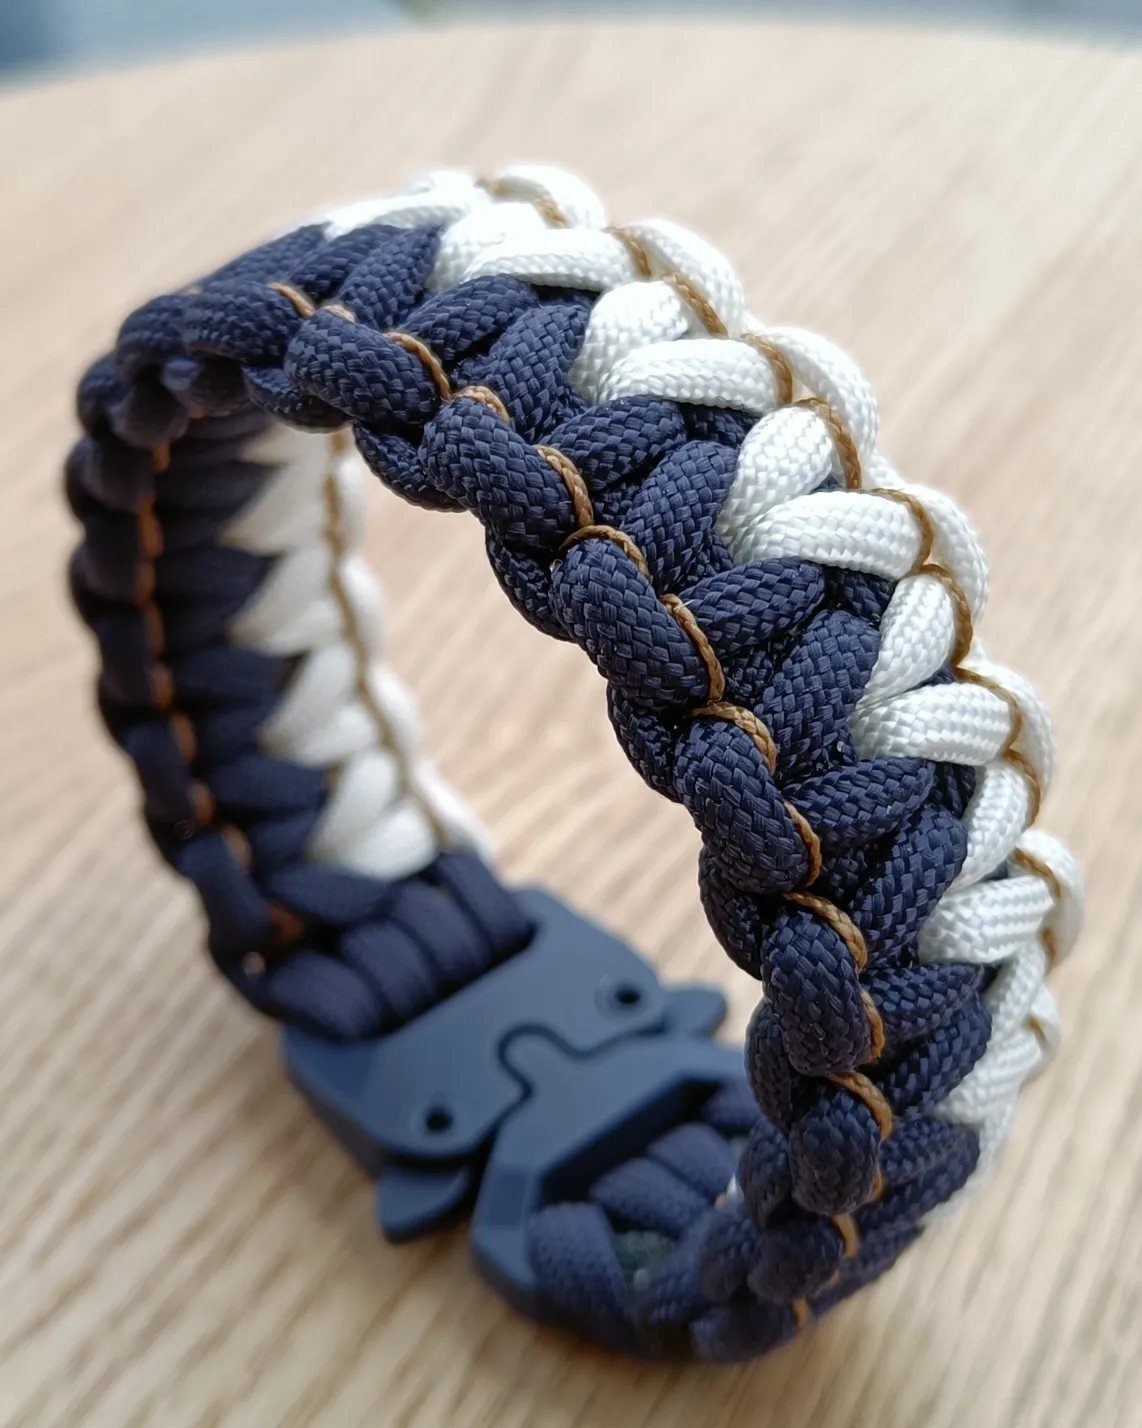
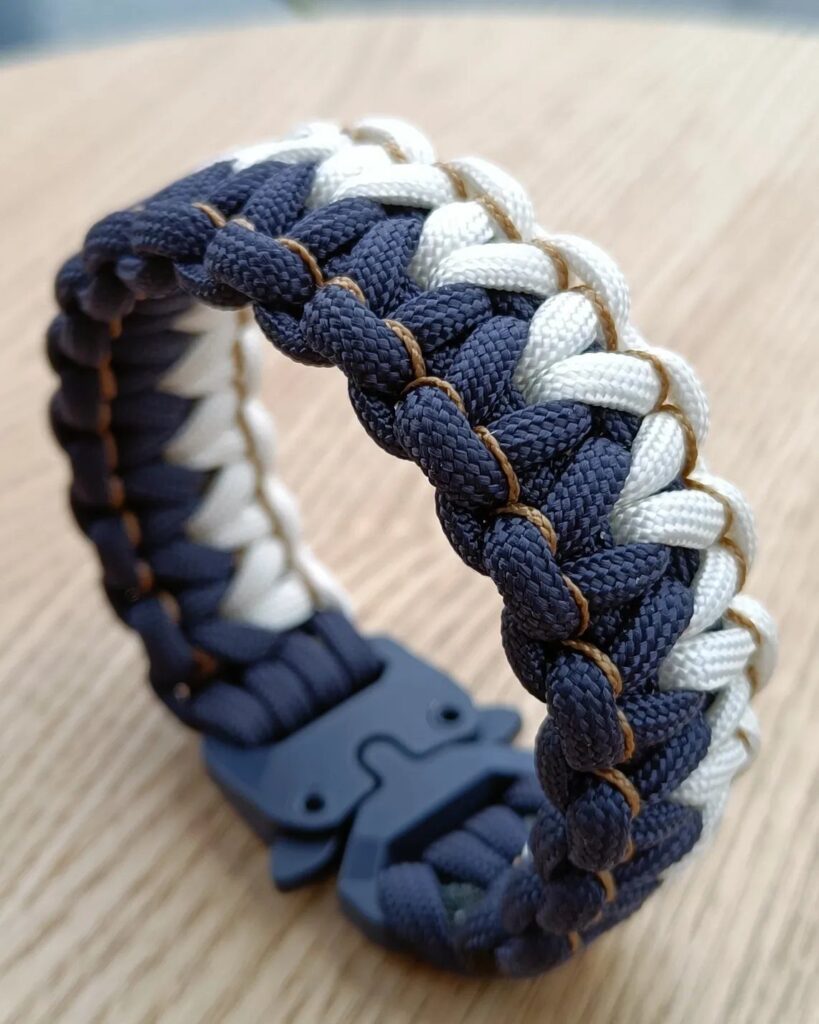
Paracord bracelets started as military gear and stayed useful for anyone who camps or hikes.
The standard cobra knot weave unravels to a useful length of cord in an emergency; Type III paracord is the one rated for heavy load. A plastic side-release buckle makes it easy to take on and off one-handed.
I keep one in my car, though I have never needed the cord for anything worse than tying down a trunk. Weave time drops once your hands learn the pattern, so the first one is the slowest.
4. Chevron Friendship Bracelet
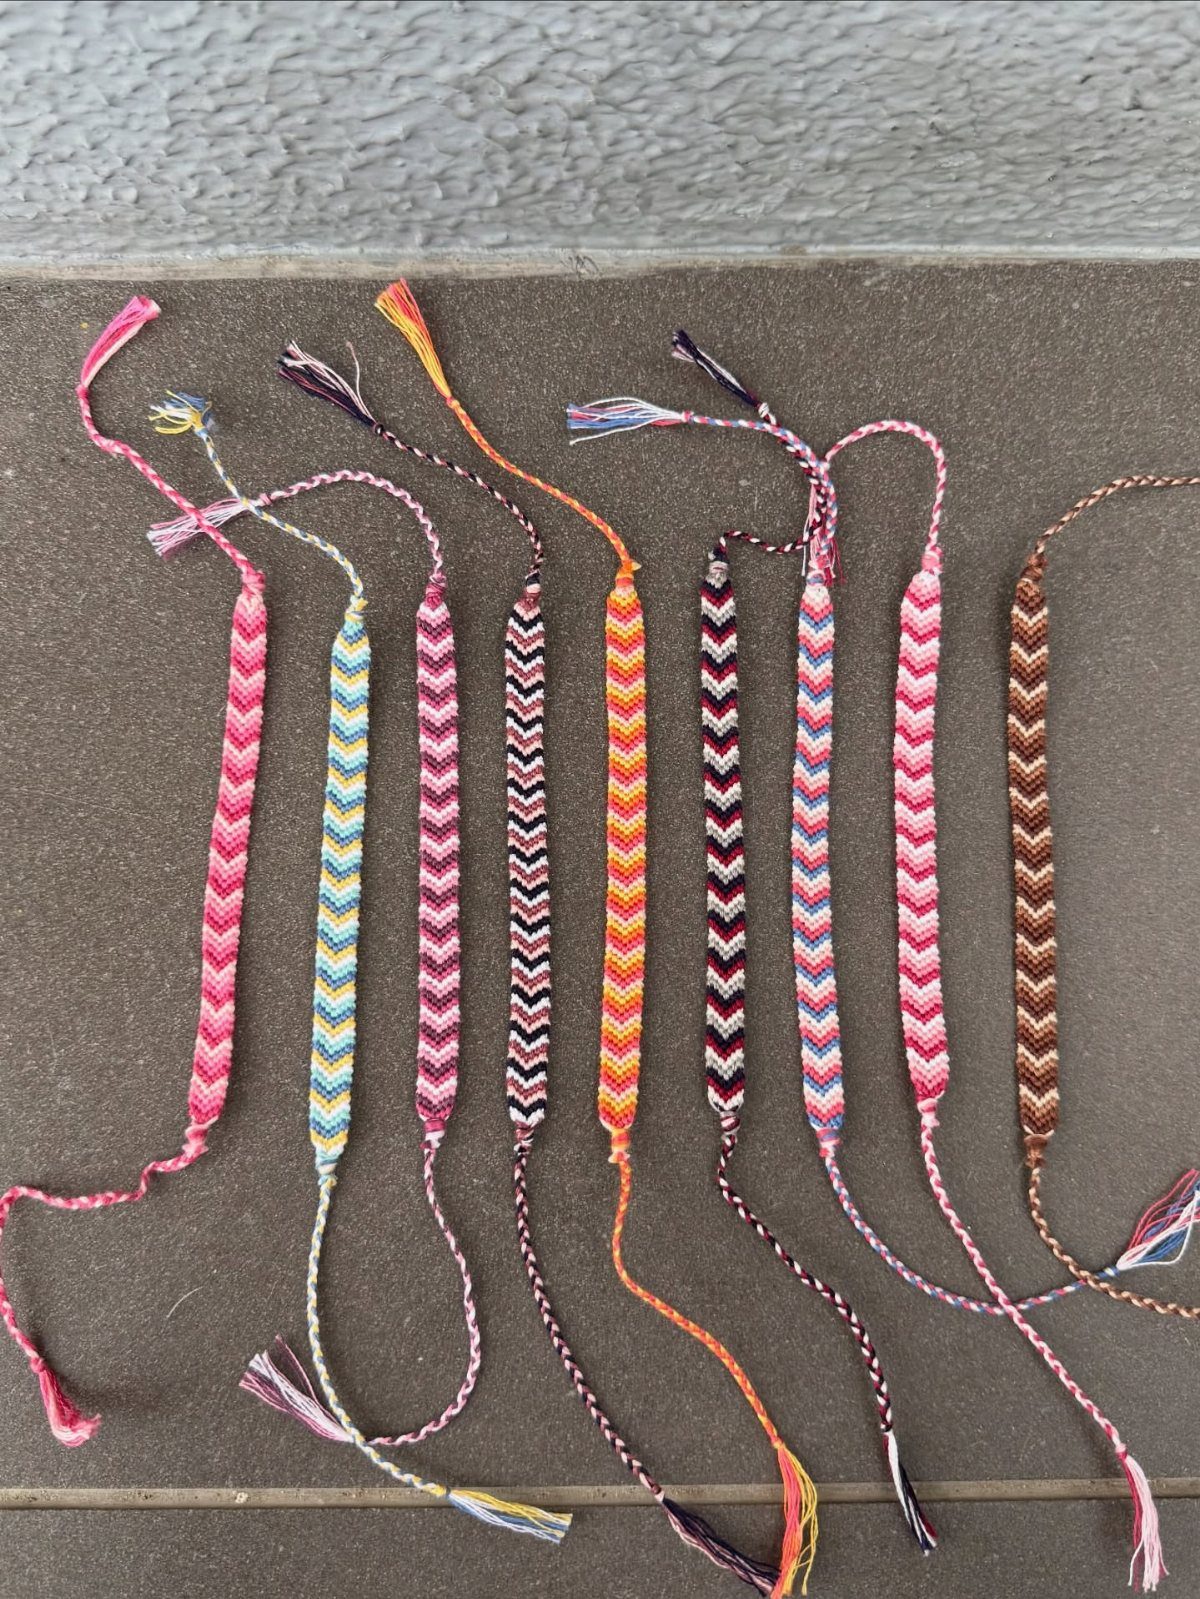
Chevron was the first friendship bracelet pattern I memorized, and it is still the one I teach when someone wants to start.
Bracelets multiply fast once you get the rhythm down. You need embroidery floss in at least two colors, tape to hold one end, and patience for the first inch while the pattern establishes itself.
Each bracelet eats about 3 yards of floss per color. I make them while watching shows; the counting becomes automatic after the third or fourth.
5. Daisy Chain Beaded Bracelets
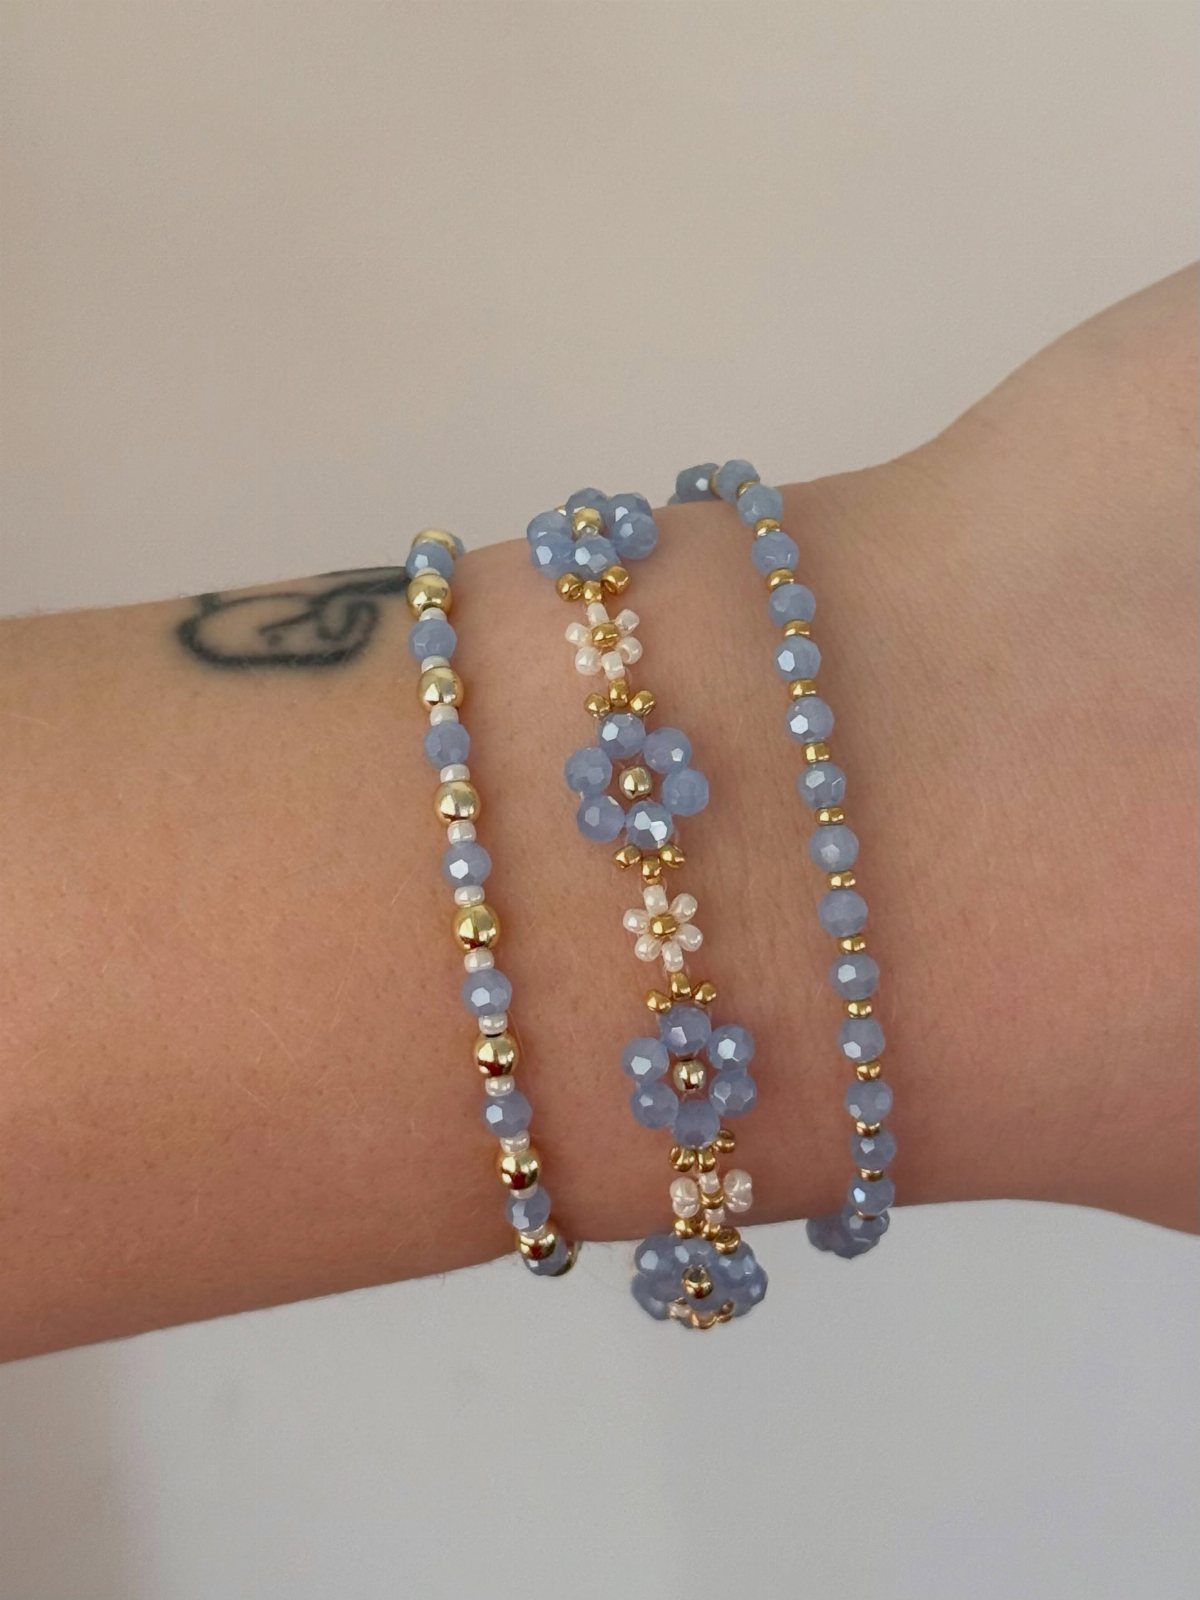
Daisy chain beading looks delicate but the technique is forgiving for beginners. You string a center row first, then loop seed beads around each main bead to form petals; blue and gold work better together than I would have guessed.
A daisy chain works best with uniform seed beads, size 11/0 or 8/0 at about 2–3 mm, since irregular shapes throw off the petal spacing and anything larger builds too bulky a flower.
The floral bracelet sits between two plainer ones in the photo, which is how I usually wear mine too: one patterned piece, two quiet ones.
6. Simple Leather Wrap Bracelets
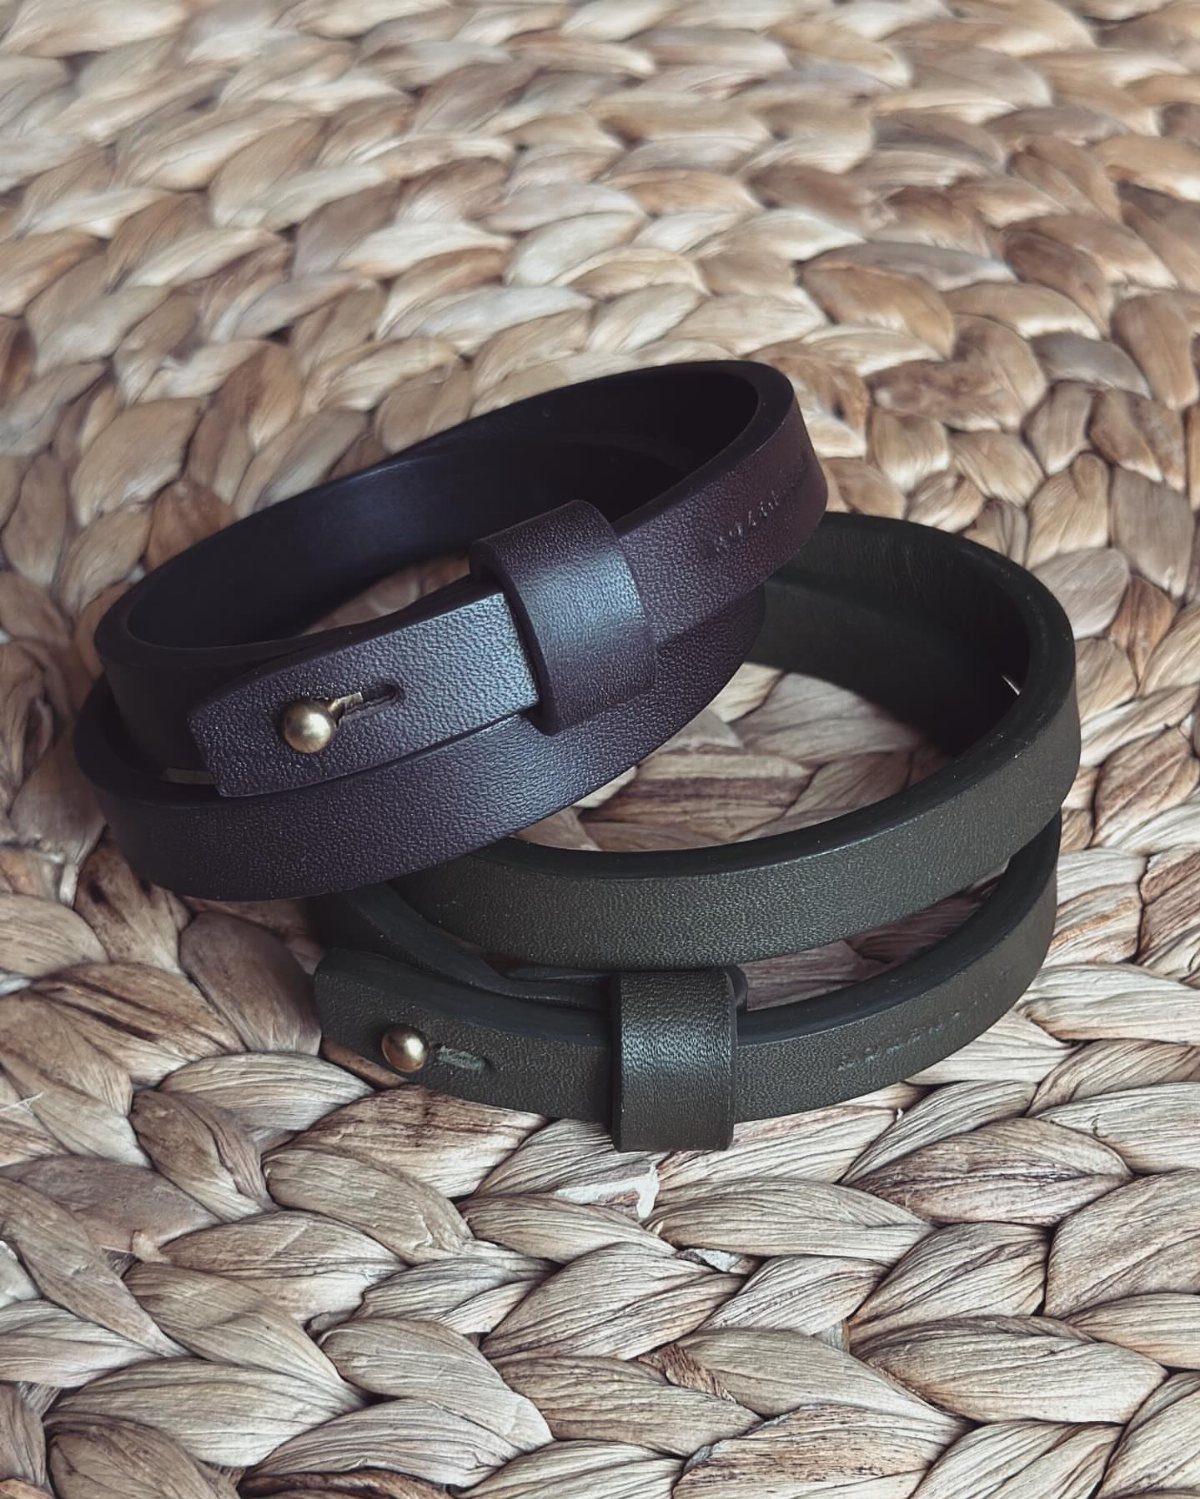
A single strip of leather wrapping twice around the wrist is the bracelet I wear most days.
No clasp to break, no beads to catch on sleeves. Flat leather cord is worth buying by the spool and cutting to your own length; 2 clean wraps with a small knot overlap is the fit I aim for.
Dark brown and olive green both pick up patina from skin oils and sun, which I prefer to the look of new leather. Add a button or bead closure if the knot annoys you during typing.
7. Silver Chain and Bead Bracelet
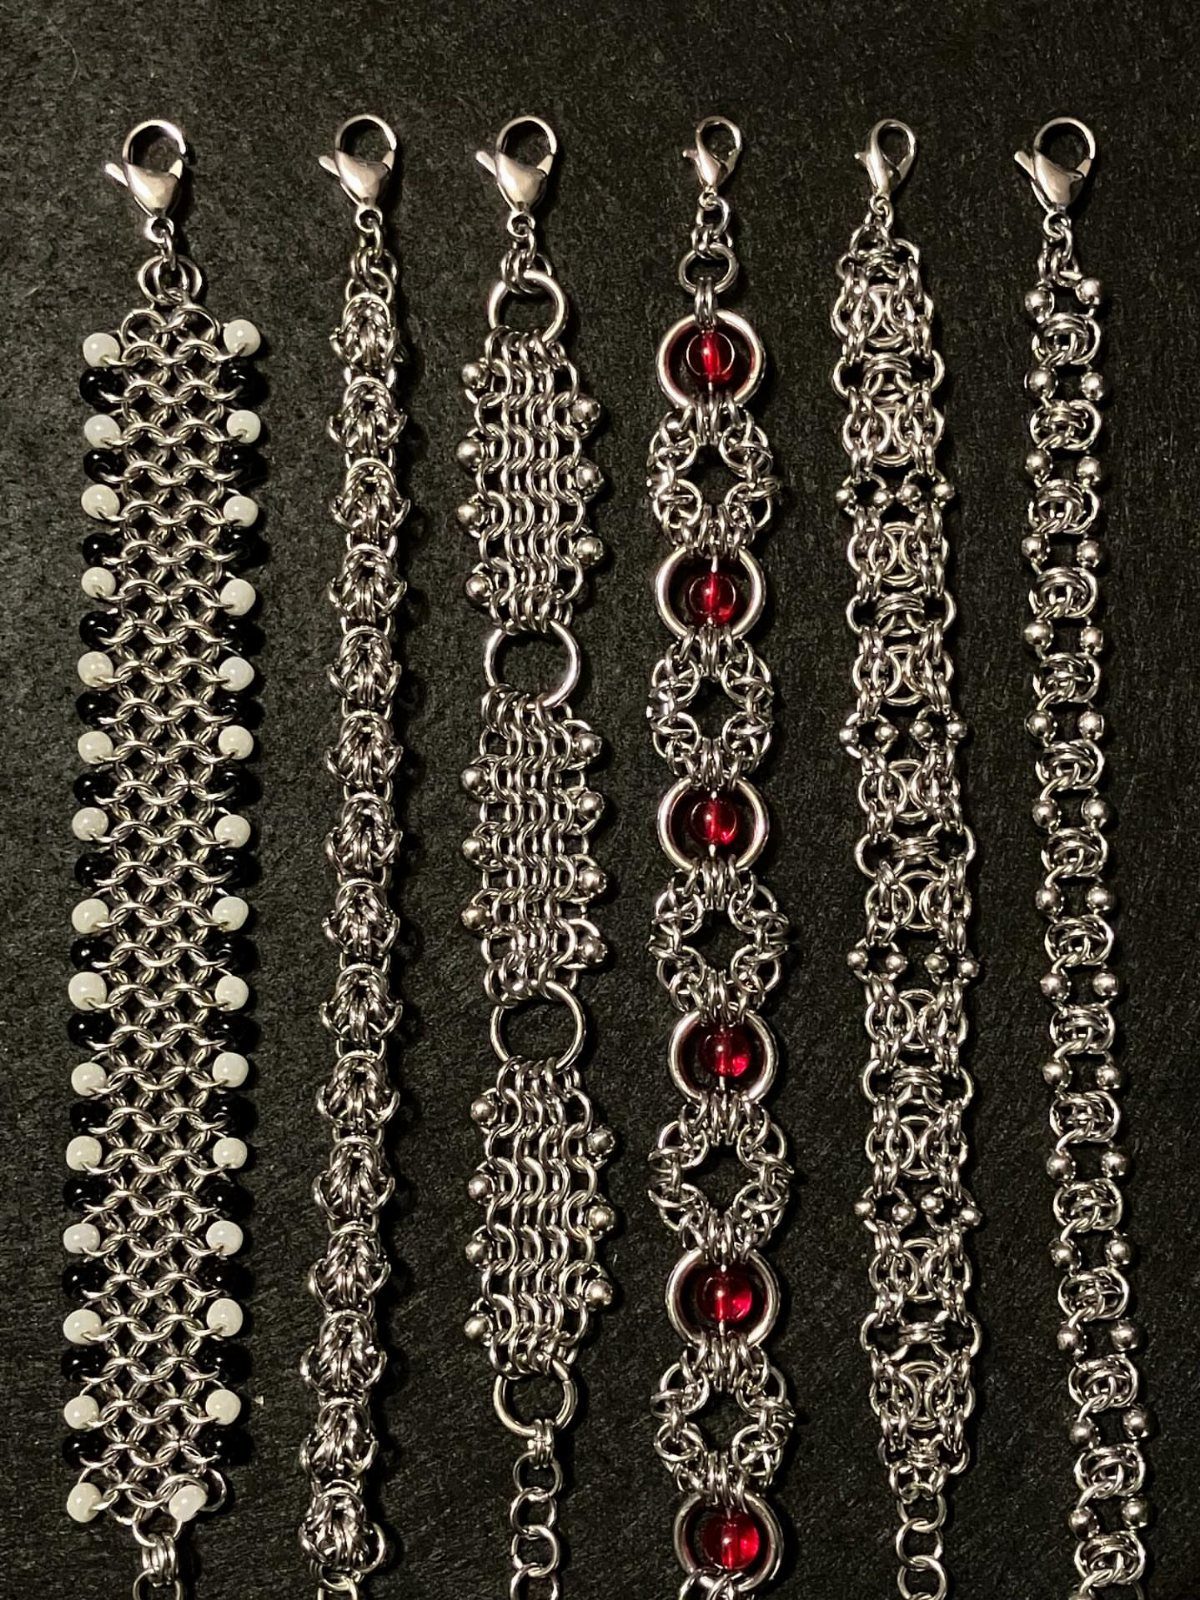
A single chain style can go in 6 different directions depending on which beads you thread and how you space them.
The chain itself does the structure; beads add the accent. I like the black bead version for daily wear, since white ones pick up skin oils faster than I would prefer.
Any small bead with a hole large enough for your chain link works, and crimp beads hold them in place without soldering.
A lobster clasp closes the chain, and you can add or remove links at the end to adjust the fit.
This is the bracelet to make when you want something finished in an hour that still reads as jewelry rather than craft project.
8. Studded Punk Leather Cuffs
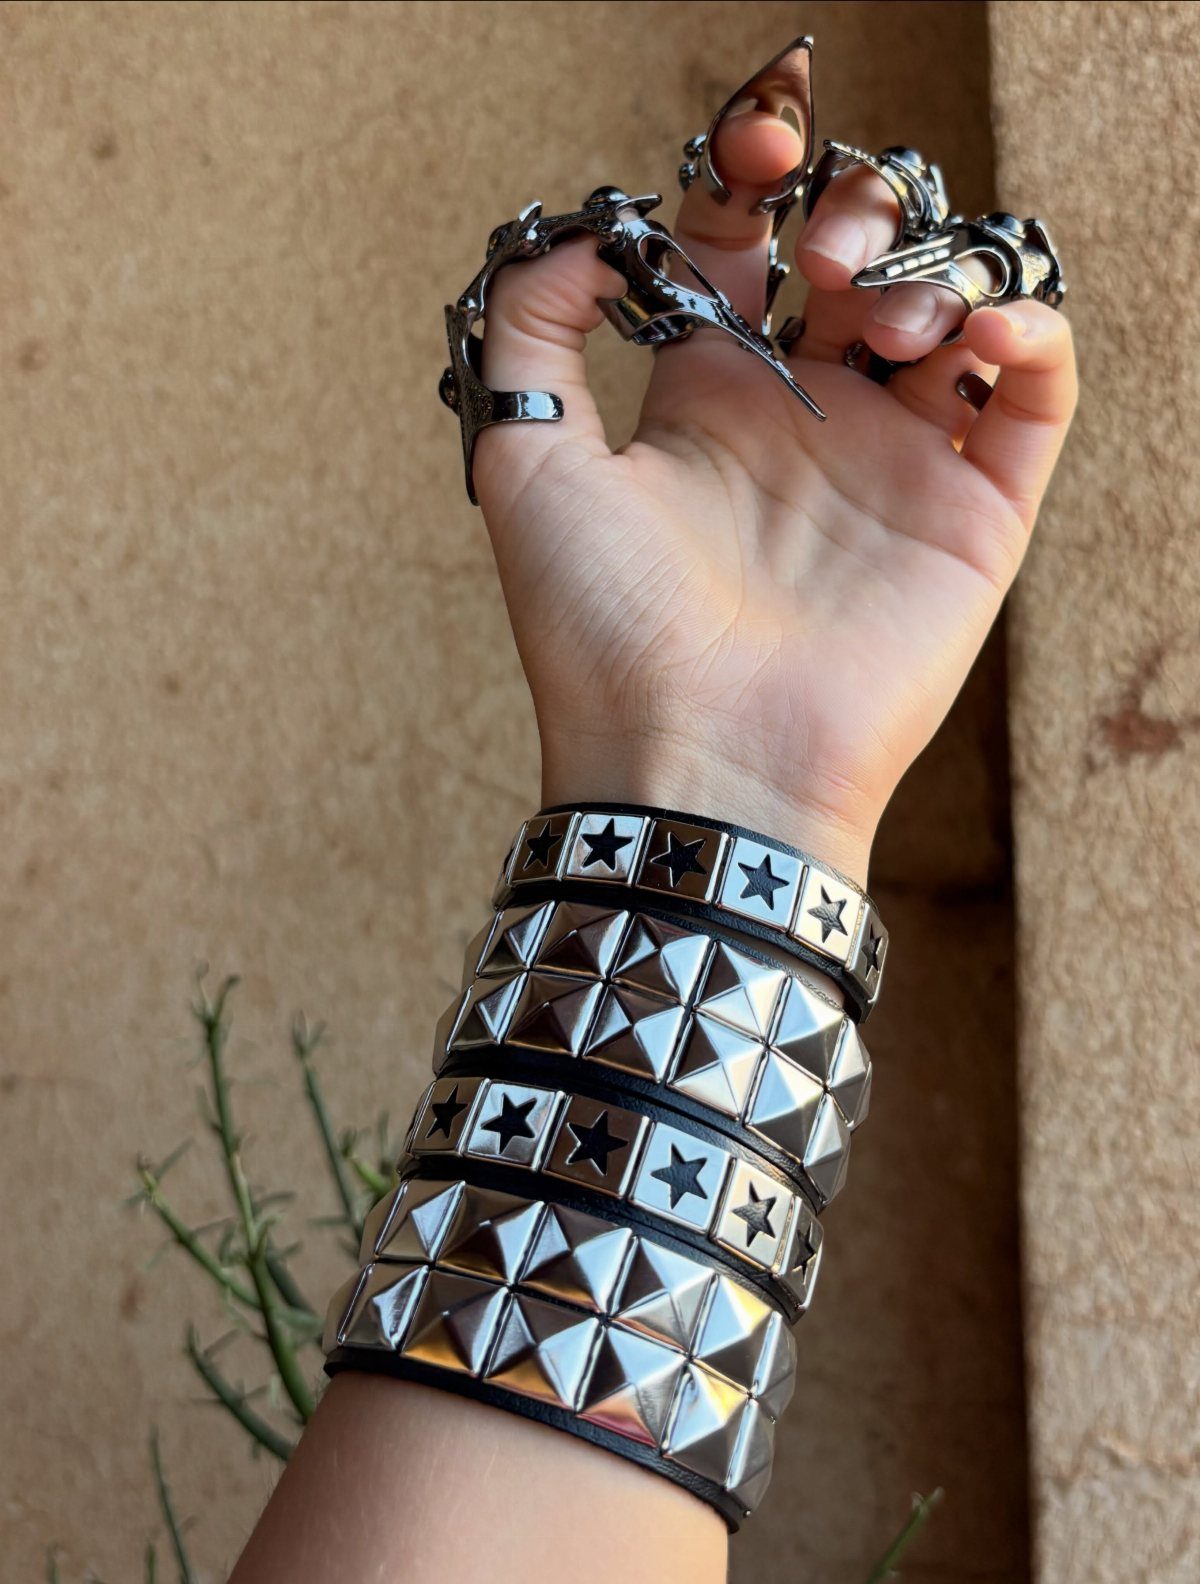
Wide black leather with metal studs carries more attitude than most bracelet styles, and the hardware does the work so your skill level barely matters.
Star studs and pyramid studs both set with a simple prong back that pushes through the leather and folds flat with pliers; no sewing, no glue that can fail.
I would start with a single cuff rather than stacking, since three at once catches on door frames and keyboard trays.
Chrome studs on black leather is the classic for a reason, though antique brass softens the look enough for everyday wear if your workplace is not conservative.
Bracelet Making Supplies
Embroidery floss is the thread that runs through most of these bracelet styles, and buying a few colors beats digging through a mixed pack when you want a specific shade.
I tie my work to a clipboard or flat surface; a safety pin through the starting knot and into jeans works when I am away from a table.
Bead choice changes how a bracelet wears as much as how it looks. Czech glass rounds in 6 mm or 8 mm are the standard for that style.
Crimp beads and a basic plier set finish chain bracelets without soldering.
Frequently Asked Questions
What are some cool bracelet designs?
Braided bead bracelets with metallic accents, stamped leather wraps, and chevron friendship bracelets all stand out without requiring advanced skills. For something with more edge, studded leather cuffs use hardware that does the visual work for you.
My own preference shifts between the simple leather wrap I wear daily and the daisy chain beaded style when I want one patterned piece against quieter bands.
How to make a couple bracelet at home?
Pick matching colors in embroidery floss or leather cord, then use the same technique for both bracelets so they read as a set rather than random matches.
Chevron friendship bracelets work well for this since the color pattern is customizable and the rhythm becomes automatic after the first few inches.
For a more grown-up look, metal-stamped leather wraps let you add initials or a date with the same stamp set across 2 pieces.
What is the two finger rule for bracelets?
Slide 2 fingers flat between your wrist and the bracelet band; if they fit snugly without forcing, the bracelet sits where it should.
Too tight and the piece will mark your skin or snap under stress; too loose and it catches on sleeves or spins to show the clasp.
I check this after finishing any wrap or chain bracelet, since cord stretches slightly and chain links can be added or removed at the end.
How to make a DIY bracelet stand?
A bracelet stand is not covered in the techniques above, though the clipboard and safety pin methods I use for holding work in place could be adapted.
For display, a simple T-bar made from a dowel and base keeps wraps and cuffs visible without tangling; cover the dowel in felt to prevent leather from sliding.
If you make several stands, varying the height lets you layer pieces so each one remains visible.





