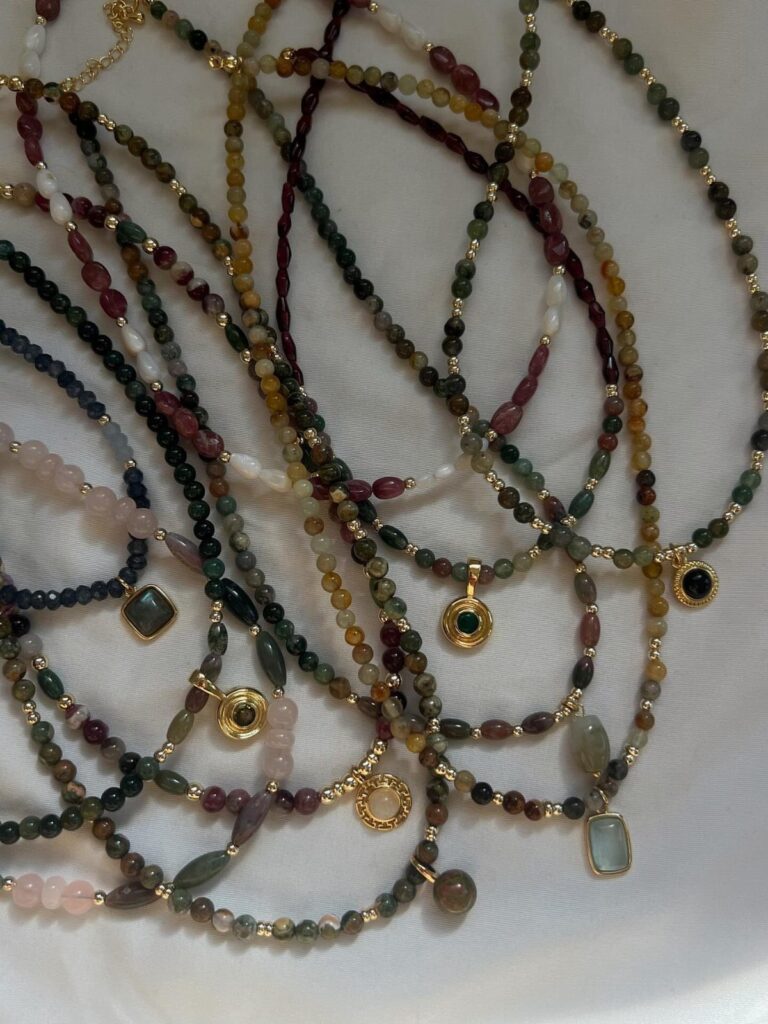
These 8 projects run from a single afternoon of stringing to a woven band that rewards patience with enough density to hold shape without backing.
Your available time and hand coordination decide where you start, not your budget, since acrylic tests a color story for pennies while gemstone commits it.
1. Simple Beaded Bracelet
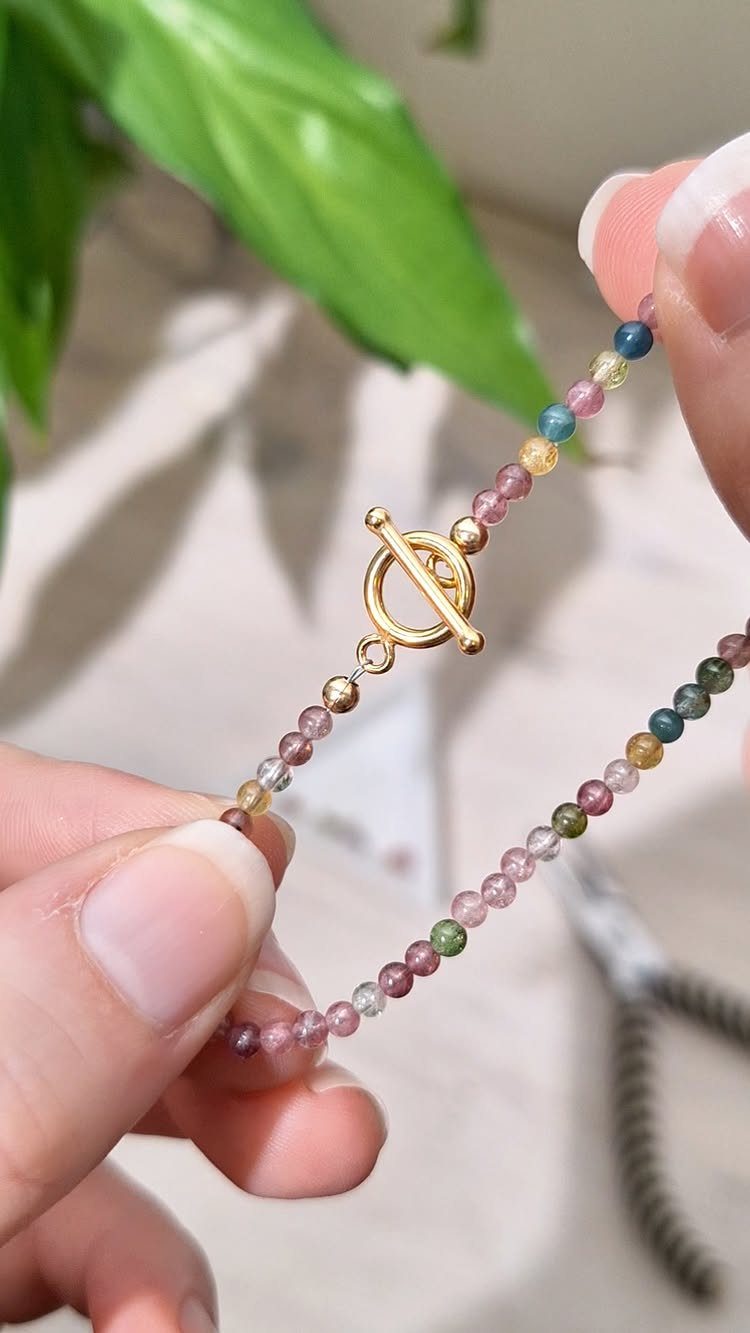
A simple beaded bracelet builds hand coordination without demanding precision you do not have yet. String multicolored translucent beads onto flexible wire, finish with a gold toggle clasp, and you have something that reads as intentional rather than practice.
I like toggle clasps for beginners because you can fasten them one-handed once the loop is sized right.
2. Beaded Earrings
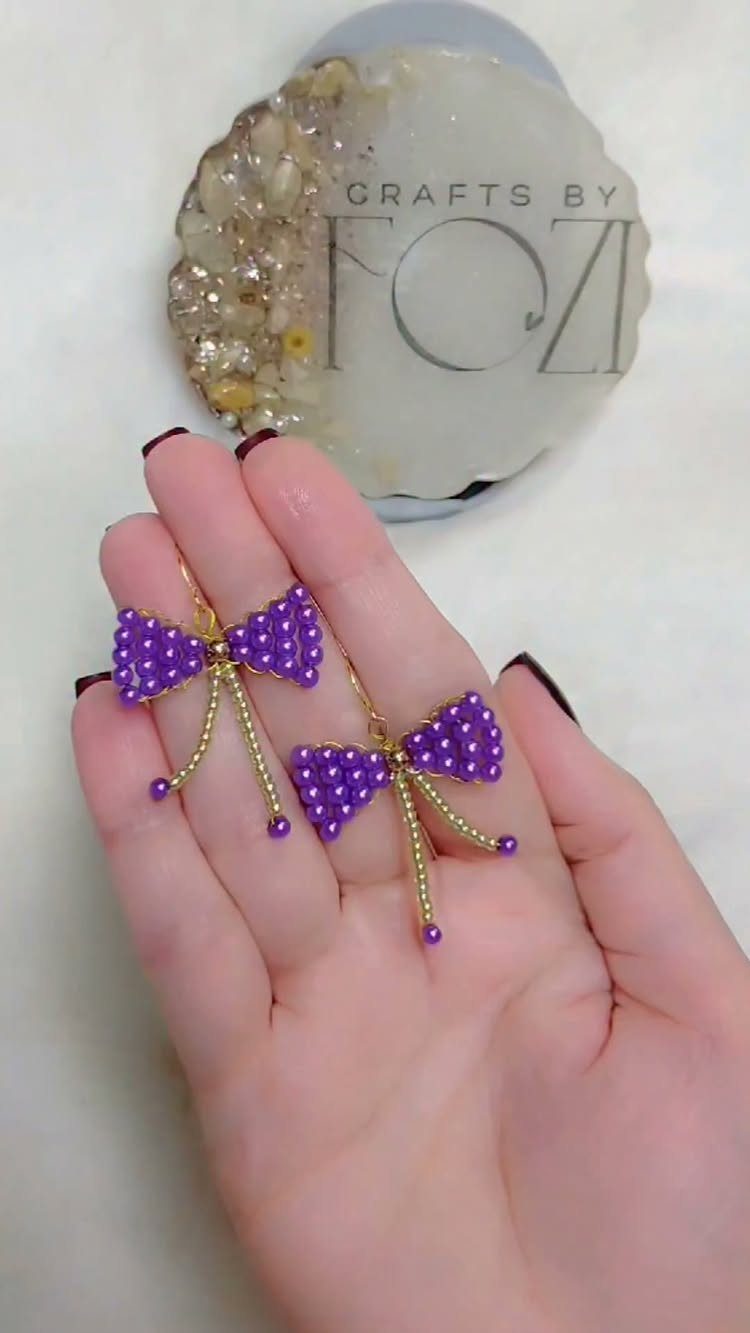
Purple beaded bow earrings work up fast and teach you how to anchor thread to a finding without bulk.
The bow shape hides uneven tension, which is why I point beginners toward dimensional shapes over flat geometric ones. Your first pair will take longer, less once your thread path settles into memory.
3. Glass, Wooden, Gemstone, and Acrylic Beads
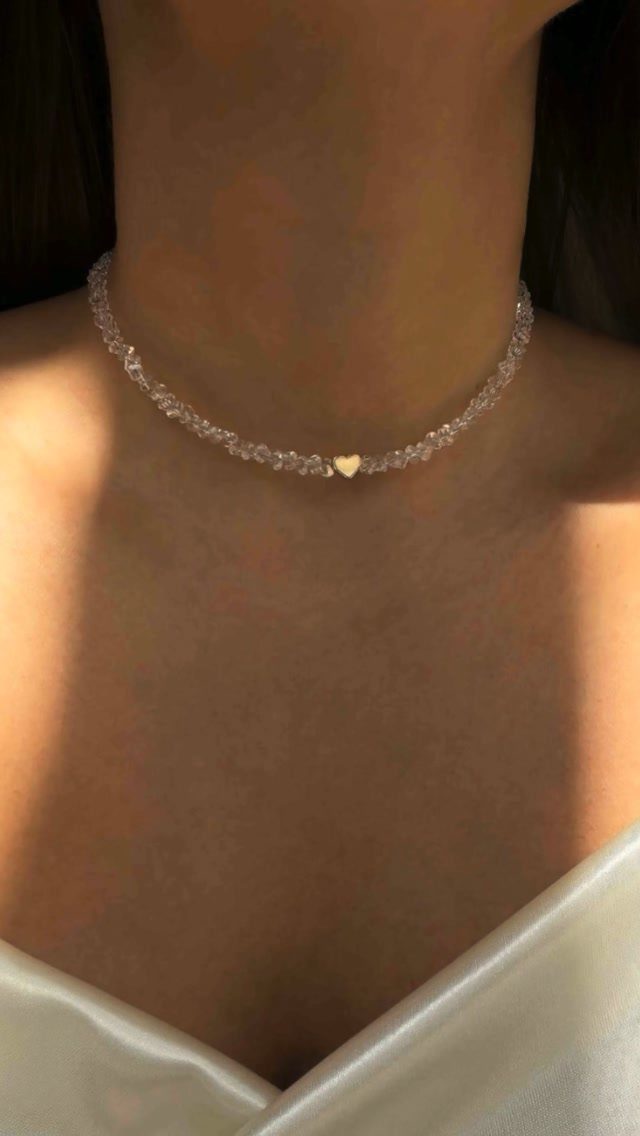
Glass, wooden, gemstone, and acrylic beads each behave differently on the string: glass adds weight and sharp color, wood keeps things light and matte, gemstone varies batch to batch, acrylic is cheapest and most consistent.
I reach for acrylic when I am testing a color story I might later commit to in stone.
4. Colorful Beaded Strand Necklaces
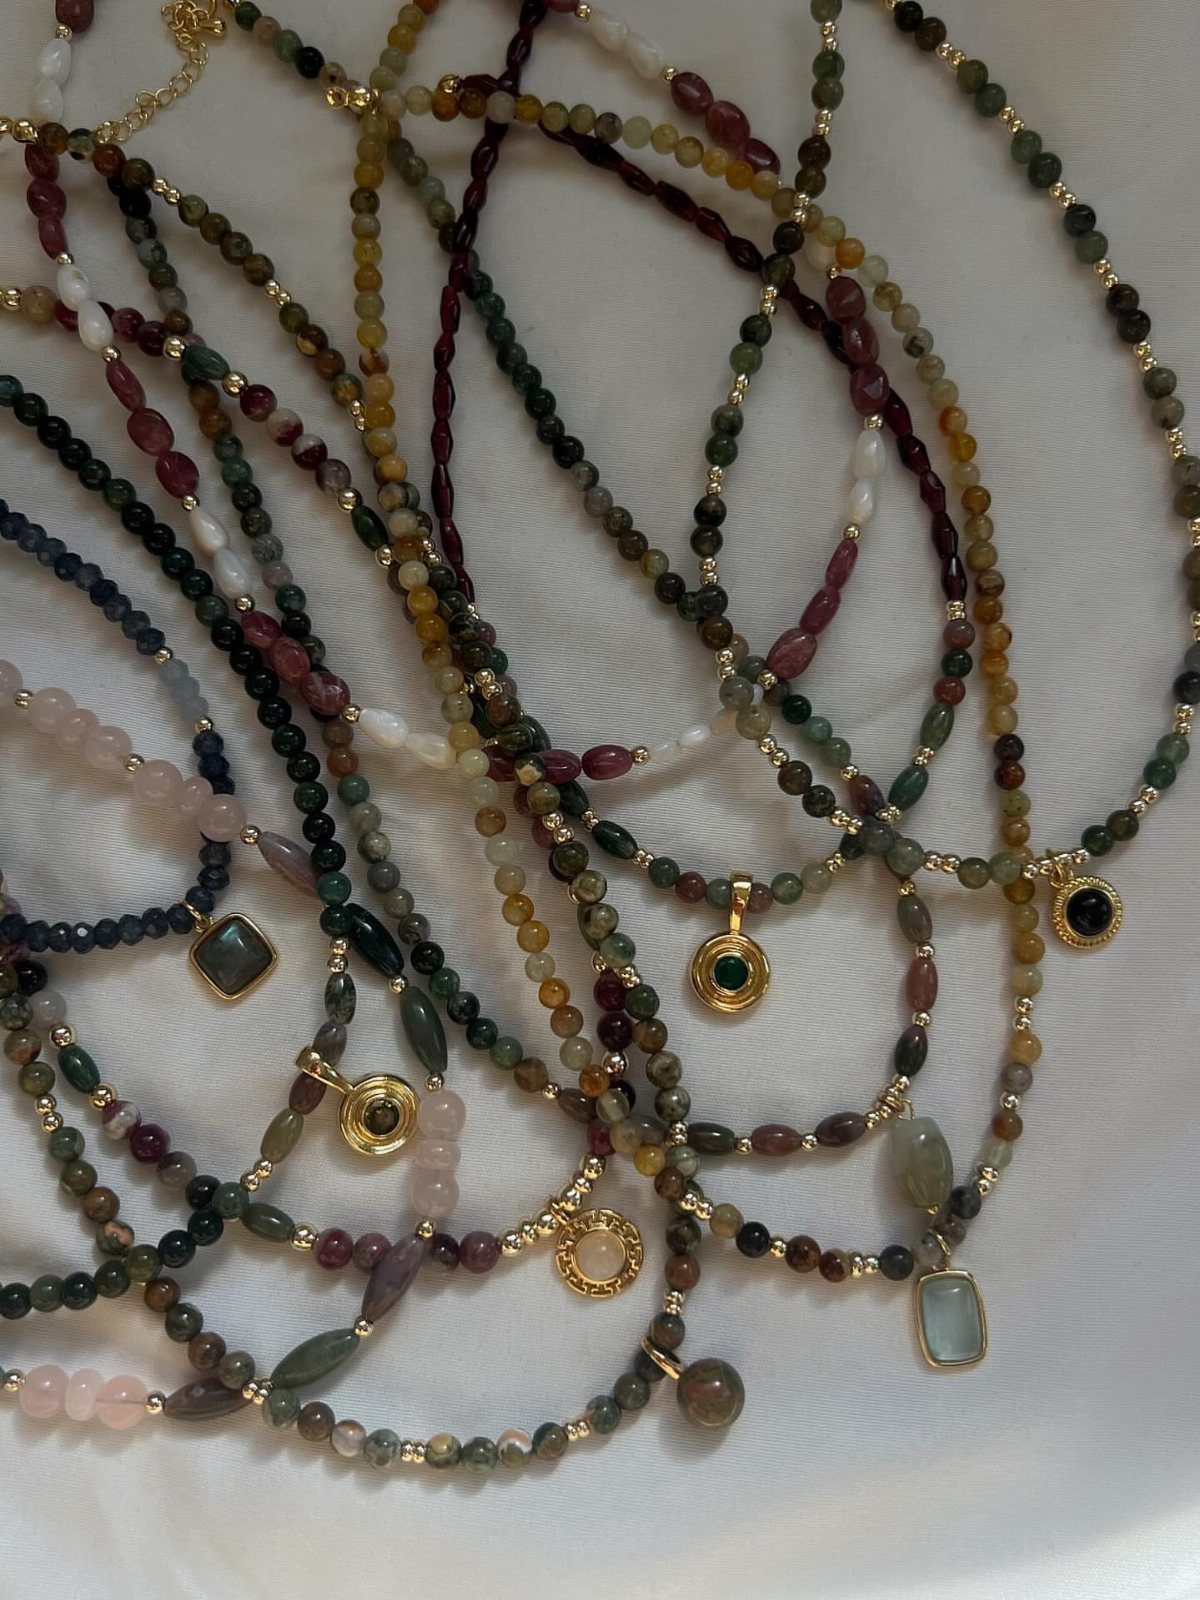
Earthy tones with gold-rimmed pendants layer without clashing, which matters when you are building a necklace wardrobe from scratch.
Strand lengths at slightly different drops so they stack rather than tangle. Gold rims warm up terracotta, olive, and sand beads that can otherwise look muddy against certain skin tones; hold the strands up to your wrist before you commit.
5. Beaded Pearl Choker Necklace
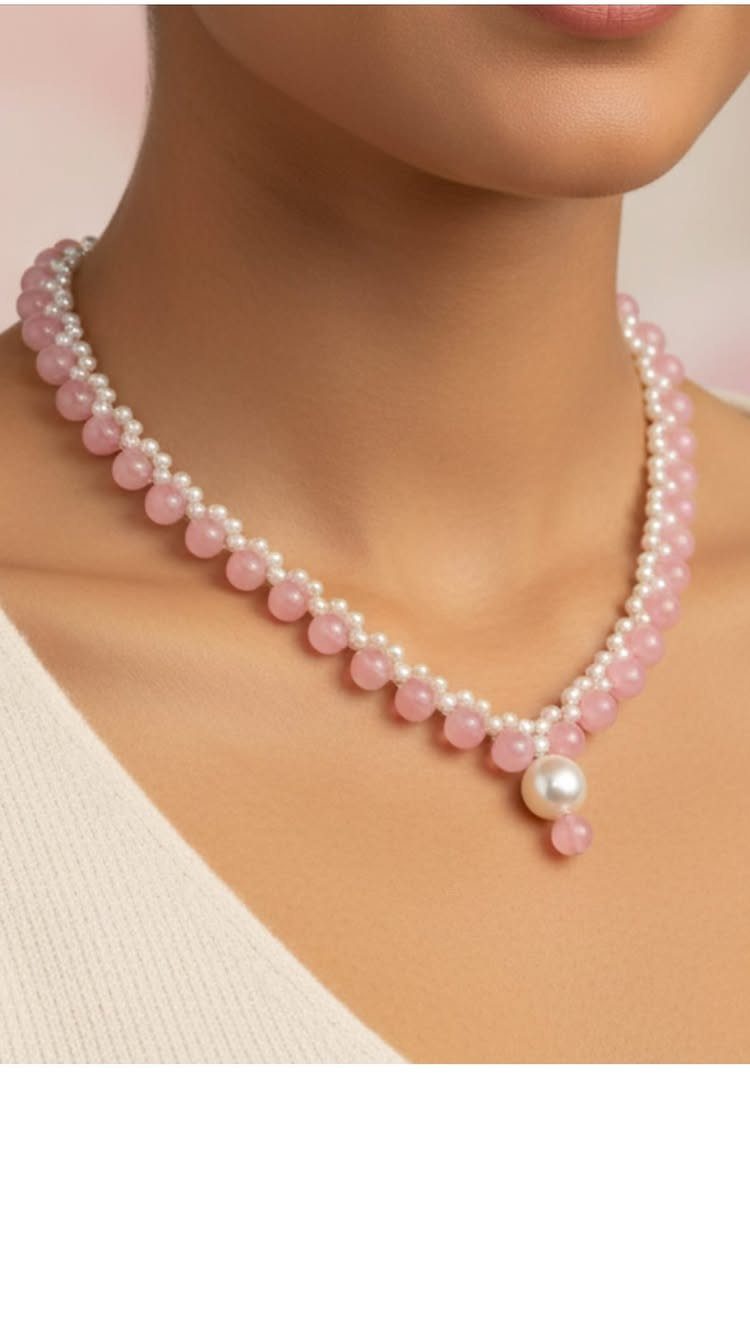
Alternating rows of white pearls and pink beads, with a larger pearl drop at center, need a firm foundation or the choker will sag and twist.
I back mine with ribbon or ultrasuede cut to the finished width, stitching through both layers so the beads sit proud and the back stays clean. The drop wants a thread loop, not a head pin, so it moves.
6. Woven Beaded Band
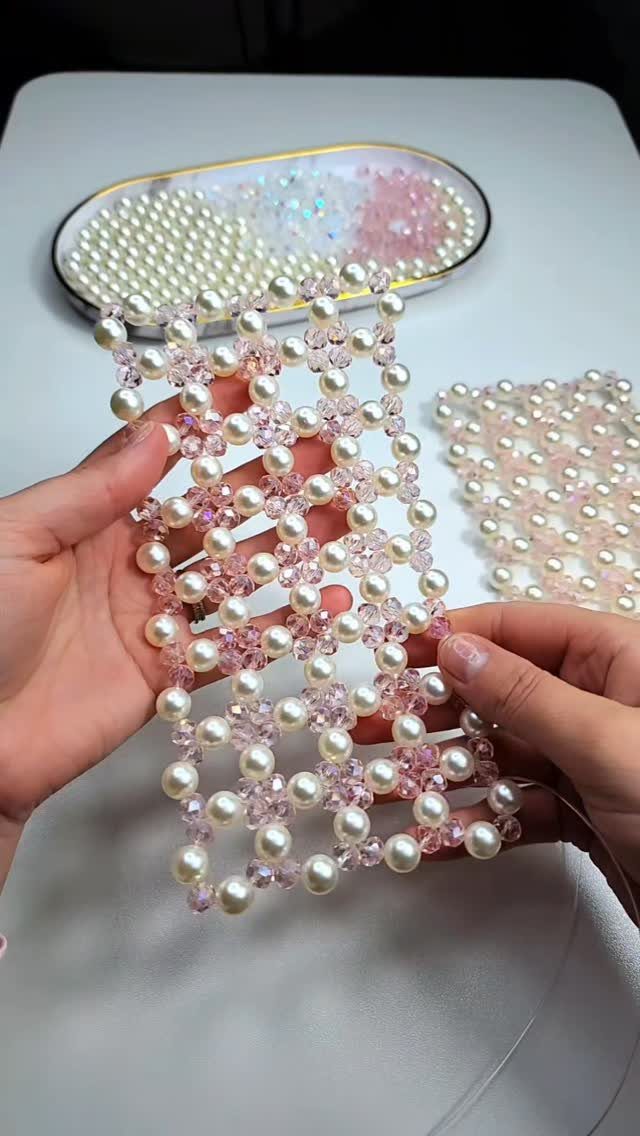
A wide woven band of pink pearls and faceted beads is loom work or off-loom weaving depending on your patience and equipment.
A woven band dense enough to hold shape without a backing needs even tension across every row; uneven tension telegraphs immediately in a band this wide.
I would not make this my first project; the width demands consistency that comes with practice.
7. Beaded Daisy Chain Jewelry
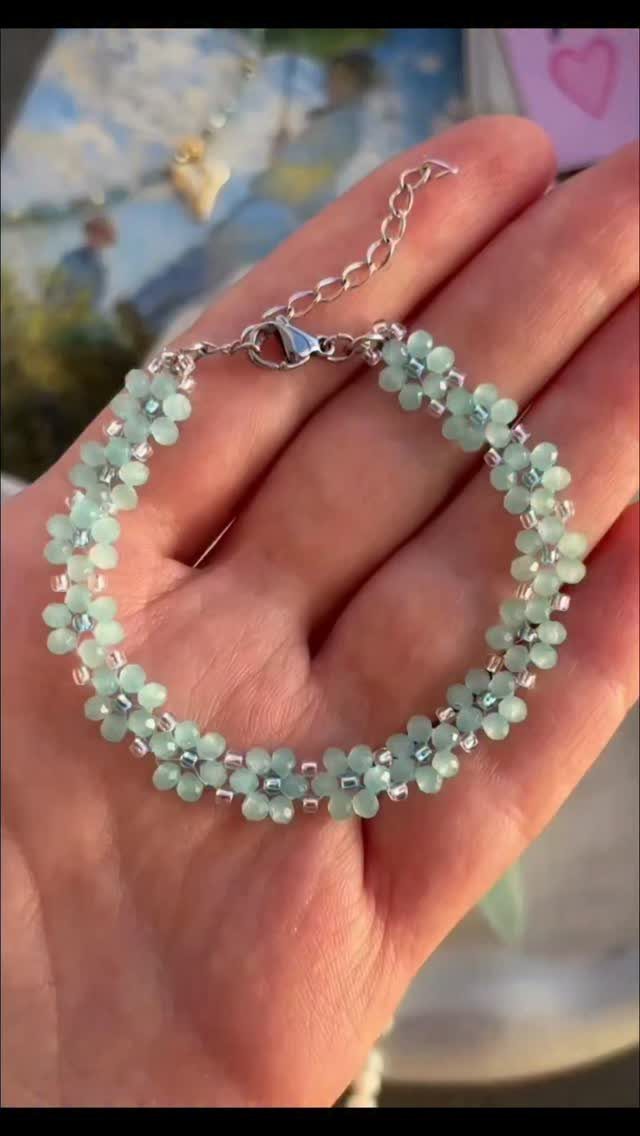
Daisy chains work in any colorway, though a light green version keeps the look botanical rather than primary.
Each flower is beads looped around a center, with another bead bridging to the next bloom; the thread path is repetitive, which is why this suits beginners with patience more than those after instant results.
Small seed beads hold the petal shape cleanest, while anything larger goes floppy.
The floral motif reads younger than geometric patterns, so I gift these to teens and twenty-somethings rather than colleagues. Work it as a bracelet, anklet, or long chain; the technique does not change, only the clasp choice.
8. Shell-Shaped Beaded Accents
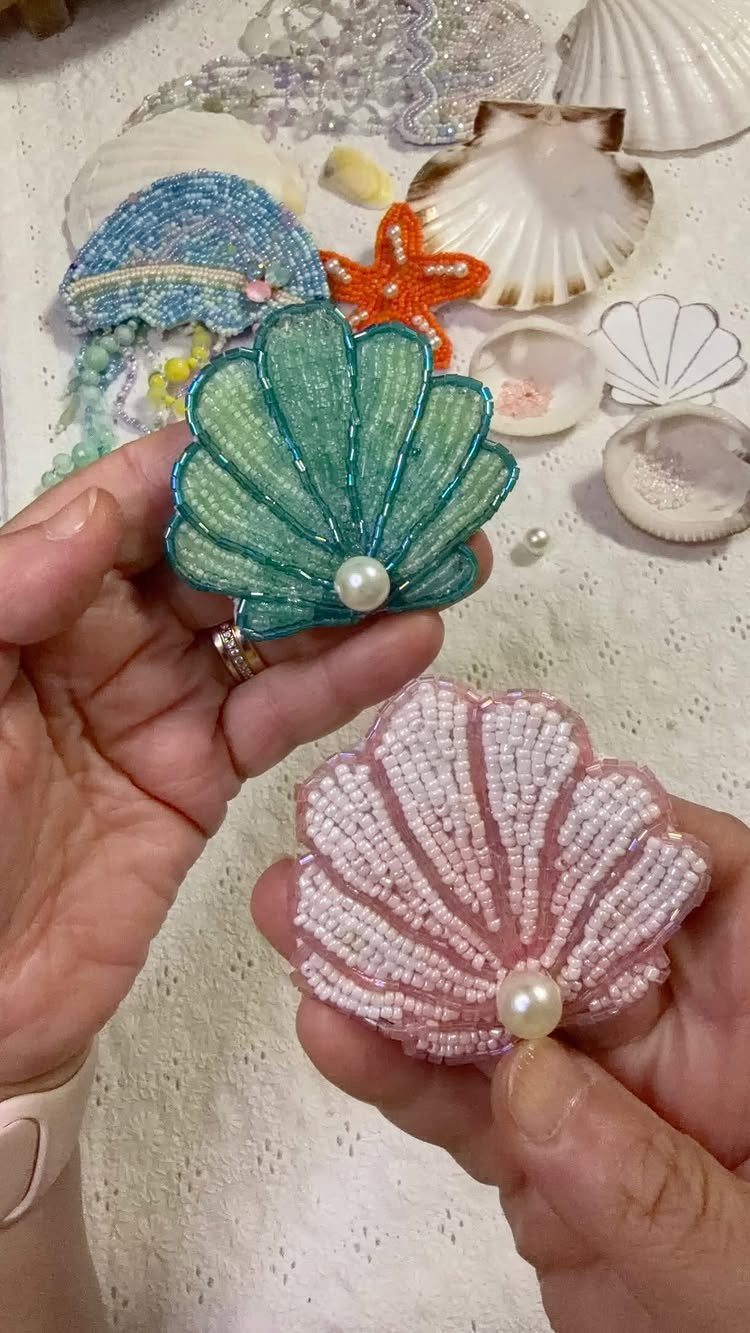
These shell shapes are built around a central pearl with beaded petals radiating outward in pink and green, a color pairing that nods to conch interiors without copying them literally.
The structure is openwork, which keeps the piece light but also means it snags on loose knits; I would not sew one directly onto a sweater.
The technique is dimensional peyote or a variation of circular brick stitch, worked from the pearl outward.
Thread tension decides the shell curve more than bead count does, since uneven pulling warps the shape. Mount finished pieces onto stud posts for earrings, or link two with chain for an asymmetrical necklace.
Choosing Beads and Materials
Freshwater pearls lift almost any piece into territory that reads deliberate rather than crafty.
For bracelets, elastic cord wears well if you pre-stretch before stringing. Necklaces want flexible beading wire, not monofilament, because crimp beads bite into wire and hold.
You will need crimp pliers to fold them flat, plus wire nippers to trim close. Jump rings connect clasp to wire; flat nose pliers open and close them without marring the metal.
A beading bowl keeps rounds from rolling off the table, which matters once you are working with 3mm seed beads that read as dust on carpet.
Planning Your Design
I lay out every piece on a bead board before I string anything. The flocked surface grips beads so they do not shift, and the channel markings let you read length against wrist or neckline without guessing.
A board with attached cover, six compartments, and dimensions around 9.75 x 13.25 inches stacks flat if you own several.
The board shows you what the mirror later will: whether your center bead sits at true center, whether color repeats stay balanced, whether you have enough length before you commit to crimping.
I check my strung length against the board’s markings before I add the clasp, because an extra half inch changes how a bracelet sits at the wrist bone.
Multiple boards nest; I keep three for projects in progress and they take one drawer.
Safety and Care Tips
Round nose pliers form loops; wire cutters snip cleanly through steel beading wire. Use the right tool for the task, not whatever is nearest, because jaws meant for one job scar or slip on another.
I work over a shallow tray even with a beading bowl in use, so dropped beads stop at the lip rather than hitting floor.
Beginners rarely expect how much tension shapes the finished piece. Pull thread or wire firm enough that beads sit without gaps, not so tight that thread frays or elastic stretches beyond recovery.
Store finished pieces flat or hung so weight does not pull them out of shape, and keep away from direct sun if you used dyed materials that can shift color.
Clean with a soft cloth; ultrasonic cleaners shake settings loose on strung work.
Frequently Asked Questions
What tools do I need to start beading?
You need flat and chain nose pliers, wire nippers, crimp pliers, and a beading bowl. A beading board with a flocked surface and channel markings lets you lay out designs and check length against wrist or neckline before stringing.
How do I finish a beaded necklace?
Crimp beads and a clasp close the piece and keep it secure. String a crimp bead onto flexible beading wire, add a jump ring and one half of the clasp, then thread the wire back through the crimp bead.
Slide the crimp bead up against the necklace beads to keep the loop small, then flatten it with crimp pliers. Snip off the extra wire close with nippers.
What types of beads are best for beginners?
Acrylic, glass, and wooden beads are the most forgiving starting points. Glass gives sharp color and satisfying weight, while wood keeps pieces light and matte.





