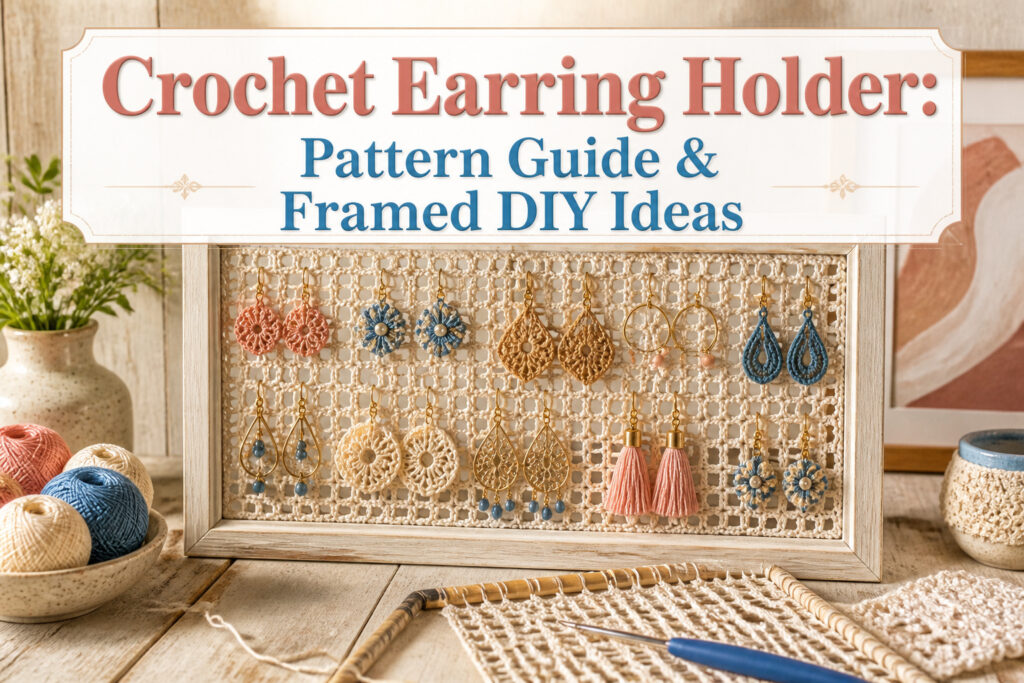
A crochet earring holder is a piece of mesh or lace stretched across a frame, with the crochet tension doing the work of keeping pairs separated and visible.
The catch is that tension itself: too loose and earrings slip through or the fabric droops within weeks, too tight and the yarn snaps when you stretch it corner to corner during assembly.
A 3 mm hook with cotton yarn builds the grid tight enough for studs, while a 5 mm hook and acrylic give a looser weave for hook-style pieces.
Prepare the Frame

The glass comes out first, and the cardboard insert gets checked next. Lay it flat inside the frame opening and look for any warp or bow that would leave the finished crochet earring holder sitting crooked on the wall.
A back that does not sit flush against the wall means the whole piece tilts, and no amount of lace tension fixes that later.
If the yarn or thread runs thick, the insert may need trimming slightly smaller than the frame opening. That extra space leaves room for the crochet to wrap around the edges without bunching.
The cardboard thickness matters too, a flimsy back will flex under the tension of stretched lace.
Painting happens after the fit is confirmed. Pop the back and insert out, then hit the front face, the sides, and the inner lip that presses right against the lace.
That inner strip is easy to skip and hard to miss once the crochet is in place. Let it dry while the insert gets its background paper.

[Sturdy & Practical] -- The earring organizer is made from rustic pine and durable mesh fabric. The openings in the mesh is just the right size for earring hooks and posts to stay steady and never fall off. (Jewelry NOT included)

Material and Design: Our Earring Organizer Wall Mount is crafted from rustic pine and features a mesh fabric that combines both elegance and functionality. The stylish boho or vintage design enhances any decor while keeping your jewelry neatly organized.

Package include: 1 piece wall mounted earring hanging organizer and 20 pieces black S hook help you easy to hang jewelry(earring organizer and S hooks only, the jewelries are not included)
Create the Crochet Piece

A 3 mm hook with cotton yarn builds a mesh tight enough to hold studs without sagging, while a 5 mm hook and acrylic give you a looser weave for hook-style earrings.
The Whistle and Ivy pattern starts with a foundation chain matched to your frame width, then works rows of double crochet and chain-two spaces to create the grid.
Pull that first row as tight as you can; the piece should measure noticeably smaller than the frame unstretched, since you will stretch it taut when you glue it in place.
Tension is where this project lives or dies. Too loose, and earrings slip through or the mesh droops after a week.
Too tight, and you cannot stretch the fabric corner to corner without distorting the stitches or snapping the yarn. If your first attempt comes out floppy, drop a hook size and try again.
If the fabric buckles when you pull it, go up a size or ease your tension on the next row.
The testers on Ribblr used whatever scrap yarn they had and adjusted accordingly, which is the honest way to do it.
Cotton like Coboo holds its shape under tension better than acrylic, but acrylic forgives more if you are still learning to read your gauge.

Content: 100% mercerized cotton, Care: This yarn for knitting, crocheting, amigurumi and craft projects is easy to care for, simply machine wash and tumble dry all crafted items at low heat.

Aunt Lydia's Fashion Crochet Cotton is a premium crochet thread soft and lustrous with a soft hand

Premium Aluminum Crochet: Each crochet hook is well-made and made of high-quality aluminum material, the hook head is strong and durable, smooth to the touch, and you don't have to worry about snagging the yarn, allowing you to knit easily.
Attach the Crochet to the Frame

The crochet piece needs to stay centered and taut without tearing, and sewing beats glue for longevity by a wide margin. Glue alone hardens the edges, then lets go in six months when the weight of earrings pulls against it.
Thread and a tapestry needle, worked through the corners first, give the tension that keeps the pattern from sagging.
Start at one corner of the lace and the corresponding corner of your insert board. Tie the thread ends together in a knot so you are not fighting a loose tail.
Go through the corner, then straight to the opposite corner on the same edge, pull snug, and work back toward the middle in roughly half-inch to one-inch intervals.
The lace should dip slightly before you finish; that dip disappears once the opposite edges are sewn.
Turn the project and repeat for the remaining sides, wrapping each corner of lace around the corner of the board as you go.
If the thread runs out, tie the new length to the old and keep going rather than starting over. The stitch definition improves noticeably once all four sides are stretched and secured.

Red heart super saver solid yarn

Premium Aluminum Crochet: Each crochet hook is well-made and made of high-quality aluminum material, the hook head is strong and durable, smooth to the touch, and you don't have to worry about snagging the yarn, allowing you to knit easily.

Premium Materials:Our crochet hook head is made of high-quality aluminum, which can smoothly slide through the yarn and reduce hand fatigue. The handle is made of polished acrylic, and the hook and handle are sturdy, durable, and lightweight, providing a comfortable touch and easy to use, making it very suitable for beginnersthat reduces hand fatigue and promotes rhythmic stitching
Final Assembly

The cardboard back needs to sit flat against the lace without warping, so a plain glue stick works fine here even if it leaves slight wrinkles. Those disappear behind the crochet and never show in the finished frame.
Trim your background paper to overlap the board by about 2 inches so exact alignment stops mattering.
Pink changed the whole mood of my piece when I tested it against cream and navy, so laying samples behind the lace before you commit is worth the extra step.
Thread a tapestry needle with crochet thread, knot the ends together, and anchor through a corner of the lace. Sew to the opposite corner, snug but not drum-tight, then work across in 1/2 to 1-inch intervals.
The lace will dip in the middle until you turn and tension the remaining two sides. When thread runs out, tie fresh length to the tail and keep going rather than wrestling with a single long strand.
Wrap corners around the board edges evenly. Check stitch definition once the lace is stretched, check corners for twist, and check that no glue spots migrated to the front.
After that, the frame closes normally and the holder keeps its shape on the wall.

CROCHET HOOK SET: This set of Knit Picks Double Ended Crochet Hooks contains hooks, 5 3/8" in length, with ends in size 2.0, 3.0, 3.5, 4.0, 4.5, 5.0, 5.5 and 6.0mm along with 2 blunt tip tapestry needles

Crochet Hook Set: Ergonomic handles crochet hooks, smooth surface, lightweight, and durable. Includes 10 sizes aluminum crochet hooks, that can meet your different needs

Add Earrings

Earring placement starts with spacing before anything else.
I leave at least one empty mesh square between pairs so the hooks don’t tangle, which sounds generous until you’re fitting thirty pairs into a small frame and realize the crochet tightens the grid visually anyway.
Heavier statement pieces need to sit near the frame’s center, not clustered at an edge where the mesh will sag within weeks.
The cotton yarn I used stretched almost imperceptibly at first, then kept giving, and by month three my heaviest brass drops had pulled their row half an inch lower than the rest.
Moving those to a hook on the frame itself instead of the mesh solved it, though it meant sacrificing one display spot for stability.
Weight distribution matters more than total weight; three light pairs in a column pull less than one medium pair hung off-center. If the mesh starts to hammock, you’ve already waited too long to redistribute.
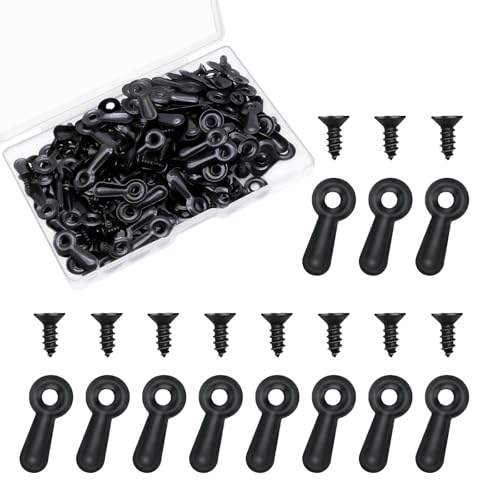
High Quality Material:This photo frame backing clip is made of high-quality iron,which is hard and durable.The electroplating process prevents rust and makes this picture frame back clip less prone to damage after prolonged use.

What you will Get: You will receive 50 picture frame backing clips with screws, each with an overall length of 18mm/0.7", a width of 7mm/0.28", and a screw length of 8mm/0.31", which should be sufficient for your needs.

1.What's Included: This pack includes 100 picture frame backing clips complete with screws; each clip measures 18mm (0.7") in overall length and 7mm (0.28") in width, while the screw size is 8mm (0.31"), providing a full set to meet your requirements
Framed Crochet Holder

An old picture frame with the glass pulled out and a square of crocheted mesh stretched across the opening is the version that ended up as my default project.
Any size rectangle or square frame works, which mattered more than I expected once I started collecting thrift-store frames that were nowhere near uniform.
A 3 mm hook and a light cotton yarn, Coboo or anything labeled #3 weight, keeps the fabric thin enough that earrings slide through without forcing the holes wider over time.
Frame sourcing is where the real flexibility sits. The original pattern I followed called for an old frame lying around, and that is still the cheapest route, but the finish matters if you paint it.
Two coats with full drying time before you start gluing, otherwise the hook catches on tacky spots along the inside lip.
Hot glue secures the crochet to the cardboard insert, which then drops into the frame with the original backing pressed in place to hold everything.
Thicker yarn means trimming that insert slightly smaller so the lace has room to wrap around without bunching at the edges.
What sold me on this over other styles was the flat storage against a wall and the fact that the frame itself does the tensioning. No second ring to wrestle with, no gathering thread to snap.
The tradeoff is weight; a frame over about eleven by fourteen inches starts needing real wall anchors instead of a single nail. For most earring collections, that limit never comes up.

Ample 12-Piece Set with 3 Practical Sizes for Versatile Display: This T-bar earring display stand set includes 12 pieces in 3 different sizes (16.5×6.5cm, 15×6.5cm, 11.5×6.5cm), with 4 pieces for each size, providing sufficient options to display and store earrings of various lengths, as well as necklaces and bracelets, meeting daily use and replacement needs

Package Inclusion: receive an elegantly designed Vintage jewelry display Frame, with dimensions of about 10.43 x 7.09 x 0.79 inches/ 26.5 x 18 x 2 cm, designed to offer a visually appealing and convenient solution for your beloved jewelry storage and display needs; Warm Reminder: this product is made of resin and crafted by hand; Minor scratches and slight excess glue are unavoidable, but please feel free to contact our customer service if you have any questions

Organize & Display - Keep your jewelry organized without getting tangled or damaged in a box or drawer. It’s a perfect way to display your jewelry and ensure all your jewelry has an opportunity to be seen and worn.
Lace Crochet Holder
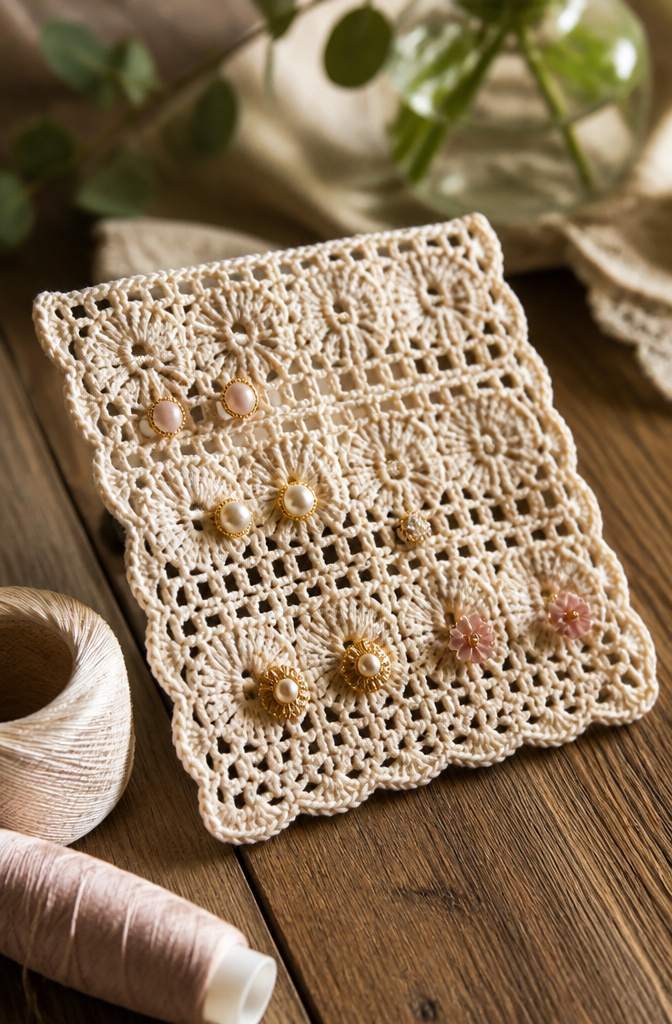
Fine thread and a small hook turn a simple cardboard backing into something worth looking at twice. The lace style works best for stud earrings and small drops that would slide through mesh or get lost in the gaps.
You want size 10 crochet thread or finer, nothing heavier than a light fingernailing weight, or the holes close up and the earrings have nowhere to go.
Sewing the finished piece onto cardboard takes more patience than attaching mesh. The lace wants to pucker if you pull too tight, and gaps show if you stay too loose.
I usually pin first, work from the center out, and accept that the back will never look as clean as the front.
The trade is worth it for dresser-top frames or gifts where the holder itself is part of the decor.
Mesh is faster and more forgiving; lace is the choice when the frame is small and the earrings are the quiet kind.

【Multicolor Crochet Hooks Needles】We have various sizes of crochet needles for you to choose: 2mm, 2.5mm, 3mm, 3.5mm, 4mm, 4.5mm, 5mm, 5.5mm, 6mm, 6.5mm, 7mm, 8mm, 9mm.The length of our crochet hook is about 14.9 cm/5.9 inch.

Bright and Fun colour
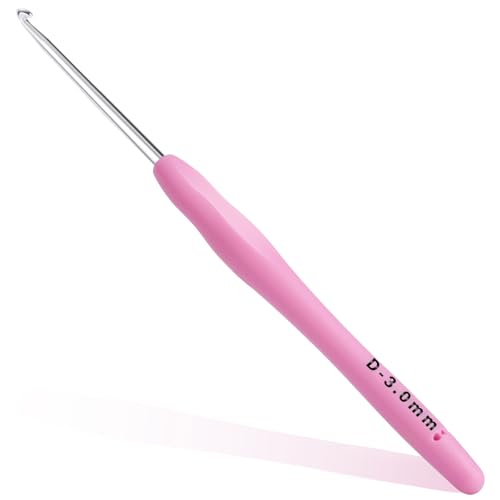
Premium Aluminum Crochet:Each crochet hook is well-made and made of high-quality aluminum material, the hook head is strong and durable, smooth to the touch, and you don't have to worry about snagging the yarn, allowing you to knit easily.
Dream Catcher Holder
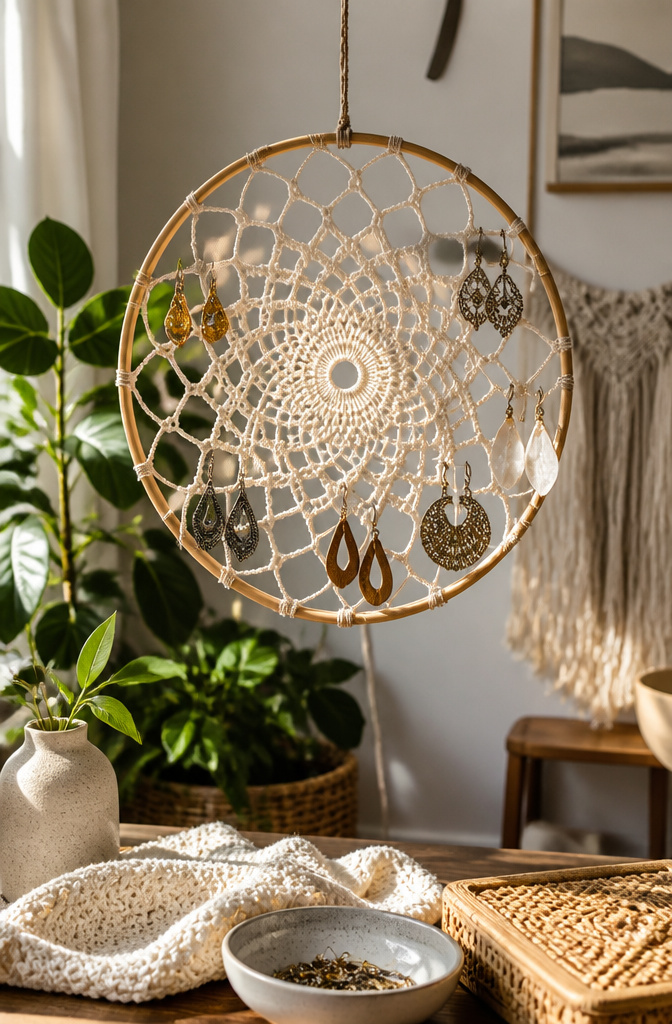
A 10-inch embroidery hoop gives the whole project a different kind of tension than stretching cotton across a rigid frame.
The wood flexes slightly as you work, so the yarn settles in with a softer give, and you feel every wrap push back just a little.
Cotton yarn works best here; it grips the hoop without sliding, and the matte surface catches light the way a dream catcher should.
The spiral or sunburst shape suits the circle naturally. You tie on at the top, then wrap around the hoop itself, rotating clockwise and letting each pass sit snug against the last.
No corner to turn means no bunching, no fight to keep the count even across a straight edge. Back-and-forth passes fill the center, and you finish by tying off to any point on the hoop and snipping the tail close.
Where to hang it matters more than with a frame. The hoop is light, so a single nail or a thumbtack in drywall holds it, but the sway is part of the look.
A corner near a window catches morning light through the gaps; above a vanity mirror, it stays reachable. The boho feel is deliberate, and the earrings become the decoration when the holder is empty.

Premium Quality Yarn: Crafted from durable acrylic fiber; each skein delivers consistent texture and strength for crochet and knit projects; ideal for beginners and experienced crafters seeking reliable yarn

Red heart super saver solid yarn

Red heart super saver solid yarn
Mushroom Amigurumi Holder

The jump from flat crochet to a three-dimensional mushroom shape is steeper than most tutorials let on.
Rounds of single crochet spiral upward to form the cap, and the stem works the same way but with fewer increases so it stays narrow.
What convinced me, reading through a dozen patterns, is that the stuffing choice matters more here than in toys you set on a shelf.
Poly-fil keeps the cap light enough that the whole piece does not tip when you hang earrings on it, but wool roving firms up the stem so it holds straight without going floppy after a month.
Earrings store in two places on this design. Studs and small hoops push through the cap itself, the stitches just loose enough to accept a post but tight enough that the clutch or butterfly back catches on the inside.
Dangly pieces hang from the rim where the cap overhangs the stem, which is why the cap needs that slight bell shape rather than a perfect dome.
One pattern I saw had the increases spaced wrong, and the rim curled inward like a bowl. Earrings would slide right off.
The rim must flare outward, not cup inward, or nothing stays put.
Stitch markers are non-negotiable in amigurumi. You are working spirals, not joined rounds, so the start of each round drifts and your increase line skews without a marker every ten stitches.

【Double End Design】These crochet hooks adopt double end design, and the two sizes are concentrated in one crochet hook, which can reduce the change frequency, and make the knitting easier, golden alumina double end crochet hook is widely used in knitting hats, sweaters, shoes, and other knitted attire.

A Practical Helper For The Tunisian Crocheting Handcraft Trend. They Have Two Hook Heads & Are Made From Sturdy Aluminium. The Surface Is Super Smooth So That The Yarn Slides Well. These Double-Headed Crochet Hooks Fit Comfortably In The Hands & Are Super Lightweight. They Are Made In Sizes 2-6 mm And 15 cm Length - And Naturally With 'Made in Germany' Quality.

VERSATILE SET: Complete set of 4 double-ended Tunisian crochet hooks in essential sizes - 3mm, 4mm, 5mm, and 6mm for various yarn weights
Cactus Holder

A standing cactus shape gives earrings something to climb on, literally. The trick is the armature inside.
Without it, the whole thing folds under its own weight the moment you set it down. I learned this the hard way after my first attempt sat in the pot like a sad green sock.
Pipe cleaners work for smaller versions, but floral wire carries anything taller than six inches without wobbling.
Wrap the wire into a central trunk and two or three arms, then crochet around it with tight single crochet so the stitches grip the metal and do not slide.
The wire pokes through eventually if you skimp on padding, so build up two or three layers at the tips where earrings hang.
Potting options matter more than they look. A small terracotta pot with dried beans or sand at the base gives real weight; a hollow plastic planter tips over from a single heavy dangle earring.
The first cactus I made used a yogurt cup I painted. It fell off the dresser in two days.
Stability is the whole game here. The crochet body wants to be top-heavy, especially once you load it with metal hooks.
Push the armature deep into the pot, at least halfway down, and glue it in place before you cover the surface with more crochet or decorative stones. Otherwise you are resetting it every morning.

100 Pieces frame turn buttons set: frame turn button size is 0.91 inch/ 23 mm in length, 0.24 inch/ 6 mm in width, mounting hole diameter: 3 mm/ 0.12 inch, 100-piece screw size is 3 x 10 mm /0.12 x 0.4 inch

Package Included: You will receive 120 black picture frame clips and 120 screws; these picture frame picture turn buttons come with a transparent plastic box for easy use and storage. It is suitable for fixing pictures in photo frames

Comprehensive Package for Picture Frame Support: our easel back for picture frame offer a complete solution to help you display your favorite photos, this kit includes 10 easel backs presented in a sophisticated black color, further adding function to your tool, our set brings in a magnitude of support for the arrangement of your cherished memories
Hanging Organizer

A wall-hanging crochet earring holder needs one thing to work: tension. Without a frame, the fabric carries every earring’s weight, and over months that turns into a slow sag down the middle.
The fix is a hanging loop worked into the top edge itself, not a ribbon threaded through afterward.
I chain a firm cord of ten or twelve stitches, skip the same number below, and single-crochet back across so the loop grows straight from the body.
That spreads pull across the whole top row instead of bunching it at two points.
What convinced me, reading through a dozen of these patterns, is how many skip the reinforcement.
A single strand of cotton at the top rail loosens; a second row of slip stitch or a line of crab stitch behind the first keeps the edge from stretching.
The weight still travels downward, but it meets a band that refuses to give.
This beats a framed version when wall space is tight or when you want something that rolls up for travel.
The tradeoff is shape: it hangs soft, not flat, and stud earrings near the center sit slightly closer together than those at the sides.
For a renter who patches nail holes before moving, the lighter weight and one-hook mounting win outright.
Heart-Shaped Box

A heart-shaped box with a fitted lid sounds precious until you try to close it cleanly. The crochet walls need enough stiffness to hold their shape without collapsing inward at the pinch point where the two lobes meet.
I worked mine in doubled cotton thread with a 3.5 mm hook, which gave the body enough backbone to survive actual use.
The hinge is where most patterns stumble. A crocheted flap sewn to the back works for display but frays open in a drawer.
Small brass jewelry box hinges, the kind sold in packs of ten at craft stores, let the lid sit flush and stay flat when you want it to.
Mounting them means finishing the last round of the base with a firm edge that won’t pull stitches loose under screw pressure; a round of slip stitches through both layers, back and front, creates that anchor point.
Construction runs base first, then walls in continuous rounds, then the lid worked as a separate flat piece shaped to overlap slightly. The fit depends on your tension holding steady through the decreases that form the top curve.
Mine loosened on the second lobe, so the lid rocks instead of settling. That mismatch is why I stopped at one.
The holder sits on my dresser now, storing studs I rarely wear, a reminder that crochet favors function over romance when the geometry gets ambitious.
Materials and Skill Level
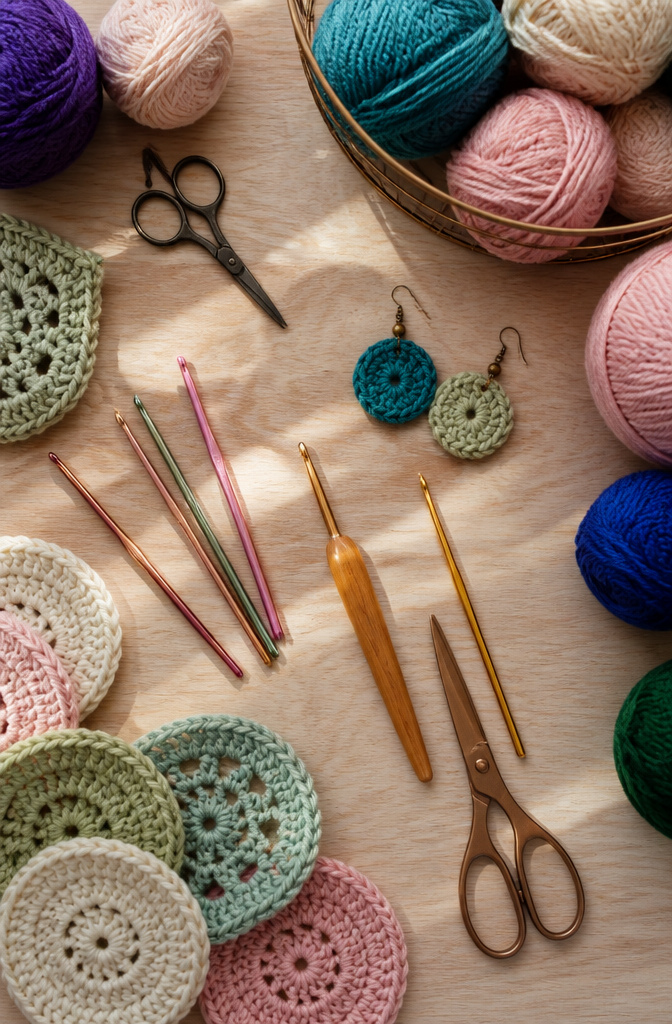
A 3 mm hook handles the tightest work, the kind that keeps earrings from sagging through the mesh. Coboo or another #3 cotton yarn pairs with it for framed pieces that need to hold their shape under hot glue.
Step up to a 5 mm hook and Sugar n Cream or any basic cotton for the spiral dream catcher style that stretches over an embroidery hoop.
Most projects call for the same supporting cast: a tapestry needle to weave ends, scissors, and either an old frame or a 10-inch embroidery hoop depending on the look.
Hot glue joins the crochet to the frame; cardboard backs the whole thing if you want it to stand rather than hang.
Skill level splits cleanly here. The wrapped spiral, worked clockwise around a hoop with nothing but knots and tails, is simple enough that sources note kids finishing it.
The magic circle method, worked in increasing rounds of half double crochet until the piece sits 1.5 to 2 inches smaller than the hoop diameter, demands more attention.
That stretch and fit matters: too loose and earrings slip, too tight and the hoop warps.
Customization
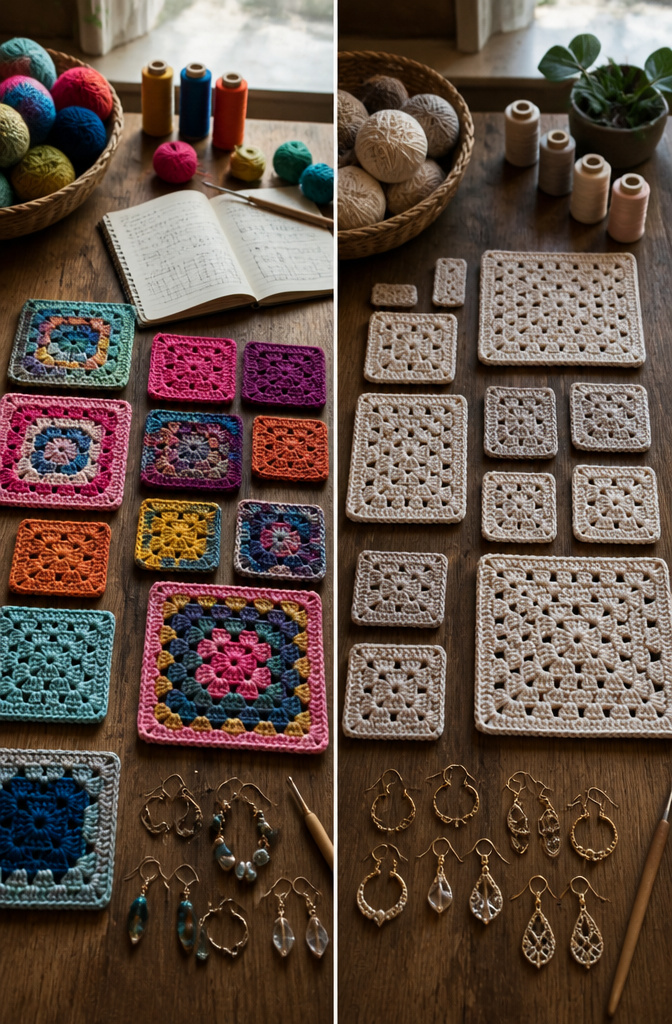
A crochet earring holder scales up or down easier than most projects because the mesh grid is just a multiple of your base chain plus turning chains. Want it wider?
Add chains in groups of three. Taller?
Work more rows. The frame follows the fabric, not the other way around, so thrifted frames in odd sizes become fair game once you stop treating patterns as fixed dimensions.
The mistake that warped my first large piece was skipping the hook-size adjustment. I jumped from a six-inch practice swatch to a twelve-inch panel using the same DK yarn and 3.5 mm hook.
The math of scaling up without changing gauge means the fabric grows in every direction, but the stitches also loosen under their own weight. The drape turned saggy, and the mesh holes gaped wide enough that hooks slipped through.
I frogged the whole thing.
What actually fixes this: drop half a millimeter, sometimes a full millimeter, when you add more rows. The extra density supports the span.
My revised rule is one hook size down for every six inches of added finished width, tested on a flat surface before the piece ever sees a frame.
The frame itself gets trimmed with a saw if the thrift score is half an inch off, which costs less time than re-crocheting.
Video and Non-Crochet Options
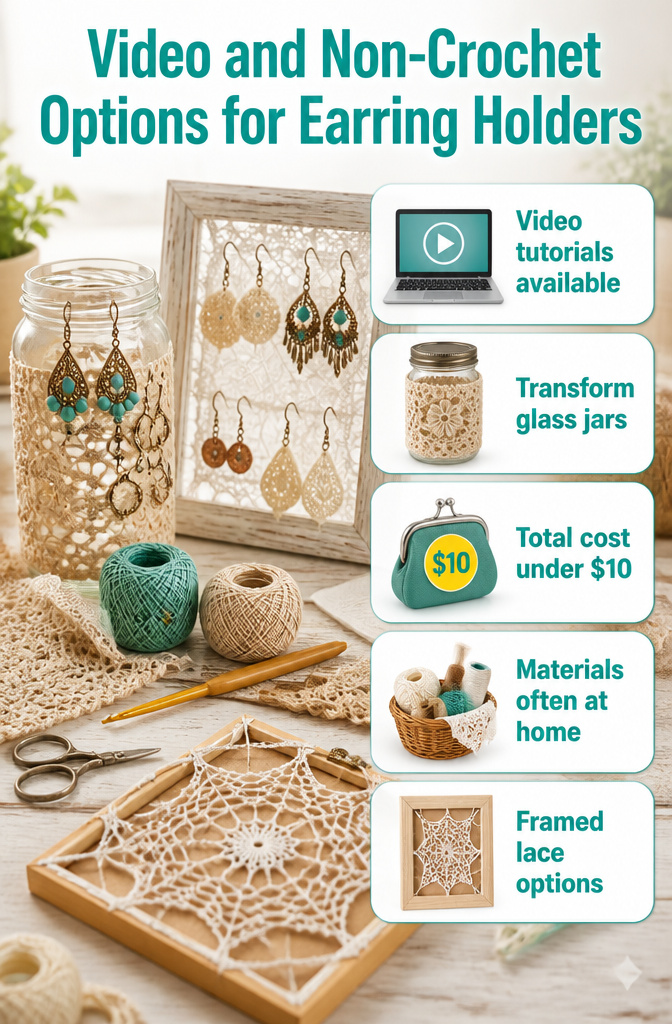
Some of us need to see a stitch before it clicks, and the video tutorials out there cover both angles.
One tutorial walks through turning a glass jar into a crocheted jewelry holder with a flower motif that works for earrings and rings of different sizes.
Another video pairs with a written step-by-step for a lace earring holder, so you can pause on the frame and rewind on the thread tension until the piece actually looks right.
What caught my attention, though, is that not every earring holder on these pages requires a hook at all.
One writer puts it plainly: she will share a crochet version and a non-crochet version, because some DIYers want the same boho-chic result without learning stitches.
That second version costs less than ten dollars and uses materials most people already have.
For anyone who likes the framed look but not the time commitment, one alternative simply stretches existing lace, crocheted or otherwise, over a picture frame with cardboard behind it for tension.
If the lace has no stretch, you make it slightly larger than the frame and test as you go. The spider web lace pattern used in that example gets its own video tutorial soon, but any lace pattern works.
Frequently Asked Questions
What materials do I need to make a crochet earring holder?
You will need a crochet hook (3 mm for tight mesh, 5 mm for looser weaves), cotton or acrylic yarn, a picture frame or 10-inch embroidery hoop, a tapestry needle, scissors, and hot glue with cardboard for backing framed pieces.
A nail or thumbtack works for hanging versions.
Is a crochet earring holder suitable for beginners?
Yes. The spiral dream catcher style wrapped around an embroidery hoop is simple enough that kids can finish it.
The framed mesh pattern suits advanced beginners, and one Ribblr pattern is explicitly tagged beginner-friendly and works with scrap yarn.
How can I customize the size of my crochet earring holder?
Add chains in groups of three to widen the mesh, or work more rows to lengthen it. The frame follows the fabric, so thrifted frames in any size fit once you stop treating dimensions as fixed.
Drop half a millimeter in hook size for every six inches of added width so the fabric does not sag under its own weight.