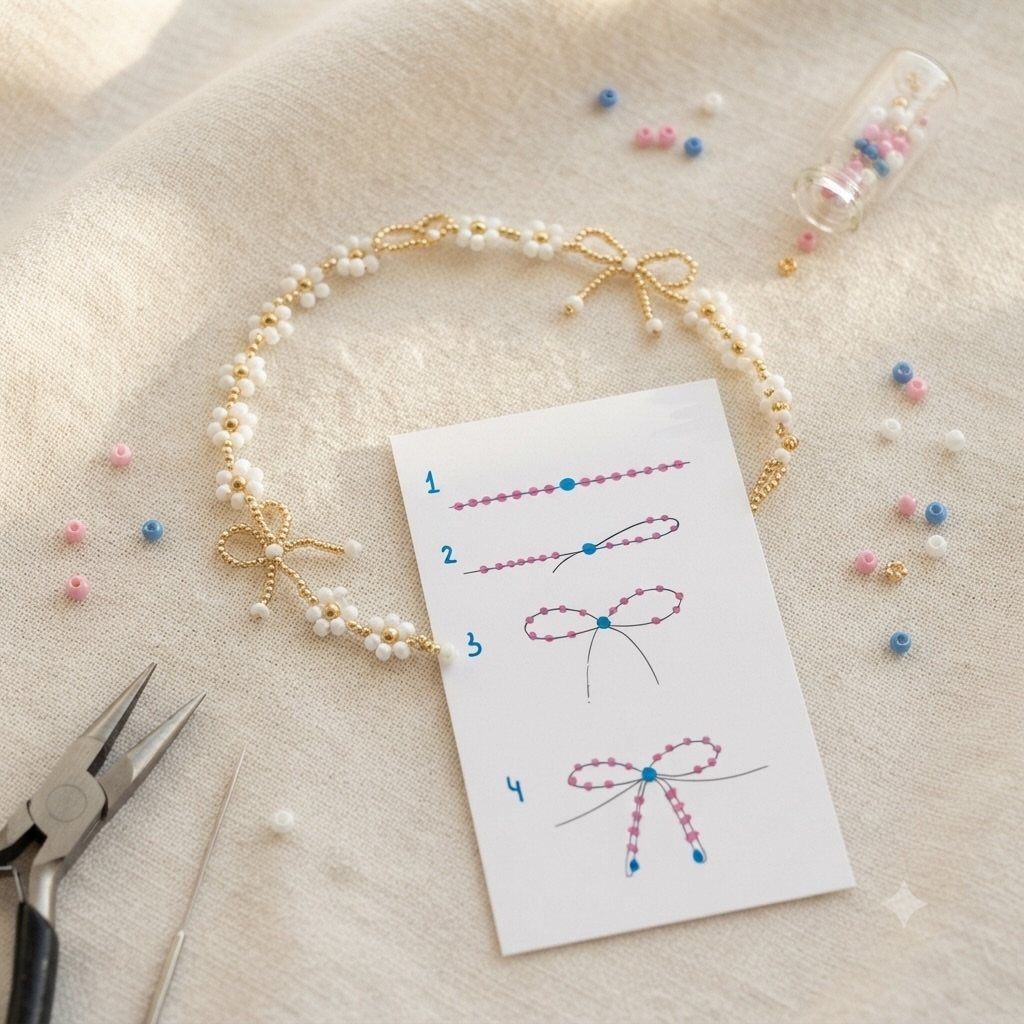
The 5 bracelets below range from a single strand of elastic cord to a dozen linked seed-bead flowers, so the deciding factor is how much time you have and whether you want stackable daily wear or one piece that carries an outfit.
For me, the detail that separates a finished bracelet from a craft-project giveaway is the closure: two crimps per end, not one, with a wire guardian between clasp and crimp so the loop does not saw through after a week.
1. Stretchy Bracelet
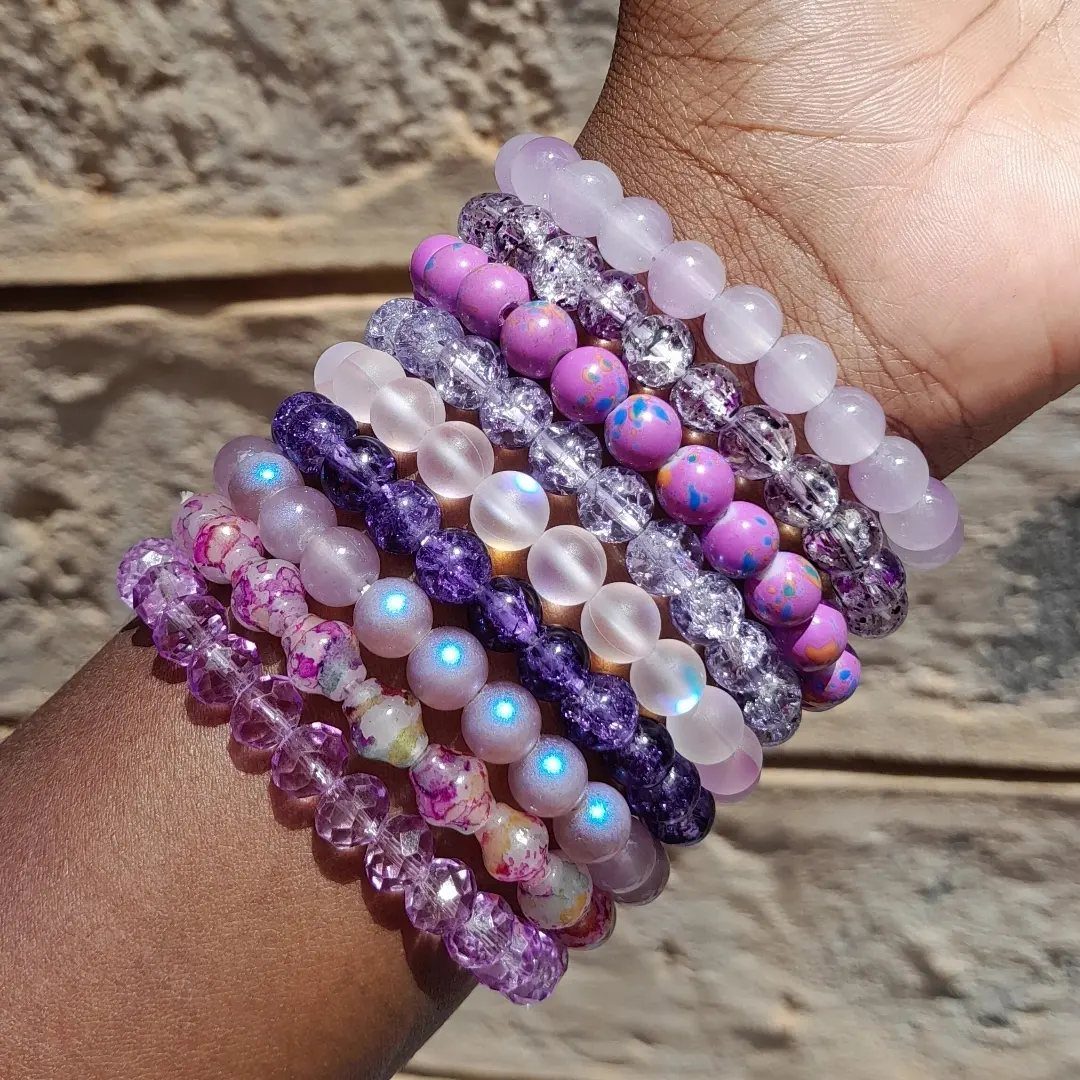
A stretchy bracelet is the fastest way to get beads onto your wrist with no clasp to figure out. Elastic cord, 0.7 mm or 0.8 mm, holds most bead sizes without looking bulky.
String your pattern, knot tight, and dab clear nail polish on the knot before trimming. The whole thing takes no time once you settle on a color order.
Stack 3 or 4 in related tones, purple and pink together for instance, and they read as one intentional piece rather than a single lonely strand.
2. Multi-Strand Bracelet
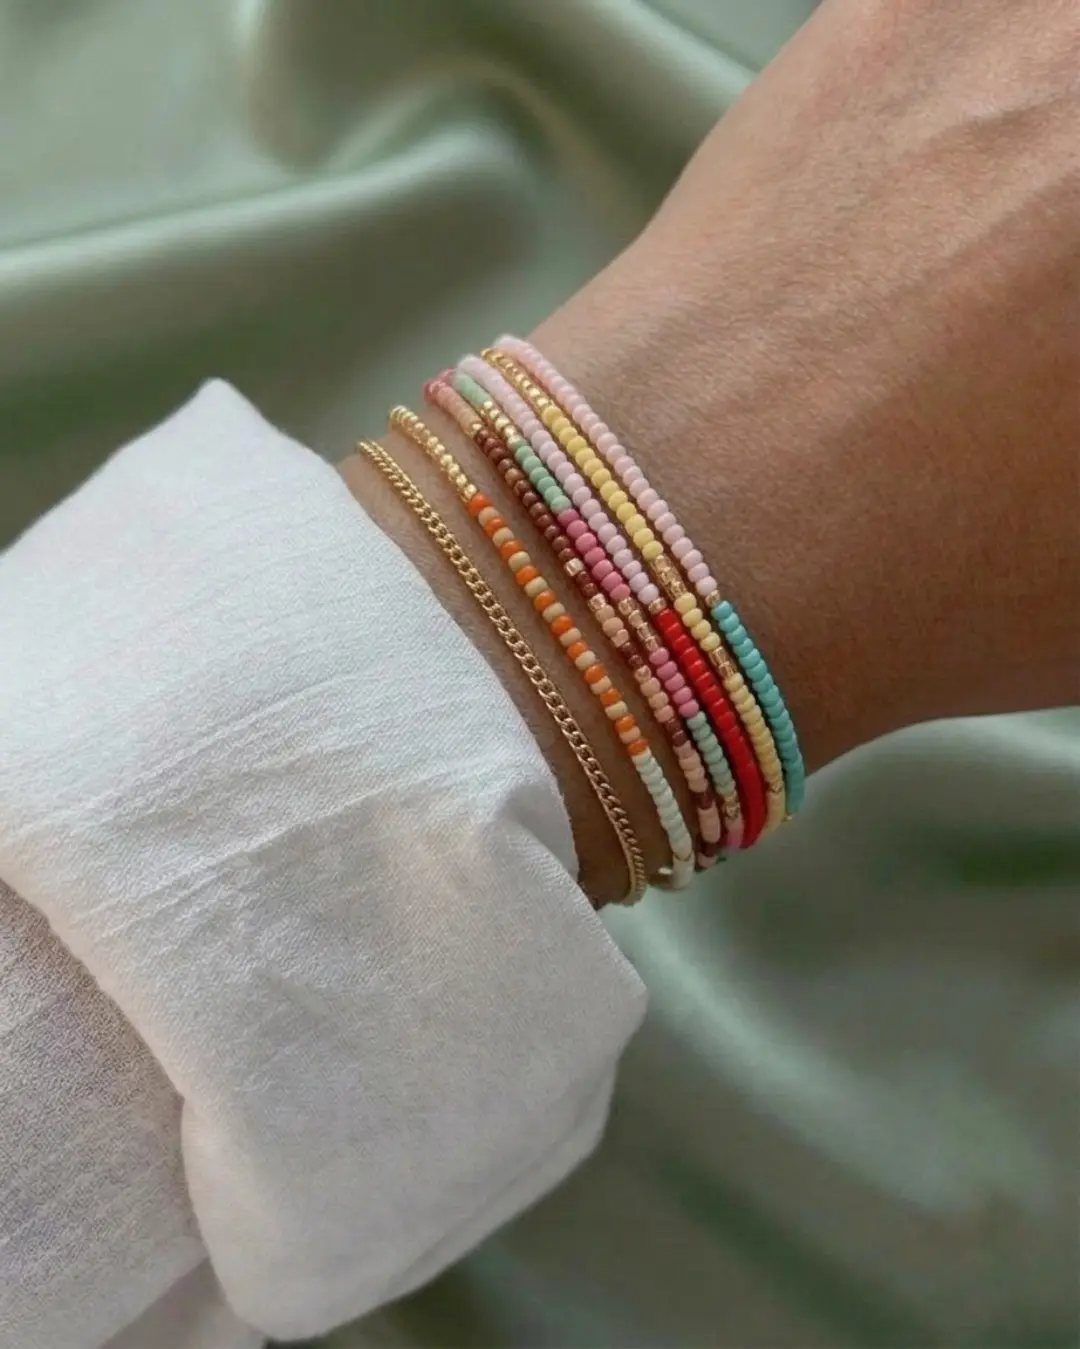
Thin strands in mixed pastels give you the layered look without wrestling one thick bracelet closed. Each strand is simple; the effect comes from quantity, several pieces at once.
Make each band on its own length of cord, finishing with a small lobster clasp or adjustable sliding knot. Vary the bead size slightly, seed beads on some, 4 mm rounds on others, so they nest rather than fight.
A gold chain mixed in is smart, it breaks up all that color and catches light the beads cannot.
Swap one strand for chain, or add a tiny charm to a single band, and the set feels collected over time rather than made in one afternoon.
3. Beaded Friendship Bracelet
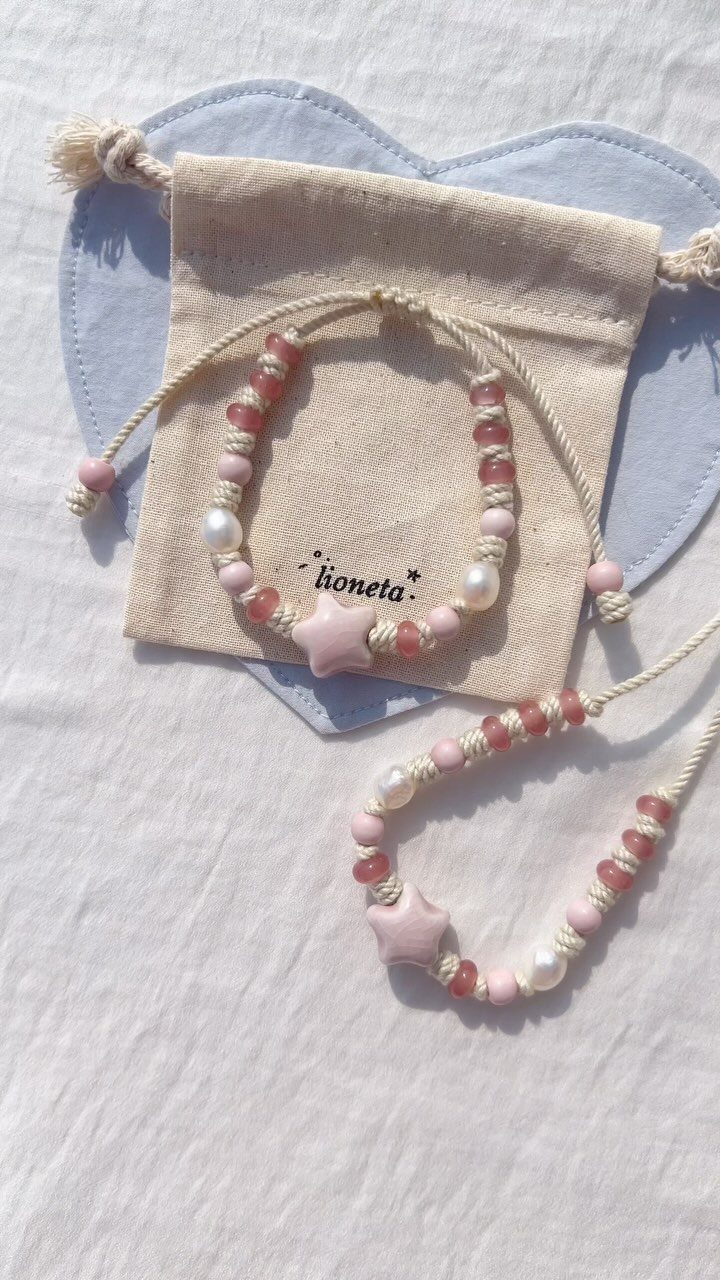
Friendship bracelets grew up when beads came in. You still tie the knots, macrame square knots or chevrons, but a bead sits at each knot or spaced along the cord like a dotted line.
Cotton cord, 1 mm, handles the tension; waxed cord resists grime better if this is daily wear. Star charms sitting at the clasp point are a small reward for finishing.
Tie one for a friend and the sizing solves itself: their wrist, not yours. I like the pink and white here for its vintage sweetness, but any 2 colors that share intensity will read as intentional.
4. Faceted Crystal Bead Bracelet
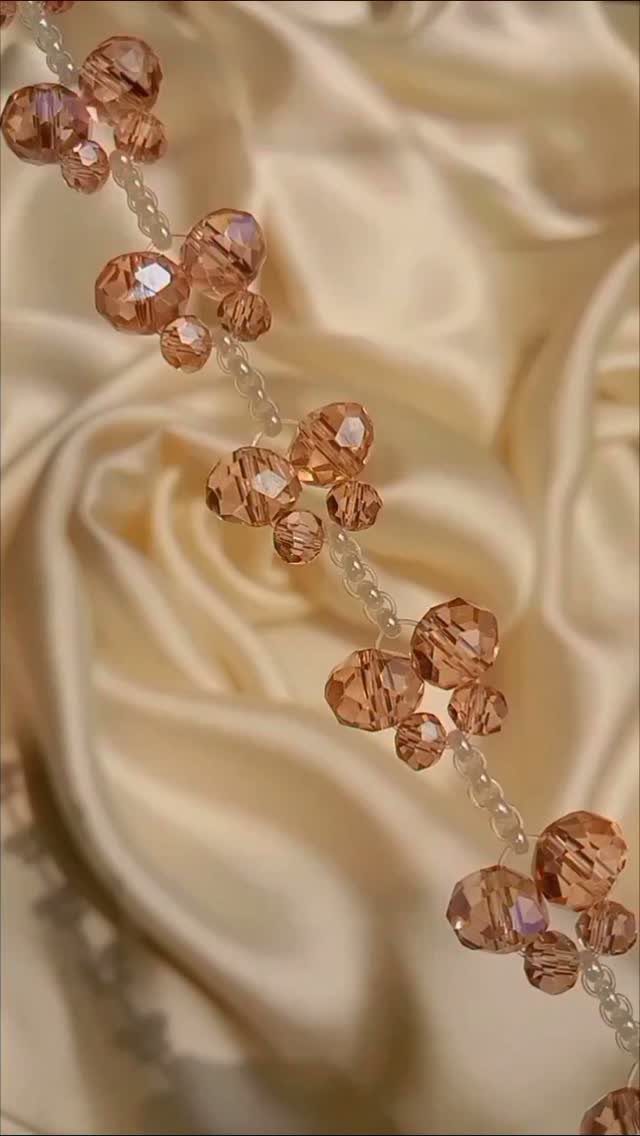
Faceted beads catch light even in dim rooms, which is why I reach for them when a bracelet needs to do something beyond color alone. Peach and clear together keeps the palette warm without turning muddy.
Use beadalon wire or soft flex, and crimp tubes rather than knots; faceted beads tend toward smaller holes, and cord frays against those sharp edges.
Satin underneath is a hint: this is occasion jewelry, or at least the kind you save for a blouse with some texture of its own.
One strand is enough. These beads speak, and stacking them only shouts.
5. Beaded Daisy Flower Bracelet
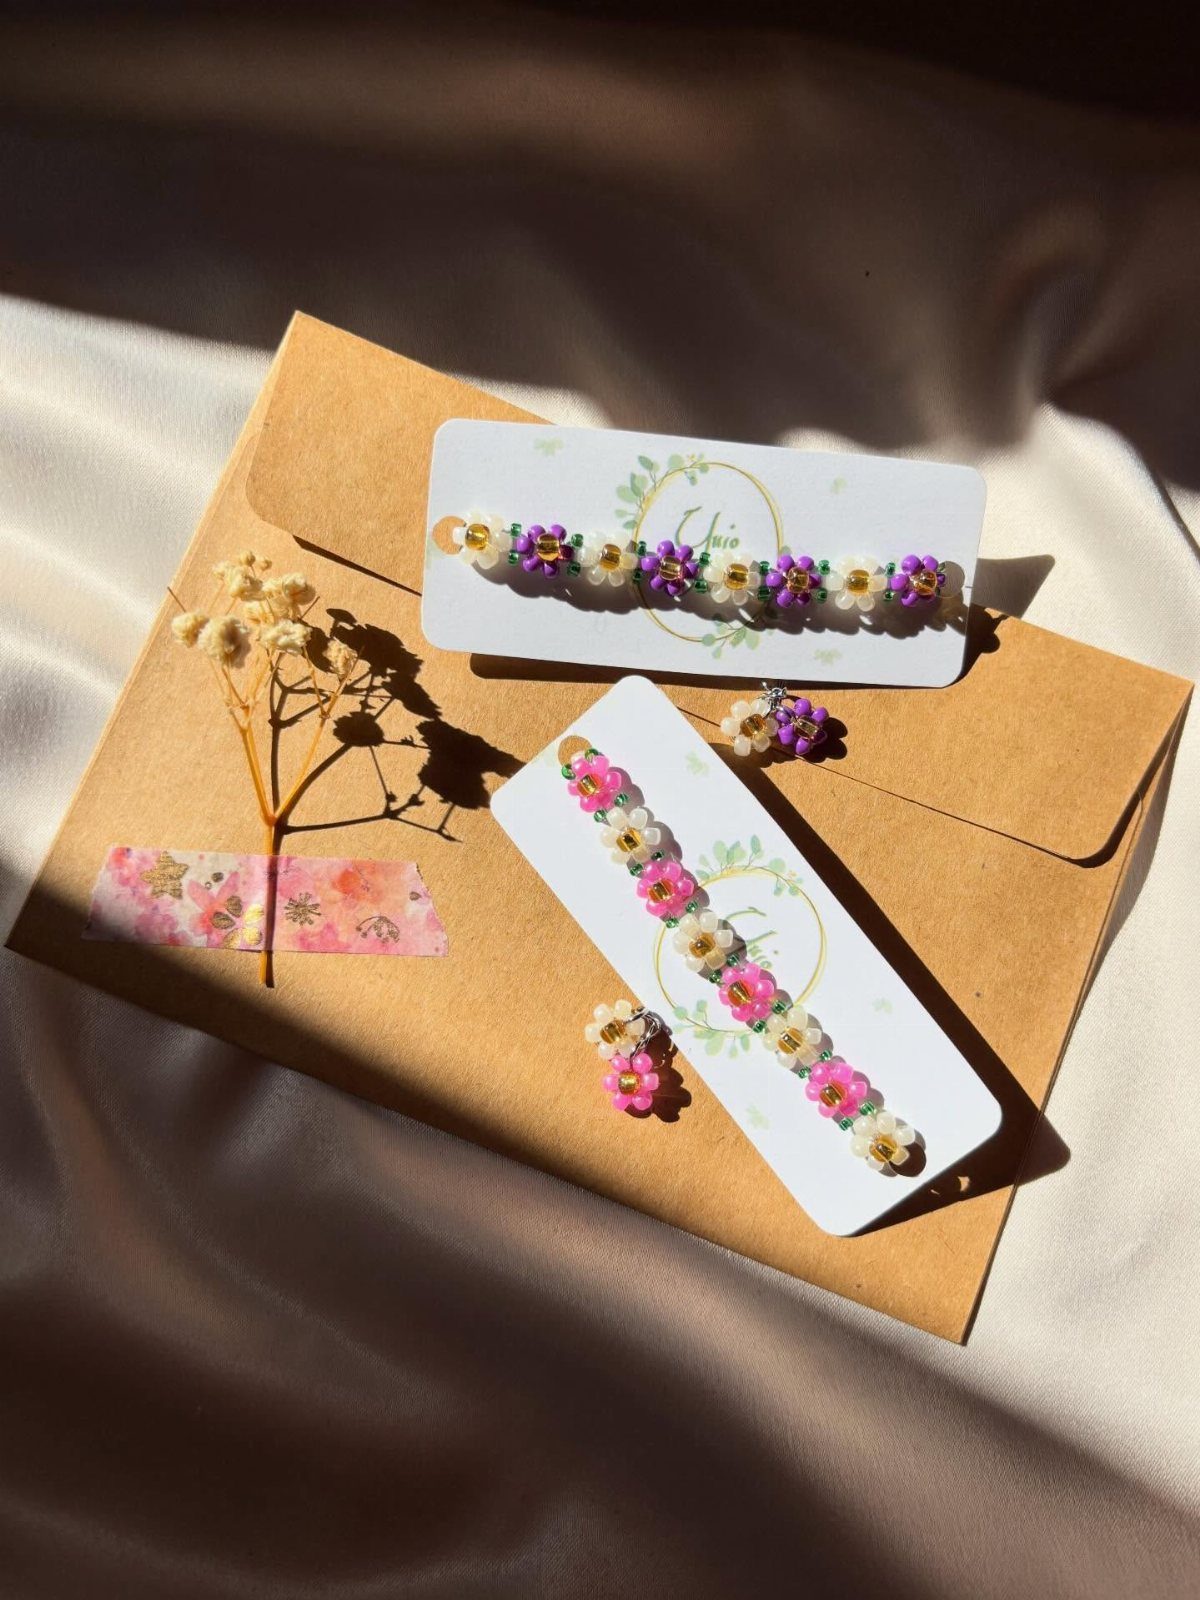
Seed bead flowers, each petal a ring of beads around a center, string together into a bracelet that looks harder than it is. The work is repetitive, not difficult; a dozen flowers covers most wrists.
Make each flower on a temporary wire or thread circle, then link them with jump rings or by threading stem wires through the last row. These are gift-ready once you tuck the wire ends with flat-nose pliers.
I would keep the palette limited, white petals and a yellow center, or all one color with a contrasting center. Multicolor flowers read crafty fast; monochrome reads designed.
Tips for Making Beaded Bracelets
Pre-stretch elastic cord before you string a single bead; otherwise the bracelet loosens after a week of wear and sits at your palm instead of your wrist.
Two crimps per end, not one, is what I do on wire bracelets, because the first takes the pull and the second backs it up. A wire guardian between clasp and crimp keeps the loop from sawing through.
Lay the whole pattern on a bead board or even a strip of masking tape before threading.
You spot a color clash or a gap in the repeat before you are halfway through and committed. For multi-strand pieces, bead tips and jump rings let several strands meet one clasp without the bulk of knotting each separately.
Choosing Materials
Bead hole size dictates the thread, not the other way around. Standard embroidery floss, 6 strands thick, swells too wide for metal or crystal beads; it fits wooden pony beads fine, but the result is camp-craft, not jewelry.
Size 8 pearl cotton, doubled through 4 mm metal beads, gives the heft I want in a finished friendship bracelet without looking childish.
Measuring Bracelet Length
I hold the cord against my wrist exactly where I want the bracelet to fall, then pinch or mark that spot before I cut anything.
Add length for whatever closure you are using: a knot and dab of glue need less extra than a lobster clasp and jump ring, which need less than a macrame sliding knot that eats cord on both ends.
The average finished bracelet runs 7 inches for most women and 8 inches for most men, but your own wrist is the number that matters.
Test the length before you finish. For stretch cord, wrap the strung beads around your wrist with the tail still loose; you need enough slack to tie, but not so much that the bracelet spins.
If you are laying out a pattern beforehand, a piece of tape or a binder clip at one end keeps beads from sliding off while you decide. Wait 15 minutes after gluing the knot before you stretch it on.
The average bracelet is around 7 in (18 cm) for adult women and 8 in (20 cm) for adult men.
— WikiHow





