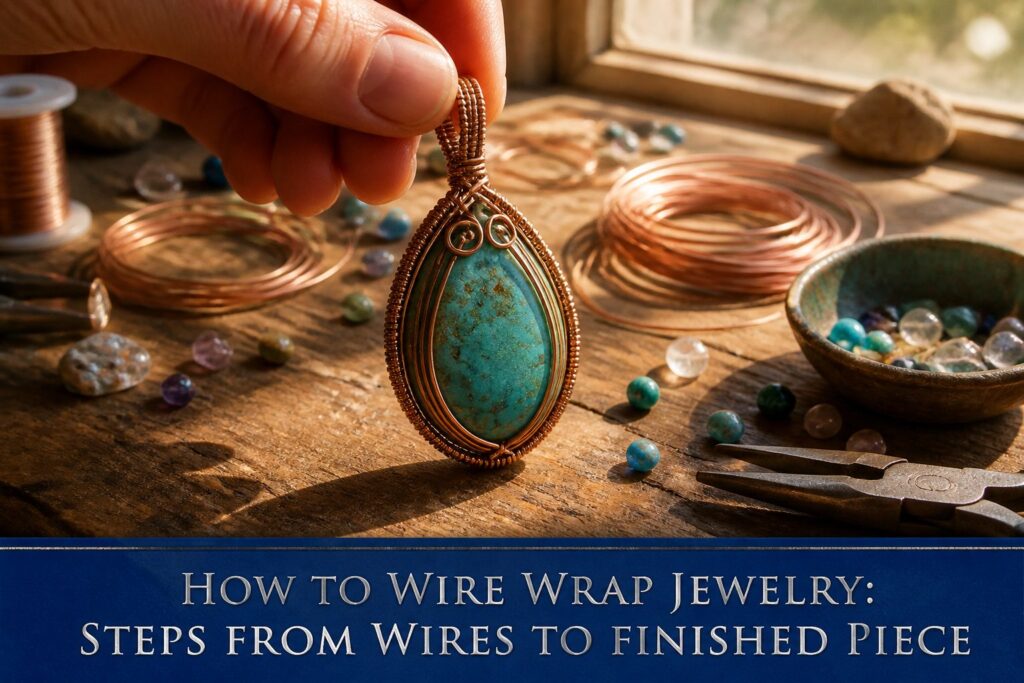
A finished wire wrapped pendant costs less than a basic set of pliers and a spool of copper wire.
Most beginners burn through their first few feet learning how tension holds a stone without solder or glue, and that is where the work lives or dies: too loose and the stone rattles out, too tight and soft turquoise chips under the pressure.
The gauge number runs backward, with 20 or 22 gauge forgiving enough for first coils, while 32 gauge disappears into decorative wraps that grip without bulk.
1. Understand the Basics
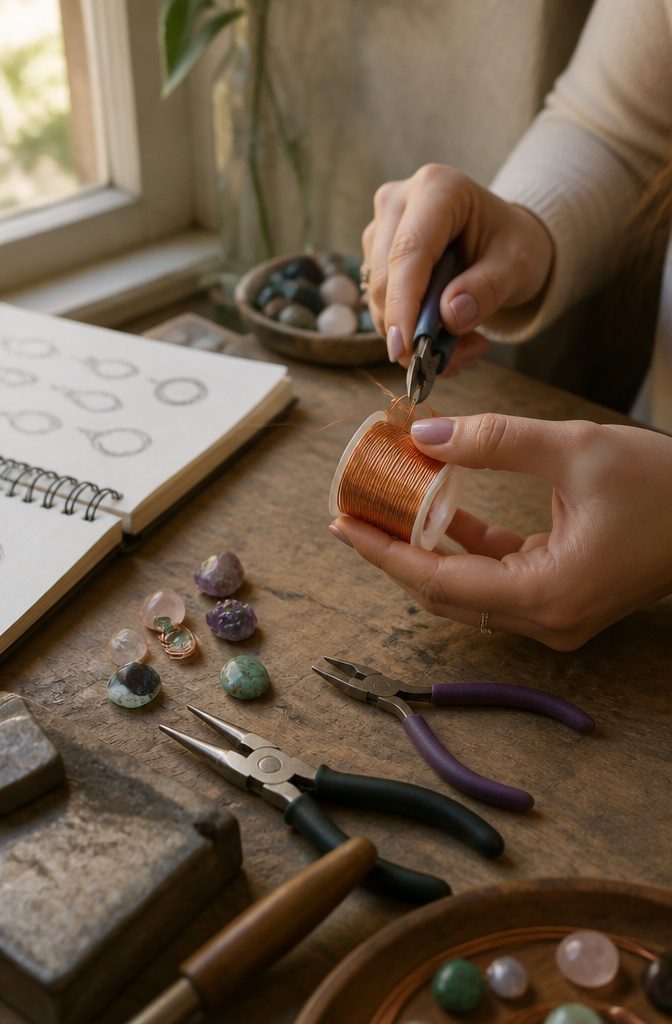
Wire wrapping is a jewelry-making technique where you bend and coil metal wire around stones, beads, or the wire itself to build shapes and hold pieces together.
No soldering, no glue: just your hands, a few tools, and the tension of the wire doing the work.
The technique is relatively easy and accessible for beginners. I would start with simple projects to get comfortable with how the wire behaves under your fingers, then move toward more intricate woven patterns as your hands learn the rhythm.
Copper wire is the material I recommend at first: it is inexpensive, takes a nice patina if you want it, and the lower cost means you can waste a foot learning a coil without wincing.
Plated copper with a silver-colored coating is another cheap option if you prefer that look. Save the sterling silver or gold wire for after you have burned through your first few spools and know which gauges suit which projects.
Most people begin with tutorials and guides, not a class.
That works fine. Round and half-round wire in various gauges, a pair of wire cutters, and a cabochon stone flat on one side and rounded on the other will carry you through your first pendant.
The higher the gauge number, the thinner the wire; I started with 20 and 22 gauge, which felt forgiving without being floppy.
2. Practice Basic Techniques
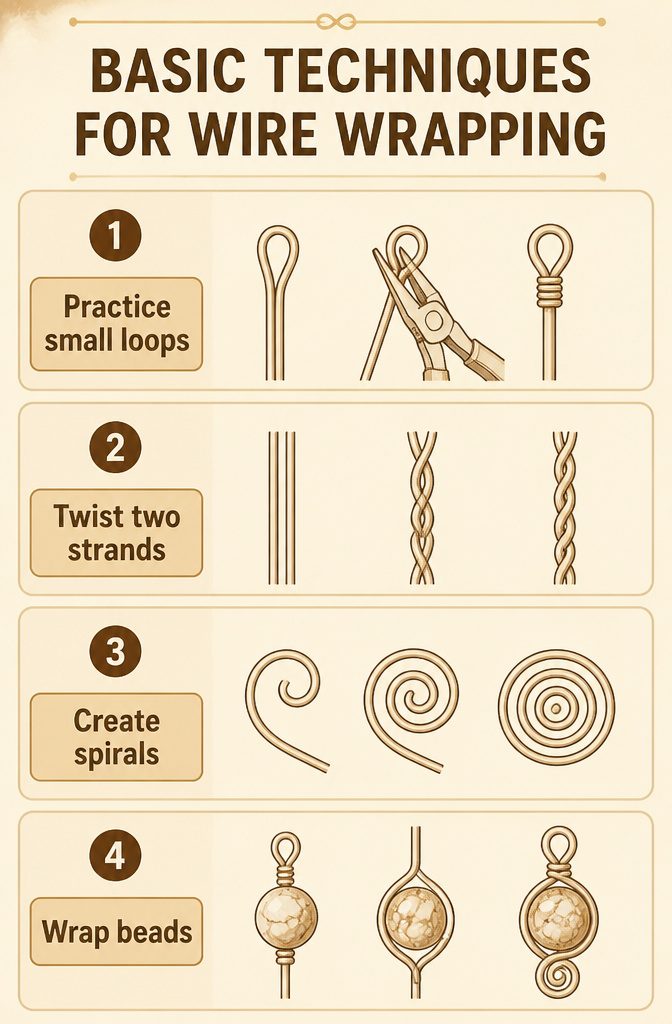
Small loops are the backbone of almost every wire wrapped piece.
I practice these first on scrap wire before touching a bead, because a clean closure means the difference between a charm that hangs for years and one that slips free the first time it catches a sweater.
The loop should close with its end tucked inside the previous coil, not jutting out to snag skin or clothing.
Twisting wire into simple shapes comes next. Two strands gripped in flat-nose pliers and rotated opposite directions make a tight rope that holds its structure without solder.
Spirals follow the same logic but feed from one continuous strand, coiling inward toward a center point that sits flat against a surface or floats above it depending on which side faces out.
Bead wraps are where these moves combine. A loop secures one end, the wire passes through or around the stone, and a second loop or spiral locks it closed.
I run through each motion half a dozen times on inexpensive practice wire before working with anything I intend to finish.
The wasted inches cost less than ruining a cut stone or having to cut apart and restart a half-formed pendant.
Video tutorials demonstrate these techniques more clearly than still images ever could. Watching the plier angle and the way the wrist turns to keep tension even helped me more than written descriptions when I was learning.
3. Create a Base for Your Jewelry
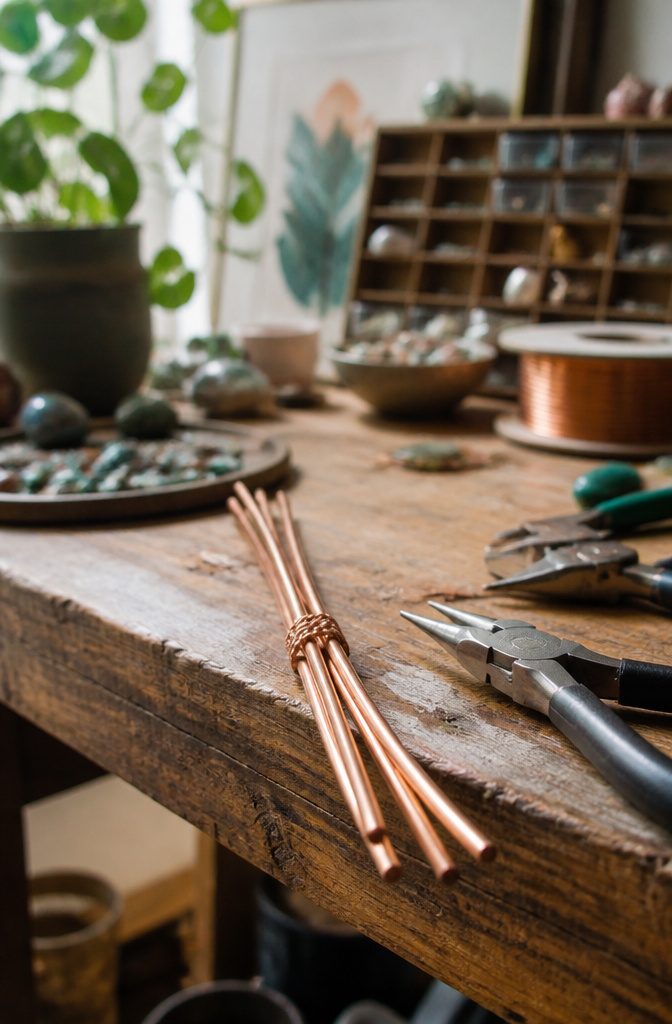
Cut four lengths of round wire to roughly the same length, somewhere in the 18–22 gauge range, and add a two-foot length of half-round wire to the pile.
I always leave myself extra; trimming back is painless, but coming up short mid-wrap means starting over.
Gather the four round wires into a tight bundle and wrap the half-round wire around their center.
Pliers flatten the wraps against the bundle so nothing shifts. Keep going until you have about an inch of wrapped section, or roughly the footprint of whatever stone you’re setting.
That flat wrapped core is what the stone actually sits on, and the four wires extending from it become the arms you’ll bend and twist around the stone later.
You could wrap every protruding wire individually or twist pairs together for a thicker look. Thinner wire, around 32 gauge, works well for adding decorative wraps over single or double strands.
The base sets the piece’s overall structure, so a tight, level center wrap pays off when the stone drops in and the arms actually reach where you need them.
4. Wrap and Twist Protruding Wires
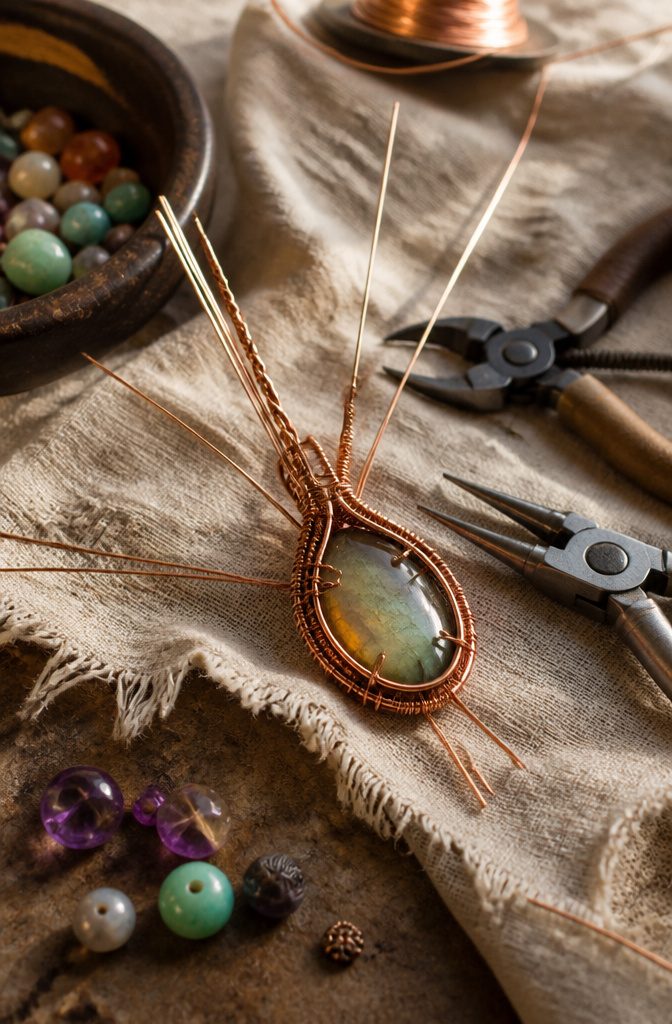
The wires left standing from your base are where the piece starts to become more than a frame.
Thin 32-gauge wire wraps well around single strands or doubled pairs, and twisting base wires together gives you ridges and rope textures that catch light against the stone.
These wraps do two jobs at once: they turn functional struts into ornament, and they build up the cage that will eventually hold the stone from shifting.
I like to wrap a few lengths purely for texture before I plan where the stone sits.
A wrapped band across the back adds spring that grips without clamping, and coils at the corners become bumpers that keep a cornered cabochon from rotating.
The bail loop I form from one strand now, while the wires are still free and I can choose which direction it points.
At this stage the work looks busy, almost messy.
That is normal. Each wrapped section is a decision about where tension will run when the stone drops in.
Thinner wire wraps tighter and disappears visually; thicker twists read as design lines. 32-gauge wire for detail, base wire for structure keeps the hierarchy clear without planning every coil in advance.
You want an uneven surface with enough friction that the stone seats firmly and enough pattern that the metal competes with the rock instead of merely holding it.
5. Wrap the Stone
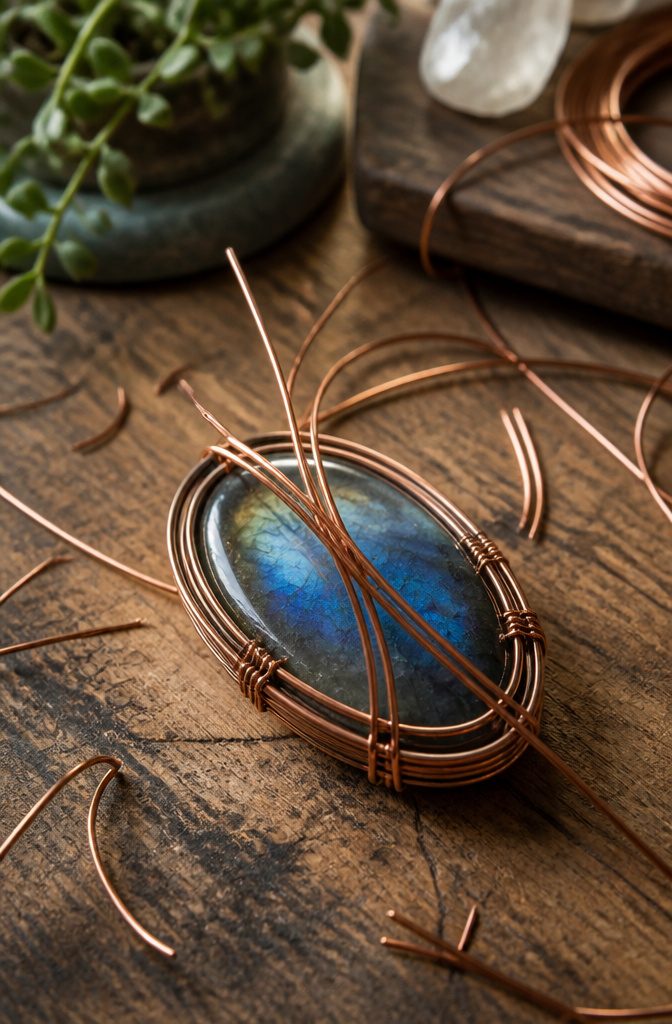
A stone in a wire wrap stays put because the metal grips it, not because a wall of metal traps it.
That difference matters. In a traditional setting, a jeweler cuts a seat and folds metal over the girdle with a pusher; the stone is locked in place by force after the fact.
Wire wrapping builds the cage as you go, and the tension you maintain while bending each wire is what keeps the stone from shifting or slipping.
Start with the stone cradled in the frame you built.
Each wire crosses over a point on the stone, a corner or a high spot, and the bend you make there creates a spring pressure. Too loose, and the stone rattles or falls out.
Too tight, and you risk chipping a soft stone or snapping a thin wire. I work by feel, adding half a bend at a time and testing the hold with a gentle press of my thumb.
Soft stones like turquoise or opal need you to spread the pressure across more contact points, using thinner wire in more places rather than fewer thick wraps.
The placement also decides whether the stone sits flat. A wire riding up onto the table throws the whole piece off balance and catches light wrong.
I check the profile from the side as often as I check the front, because a wrap that looks clean head-on can still have a wire bulging where it should sit flush against the pavilion.
6. Finish the Piece
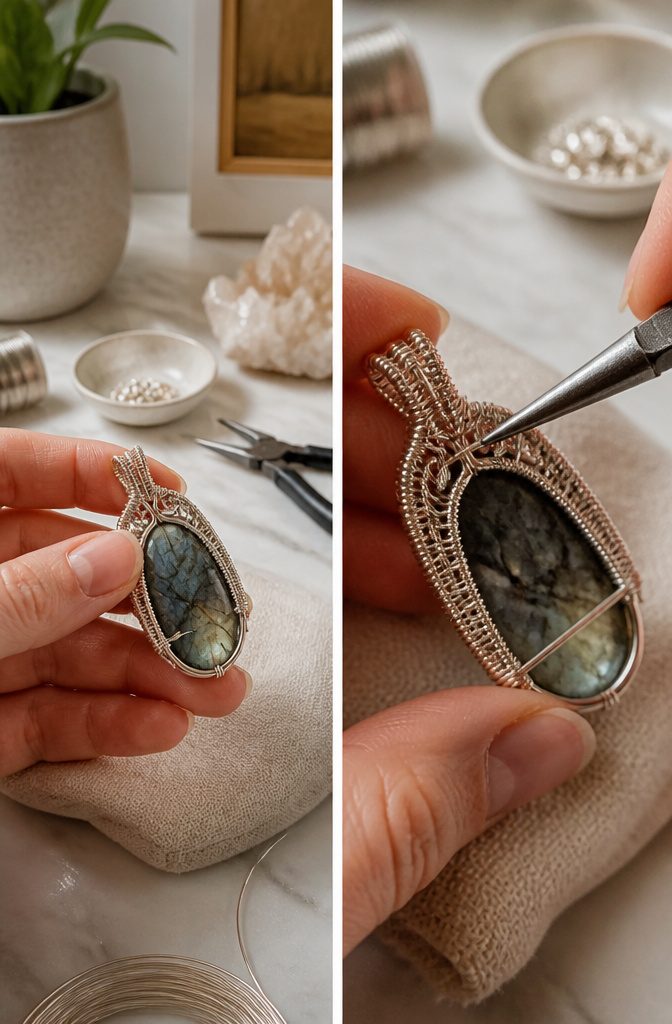
A finished wire wrap lives or dies on what you cannot see.
Run the pad of a finger across every surface, inside and outside. Any tail poking more than a hair’s width above a wrap will catch a sweater, scratch a collarbone, or work itself loose over months of wear.
Tuck every end flush with flat-nose pliers, then burnish with a polishing cloth until the join disappears under your fingertip.
Hold the piece at arm’s length against a white background. The eye detects symmetry faster than the hand, so lopsided loops or unequal tension will shout from across the room.
Rotate it slowly: a stone that sits tilted in its cage looks amateur, and the wearer will fidget with it all day. Fix it now, because no one re-wraps a piece after gifting it.
For earrings, the test is the mirror.
The pair should hang identically, swing with the same arc, and weigh close enough that you cannot tell left from right by heft alone. A difference of more than a fraction throws off balance after an hour.
The final check is the skin itself. Press the metal to your wrist or neck for thirty seconds.
Any hot spot, any catch against fabric, any click against bone means back to the pliers. Wire wrapping is forgiving that way: twenty minutes of adjustment now saves the piece from a drawer forever.
Wire Types, Gauges, and Tempers
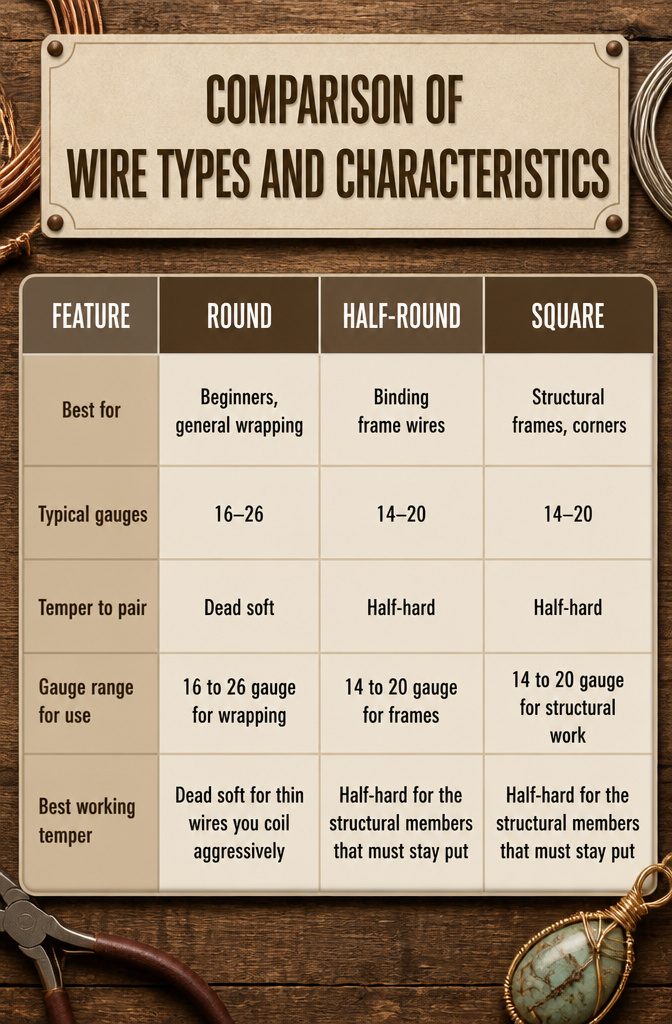
Round wire is the shape you’ll reach for first as a beginner; it bends predictably and flows through loops without fighting back.
Half-round wire, flat on one side and domed on the other, sits flush when you bind bundles together, which is why it shows up when you’re anchoring frame wires to a base.
Square wire locks into itself at corners and builds structural cages that hold their geometry under tension.
Gauge runs the other way from what you’d expect: higher numbers mean thinner wire. For wrapping itself you’ll stay between 16 and 26 gauge.
Drop to 14 gauge when you need a rigid frame that won’t flex under the stone’s weight. Weave at 28 gauge, where the wire is fine enough to pass through tight spaces and coil neatly without bulk.
Temper, or stiffness, comes in three grades. Dead soft is fully annealed and moves like clay; start here for intricate coiling because work-hardening will stiffen it naturally as you bend, twist, and reposition.
Half-hard holds a set better, so I use it for those thicker frame wires that must keep their shape. Hard temper arrives already springy and fights most wrapping; skip it unless you have a specific reason.
| Feature | Round | Half-Round | Square |
|---|---|---|---|
| Best for | Beginners, general wrapping | Binding frame wires | Structural frames, corners |
| Typical gauges | 16–26 | 14–20 | 14–20 |
| Temper to pair | Dead soft | Half-hard | Half-hard |
Dead soft for thin wires you coil aggressively; half-hard for the structural members that must stay put. That pairing matters more than the metal you buy.
Tools You Need
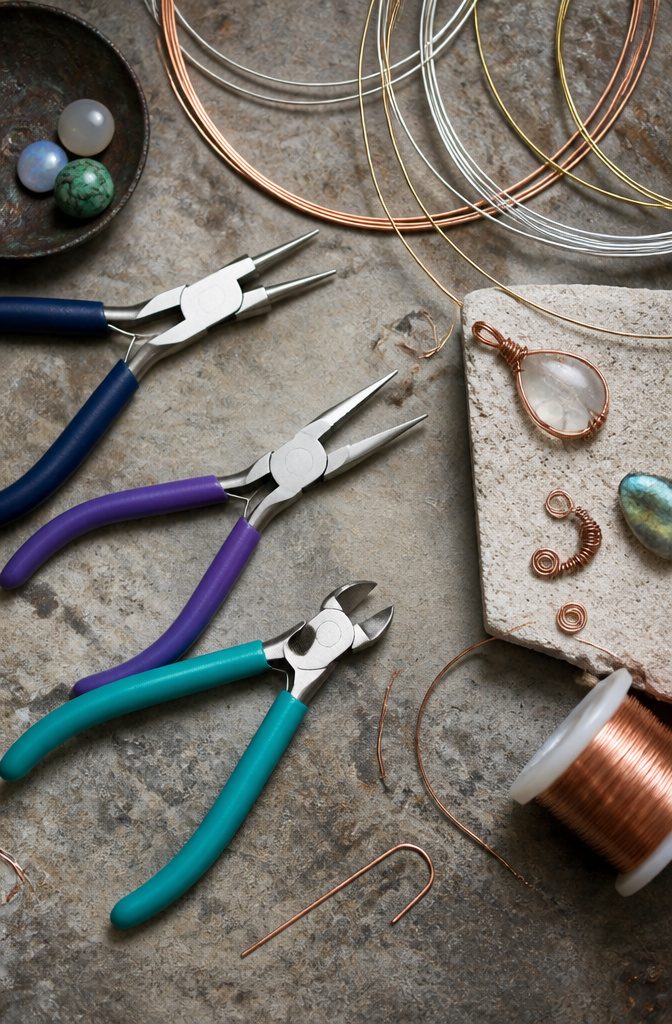
You can start wire wrapping with three tools and nothing more. The rest is optional.
- Round nose pliers shape loops and swirled wire. Their tapered jaws let you vary loop size without switching tools.
- Chain nose pliers grip flat, make sharp bends, and tuck wire ends flush so nothing snags on skin or clothing.
- Flush wire cutters leave one clean, flat edge per cut. A second pair rated for thicker wire saves your fine cutters from dulling.
A basic set of pliers runs $5–$15, while decent wire cutters fall in the $15–$50 range. Spending more on cutters usually pays off; they hold an edge longer and save cleanup time on every piece.
Hammers, mandrels, and nylon jaw pliers open up fancier work later, but household items do fine for starting out. Pens, dowel rods, or any sturdy cylinder substitutes for a mandrel when you need a clean circle.
Materials to Start With
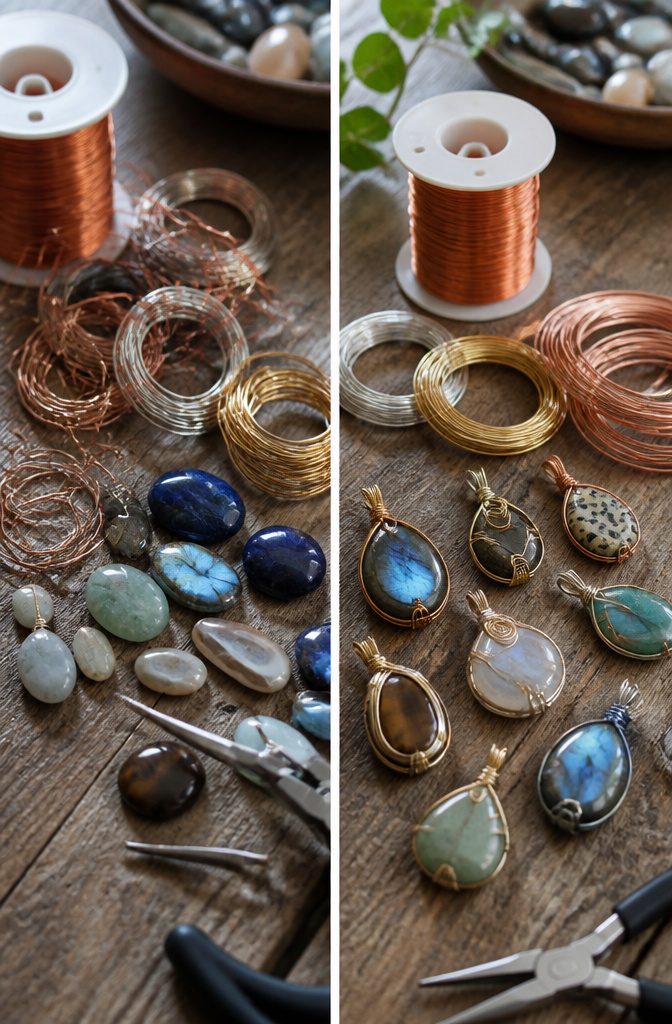
Copper wire belongs at the top of any beginner’s kit. It remains soft enough to bend and rebend without snapping, which matters when you are still learning how much pressure a wrap can take.
The low cost means a spool that runs out on a failed pendant does not run up a tab.
Once the technique feels stable, silver or gold-filled wire becomes the better choice for pieces you plan to wear or give. These metals cost more upfront, but they also change how the finished jewelry lives on a body.
Gold-filled wire resists tarnish longer than silver, so a necklace worn daily keeps its color without constant polishing. Silver darkens faster, especially against skin that runs acidic or in humid climates, though some wearers prefer that aged look.
Skin sensitivity pushes the decision too. Copper can turn a wrist green where sweat collects; the reaction is harmless but visible.
Silver and gold-filled sit easier on reactive skin, and gold-filled in particular carries enough gold content to behave nearly like solid karat metal without the price tag of it.
For practice, copper wins. For a bracelet that stays on for years, the upgrade pays for itself in wear time and comfort.
Frequently Asked Questions
Is wire wrapping hard?
Wire wrapping is relatively easy and accessible for beginners.
You can learn without soldering or glue, using just your hands, a few tools, and the tension of the wire. Start with simple projects and inexpensive copper wire so mistakes cost little while your hands learn the rhythm.
What materials do I need for wire wrapping?
You need jewelry wire, wire cutters, and stones or beads for setting. Copper wire is the best material to start with because it is inexpensive and forgiving to bend.
Round and half-round wire in various gauges, plus a cabochon stone flat on one side and rounded on the other, will carry you through your first pendant.
What tools are essential for wire wrapping?
The three essential tools are round nose pliers, chain nose pliers, and flush wire cutters.
Round nose pliers shape loops of varying sizes, chain nose pliers grip flat and tuck wire ends flush, and flush cutters leave one clean, flat edge per cut.
A beginner set of pliers runs $5–$15, while decent wire cutters fall in the $15–$50 range.
How to bend wire for jewelry making?
Grip the wire with flat-nose pliers and use your fingers or a second tool to bend it around the jaw for clean angles.
For loops, wrap the wire around the tapered jaw of round nose pliers and close the end by tucking it inside the previous coil so nothing snags. Video tutorials show the wrist angle and tension better than still images.
What is the best wire for wrapping jewelry?
Copper wire is the best choice for beginners because it is inexpensive, soft enough to rebend without snapping, and takes a nice patina if you want it.
Start with 20 or 22 gauge, which feels forgiving without being floppy. Move to silver or gold-filled wire after you have burned through your first few spools and know which gauges suit which projects.
How to make a homemade pendant?
Cut four lengths of 18–22 gauge round wire and gather them into a bundle, then wrap the center with half-round wire to create a flat base.
The four extending wires become arms you bend and twist around a cabochon stone, using the tension of each bend to grip the stone without trapping it in a wall of metal.
Check the side profile often so the stone sits flat and no wire bulges where it should sit flush.





