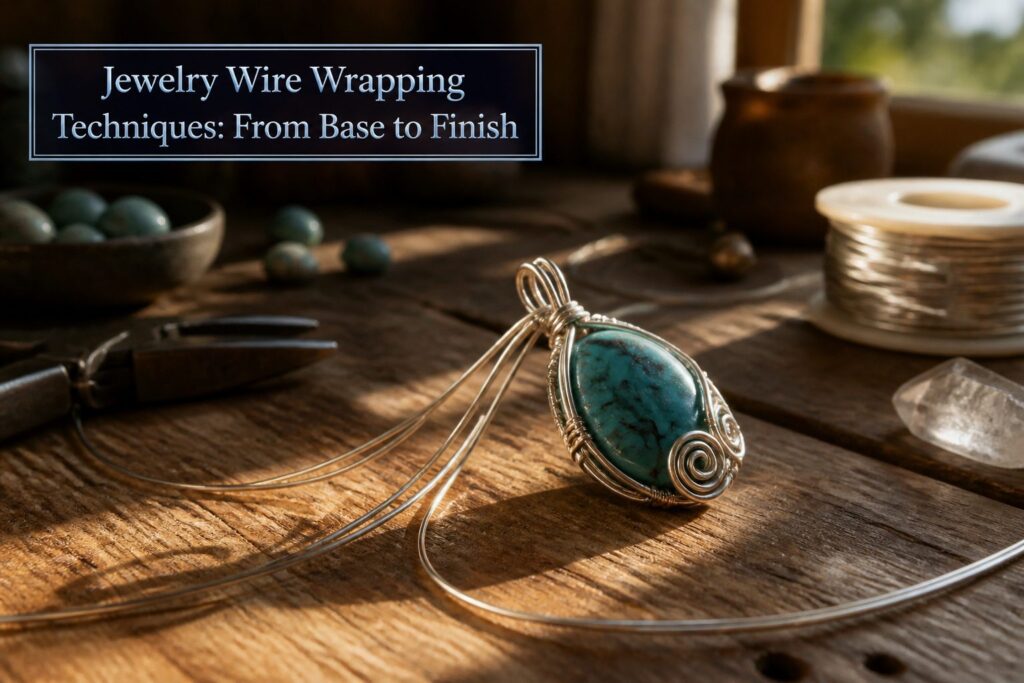
Jewelry wire wrapping is a cold-form technique that bends and coils flexible wire around gemstones to build structure without soldering, drilling, or gluing. Wire wrapping has a structural limit.
Wire-wrapped settings suit pendants and earrings well, but rings and heavy bracelets demand tougher gauges or harder methods. A simple wrapped pendant on a plain cord teaches the core skills and rewards the effort immediately.
What Wire Wrapping Actually Means
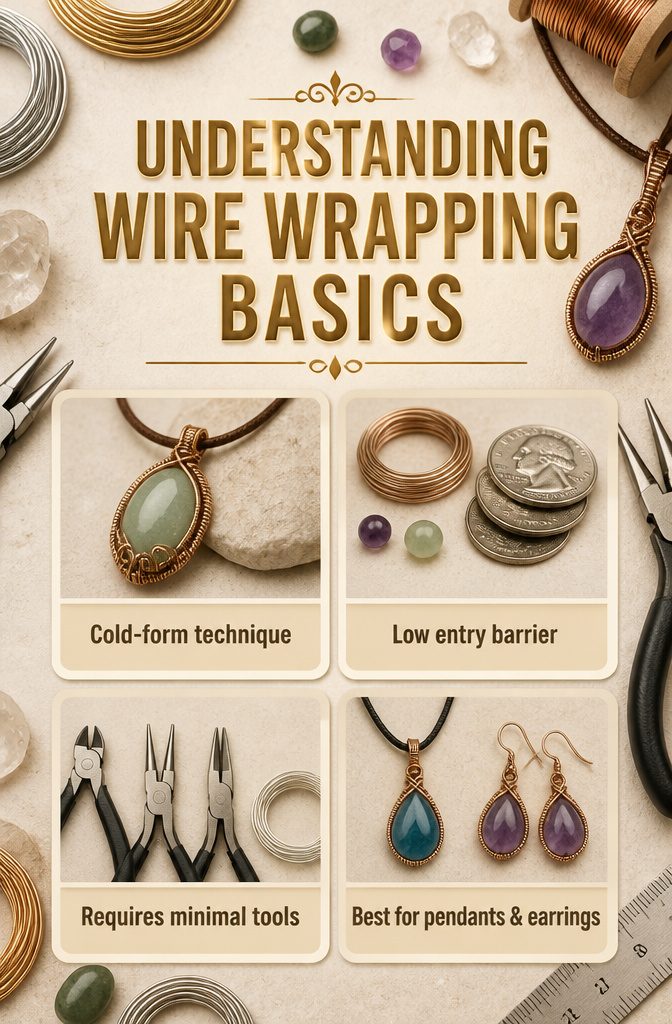
Wire wrapping is a cold-form technique: you bend and coil flexible wire around a gemstone or back onto itself to build the structure, with no soldering, drilling, or gluing required.
The wire itself becomes both frame and fastener, hugging the stone in a casing that holds it without adhesives or holes. Pendants are the most common result, though the method stretches to earrings, bracelets, and more.
The entry barrier sits lower than for most jewelry crafts. A beginner needs only wire, a few simple tools, and beads or stones that catch the eye.
The foundational moves, linking bent-wire shapes and wrapping sequential layers, repeat across thirty or more distinct methods that all build from the same handful of gestures. Where metalsmithing demands torches and solders, wire wrapping asks for patience and pliers.
That simplicity is the real draw. You can start the same afternoon you buy supplies, and the first piece usually survives as wearable jewelry rather than practice scrap.
The trade-off comes in structural limits: wire-wrapped settings suit pendants and earrings well, but rings and heavy bracelets may need harder techniques or tougher wire gauges.
For a first project, a simple wrapped pendant on a plain cord teaches the core skills and rewards the effort immediately.
Round Wire
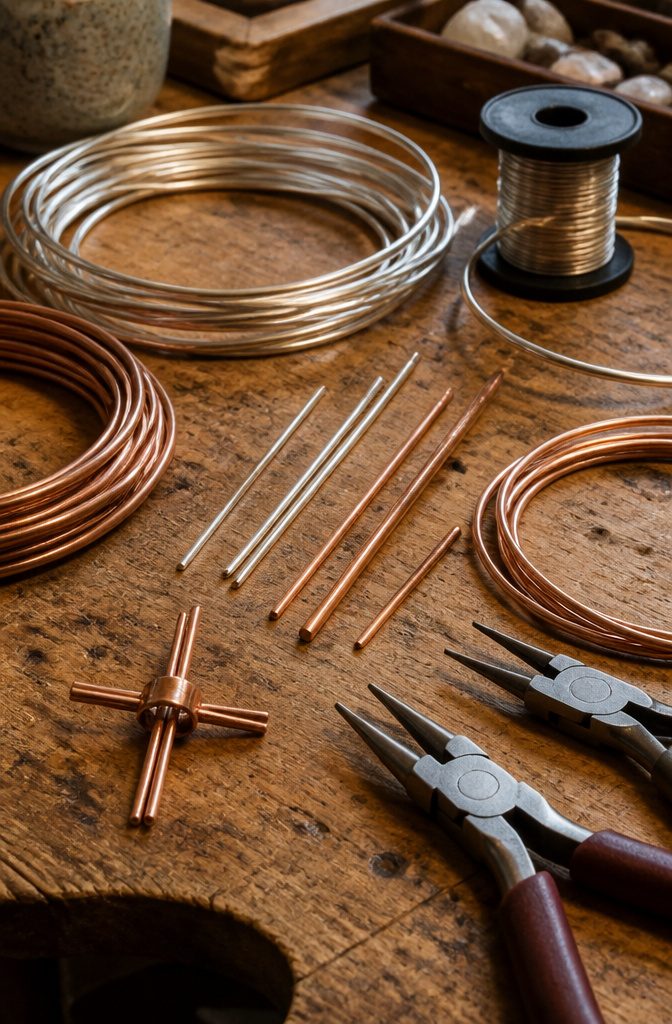
Round wire is the foundation most jewelry wire wrapping techniques rely on, and the gauge you choose determines whether that foundation holds or collapses.
I reach for 18–22 gauge when building a pendant base: thick enough to keep its shape under tension, thin enough to bend without a bench vise. Lower numbers mean heavier wire, and anything above 22 starts flexing like paperclip steel.
Four equal lengths of round wire form the core cross that a cabochon sits on, with a longer piece of half-round wire binding them at the center till you have about an inch of wrapped flat surface.
The round wire protruding from that bundle becomes your working ends, the arms you twist and coil around the stone.
For practice, plated wire or bare copper keeps the mistake cheap.
Plated wire is usually copper coated in silver-colored metal; copper itself runs even cheaper if you like the warmth. Both solder soft and feed through pliers smoothly.
Once your hands stop cramping and your wraps sit even, trading up to sterling or gold-filled wire makes sense. Before that, expensive metal mostly buys you anxiety.
Half-Round Wire
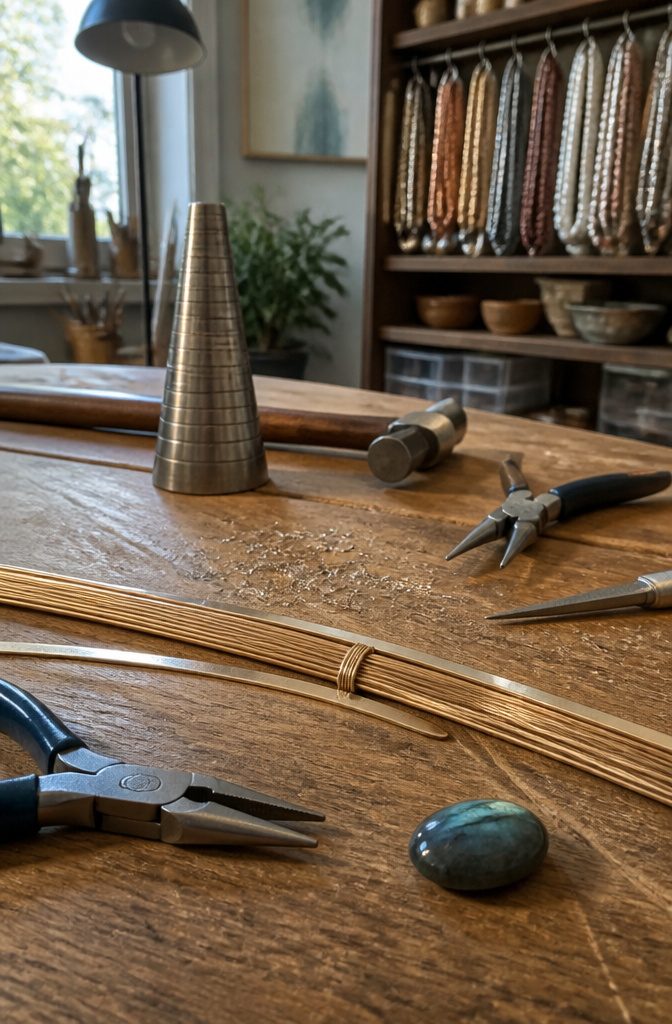
Half-round wire does the job of binding because its profile gives you a flat side and a rounded side, and the flat side presses flush against the bundle.
You lay that flat face against your base wires so the wrap sits tight instead of rocking on its arc.
For a standard pendant base, a two-foot length is the usual starting point. You gather your parallel round wires, set that two-foot piece perpendicular at the center, and spiral outward.
About an inch of wrapped width gives you a flat platform wide enough for most stones to rest on, with the four protruding ends left free to bend around the edges and secure the piece.
The half-round profile also keeps the wrapped layer from getting bulky; the rounded outer face looks clean, while the flat inner face does the gripping. Pliers finish the job by flattening the coil against the bundle so nothing shifts.
Wire Cutters
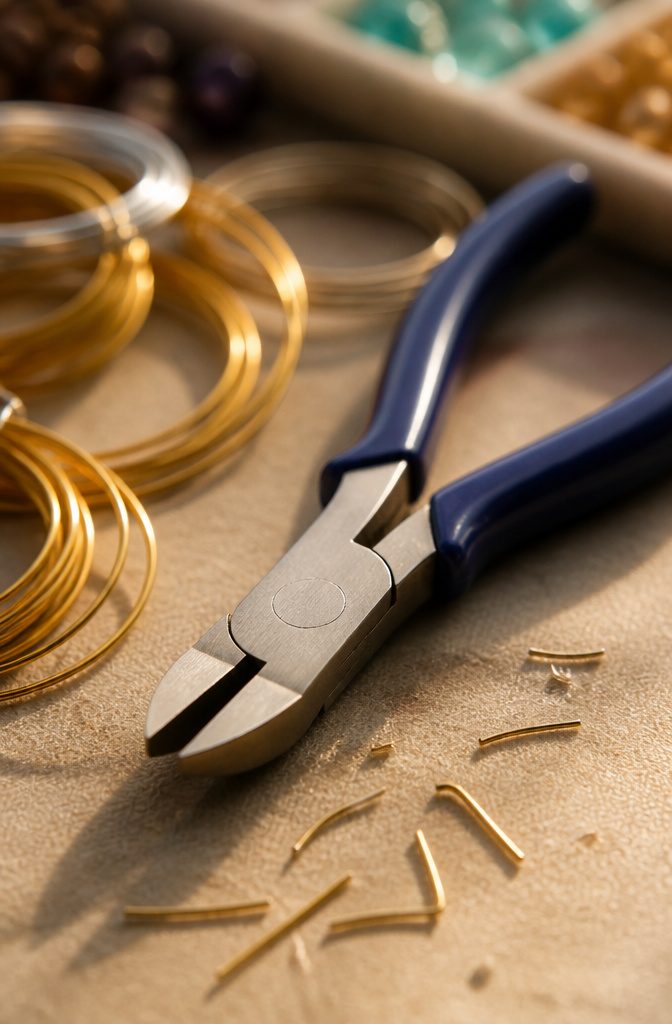
A flush cut is the difference between a clean wire end and a sharp burr that snags on skin or fabric.
Jewelry wire cutters are built for this: the jaws meet flat on one side, leaving the cut piece smooth rather than pinched to a point.
Standard household cutters, the kind meant for electrical wire or cable ties, crush the metal instead.
Their beveled jaws leave a V-shaped ridge that turns a simple trim into extra filing work, or worse, a weak spot where the wire breaks later.
The jaw shape matters just as much as the cut quality.
Jewelry work runs from fine gauges for delicate ear wires up to heavier stock for bangle frames, and a cutter meant for the full range has jaws that reach in close without taking up space you do not have.
I keep two pairs: a narrower head for tight wraps where one snip finishes the job, and a sturdier pair for the thicker gauges that would spring a fine cutter out of alignment.
Household cutters are too bulky for either task. Their size blocks your view of the joint, and their leverage is tuned for force, not control.
Spend the modest difference for a proper jewelry cutter upfront. The time saved on cleanup, and the wire saved from ruined ends, pays it back within a few projects.
Cabochon Stones
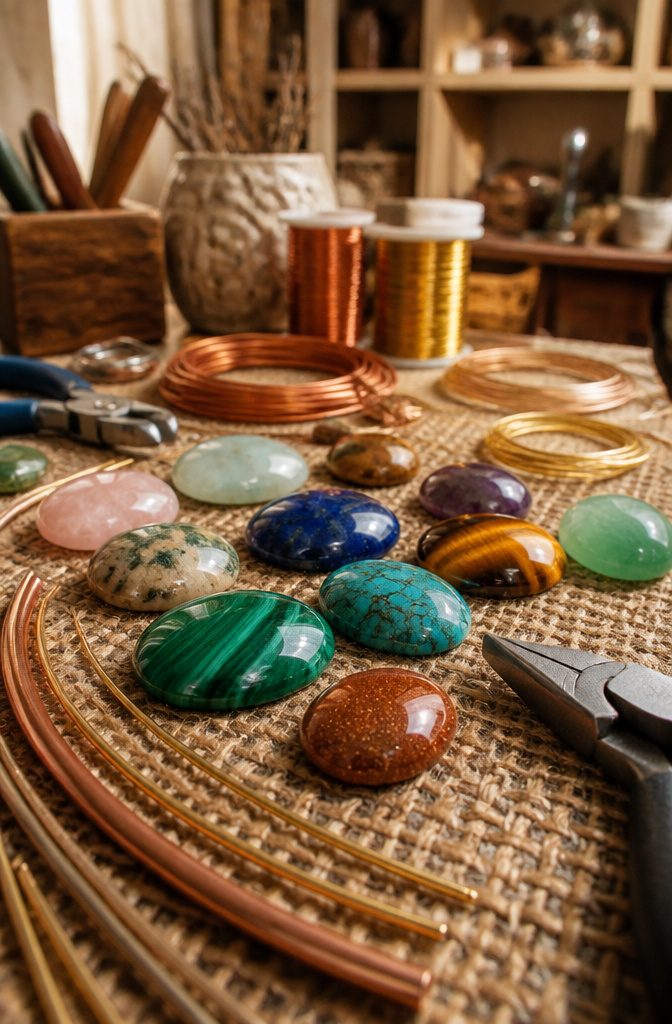
A cabochon stone gives wire wrapping its most reliable mechanical grip. The flat back sits flush against the body while the domed top lets the wire trace the curve and lock in place under tension.
Faceted stones with drilled holes depend on a bail or setting that the wire can only thread through, which leaves the stone free to spin or tilt if the wrap loosens even slightly.
Skillshare instructor Rachel Truax recommends cabochons for pendants for exactly this reason. The wire can form a bezel that cups the edge and crosses the back, creating friction at three or four points instead of one.
That distributed pressure matters when a pendant catches on a sweater or gets knocked against a doorframe.
Round and half-round wire both work here, though half-round wire lies flatter against the stone’s shoulder and leaves less bulk at the rim.
Gauges from 20 to 24 handle most cabochon sizes without overwrapping the edge or leaving gaps. Copper with a silver-colored coating keeps practice affordable while you learn how much tension the stone tolerates before the wire slips or the edge chips.
Decorative Loops
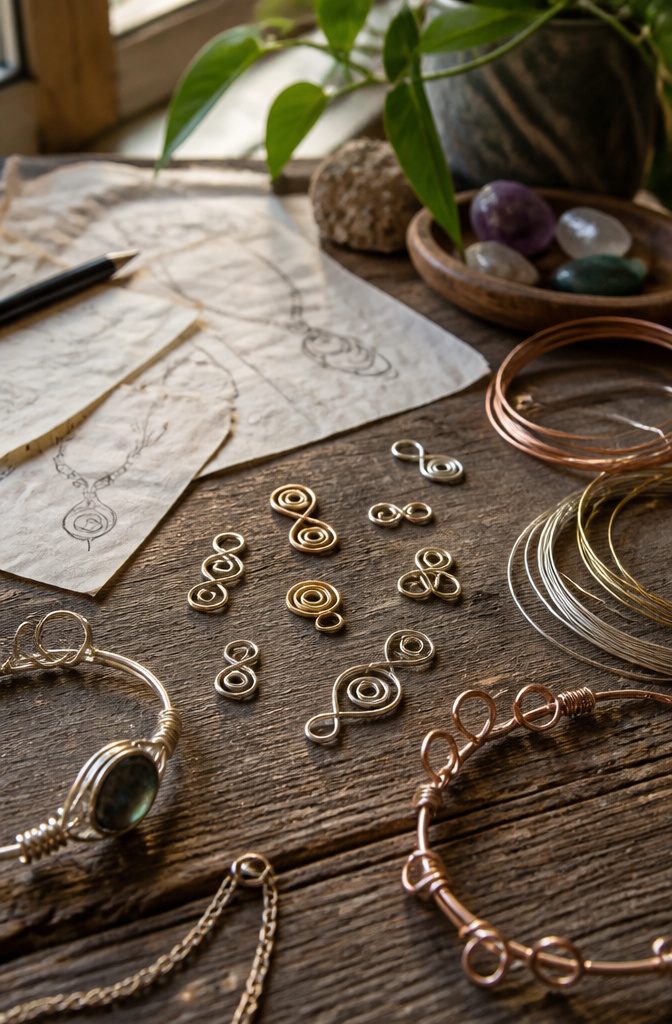
A decorative loop does work that plain wire never could. It holds a bail for a pendant, links chain to clasp, or bridges two separate wraps into one coherent piece.
Where a functional wrap buries its ends and hides the joint, the loop stays visible by design and becomes the ornament.
I place loops at stress points where hardware meets wire, but I also cluster them along a bracelet’s length as rhythm.
Three loops spaced evenly turn a simple wire band into something that reads intentional, almost filigree, without adding a single stone. The eye reads them as beads.
The skill is in making the loop’s closure invisible. A gap where the circle meets itself kills the illusion.
I twist the wire back against its own tail with flat-nose pliers, rocking slightly rather than squeezing hard, until the seam disappears. Overworking the metal hardens it and the loop turns brittle; stop the moment the circle holds.
Purely decorative loops differ from functional wraps in one way that matters for wear.
A wrap under a stone must grip forever. A decorative loop can sometimes afford a hair of movement, a slight oval rather than strict circle, which catches light differently and keeps the piece from looking machined.
For beginners, the loop is where patience shows.
Rushed, it bulges or flattens. Done quietly, with the pliers turning rather than the wrist forcing, it becomes the reason someone stops to look closer.
Create the Base
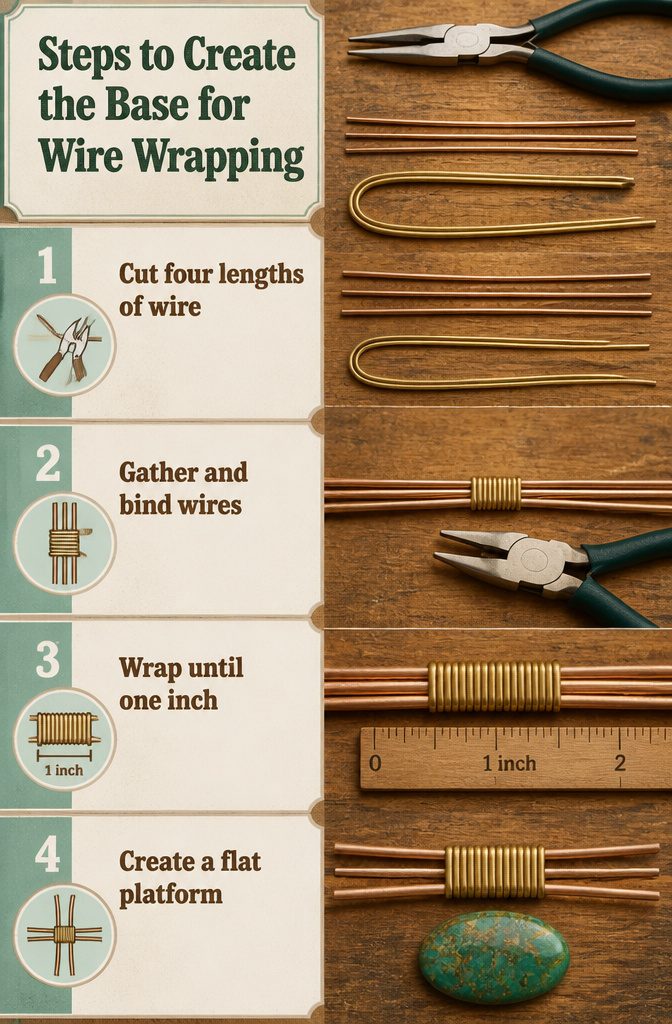
- Cut four lengths of round wire in 18–22 gauge to roughly the same length, then cut a two-foot length of half-round wire. The half-round wire binds the bundle; the round wires become the arms that later wrap and twist around the stone.
- Gather the four shorter wires together and find their center. Wrap the two-foot length of half-round wire around that midpoint, keeping the bundle flat. Pliers help flatten each turn against the round wires so nothing gaps or buckles.
- Continue wrapping until the bound section measures about one inch, or roughly the footprint of the stone you will set. The wrap must be tight enough that the base feels solid and the stone sits level, but not so tight that the round wires splay or the half-round wire digs in and weakens the structure.
- The finished base is a flat, wrapped platform with four round wires extending in two pairs. Those protruding wires are what you bend and twist into your chosen design around the stone.
Wrap and Twist the Protruding Wires
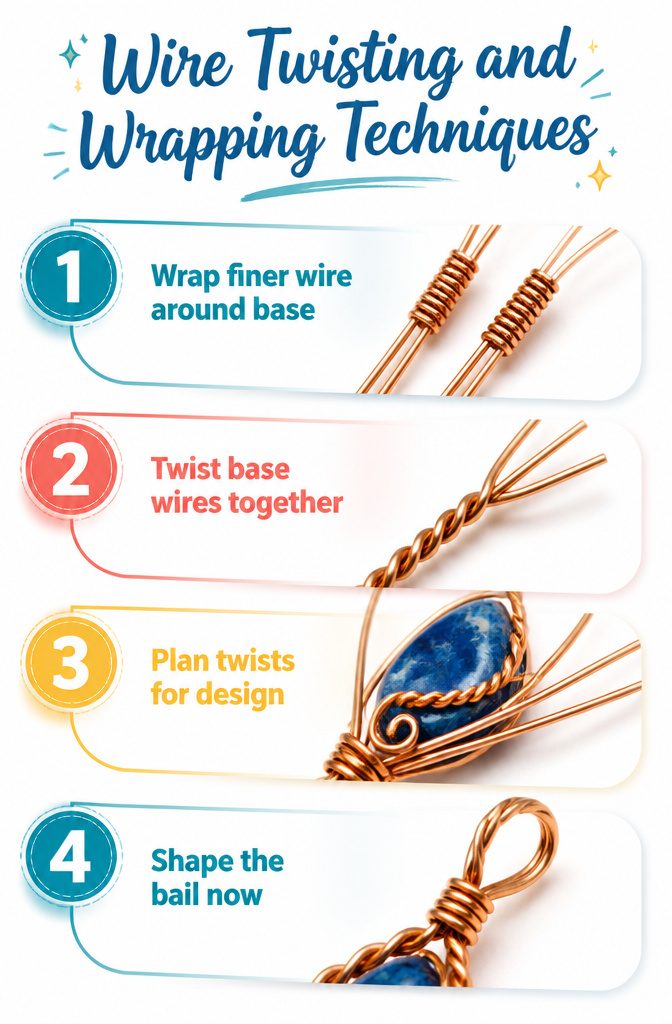
Use these four wires to build the texture and structure that will later hold your stone.
- Wrap finer wire around the base wires. Take lengths of 32-gauge wire and coil them around single strands or pairs of your protruding base wires. This creates visual contrast and strengthens the arms that will eventually cradle the stone.
- Twist some base wires together. Pair two of the thicker protruding wires and twist them gently with your fingers or flat-nose pliers, leaving enough free length above the twist to shape around the stone later.
- Plan each twist to serve the final wrap. A twist placed too far from where the stone sits fights you at the end, so position them where they will naturally curve around the stone’s edge or point. The decorative layer you build here becomes the functional cage that secures everything.
- Shape the bail now. Before the stone goes in, twist one wire strand into the loop that will thread your chain or leather lace. Trying to add it after the stone is wrapped usually means starting over.
The order matters more than the pattern. Wrap for looks, but keep exits and anchor points where the stone will actually need them.
Wrap the Stone
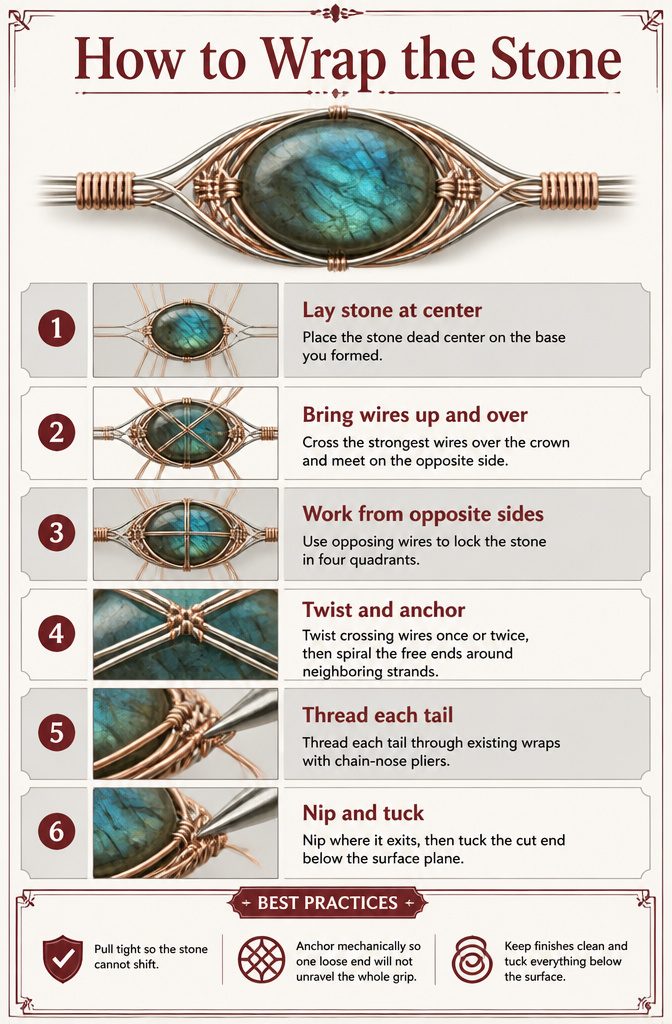
- Lay the stone dead center on the base you formed, then bring the protruding wires up and over the edges. I start with the two or three strongest wires, usually the 22-gauge or 20-gauge core strands, and cross them over the crown of the stone so they meet on the opposite side. Pull each wrap tight enough that the stone cannot shift sideways, but stop before the tension dents soft cabochon backs or risks snapping thinner gauges.
- Work from opposing sides, not all from one direction. A wire running north-south and another east-west locks the stone in four quadrants; anything less and the setting develops a wobble you will feel every time the piece moves. Twist the crossing wires once or twice at the contact point, then spiral the free ends around neighboring strands rather than cutting them flush. This anchors the tension mechanically, so a single loose end will not unravel the whole grip.
- For the finish, thread each tail through existing wraps with chain-nose pliers, draw it snug, and nip it where it exits. The cut end gets tucked down with a pin vise or the pliers’ tip so it sits below the surface plane. Anything protruding will snag clothing and work looser over months of wear. A 32-gauge decorative wrap over the joint buries the evidence and adds friction that keeps primary wires from backing out.
Round Wire vs. Half-Round
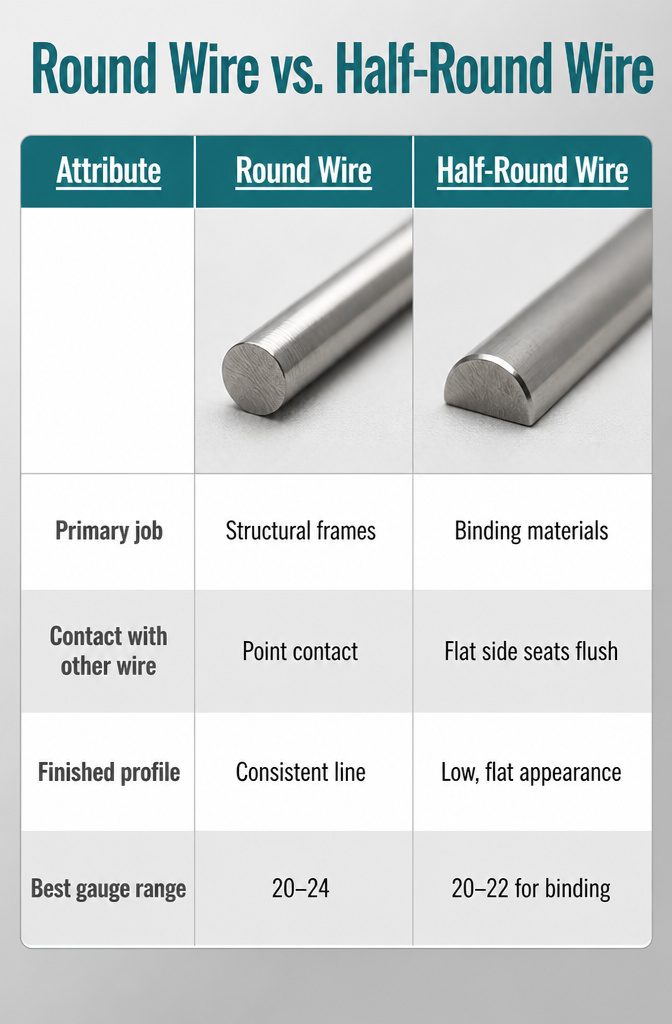
Round wire and half-round wire serve entirely different mechanical roles, and treating them as interchangeable is the first place a beginner’s frame collapses.
Round wire builds structure and takes decorative twists cleanly because its uniform profile lets it rotate smoothly without catching.
Half-round wire, with one flat side, is built to bind: that flat face seats flush against other wires and grips them under tension, so the binding stays put without the bulk of a full round wrap.
The table below lays out where each wins and why swapping them fails.
| Attribute | Round Wire | Half-Round Wire | What Goes Wrong If You Swap |
|---|---|---|---|
| Primary job | Structural frames, coils, decorative spirals | Binding, wrapping, securing joints | Round binding slips; half-round coils look lumpy and resist twisting |
| Contact with other wire | Point contact, rotates freely | Flat side seats flush, grips under tension | Half-round binds too tight to coil; round won’t hold tension without extra wraps |
| Finished profile | Consistent, raised line | Low, sits nearly flat | Round binding sits proud and snags; half-round frames look uneven |
| Best gauge range for detail work | 20–24 for fine work, 16–18 for frames | 20–22 for most binding | Too-heavy half-round overpowers delicate frames |
I keep both on hand because no single project uses just one. A pendant frame starts with round wire for the bail and outer shape, then half-round locks the crossing points.
Try binding that frame with round wire and the wraps loosen under wear; try building structure with half-round and the flat edge fights every spiral.
The cost difference is negligible, so the real expense is the do-over when the wrong profile betrays the joint.
Beginner Designs vs. Advanced Work
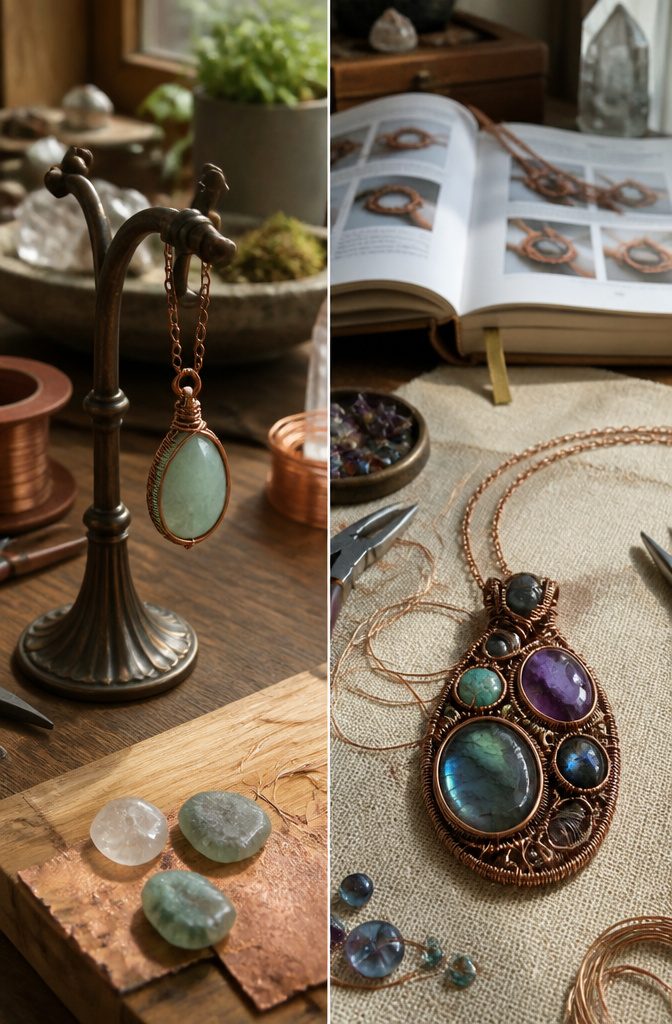
A basic pendant comes together in three steps with five materials, which is where I tell anyone to start.
Wire wrapping is quick to pick up because it demands less than silversmithing or resin work, and those three steps build the muscle memory you will need for everything after.
The jump to advanced work is wider than most beginners expect.
Bent-wire links, coil elements, and wrapping sequential layers all appear in Lora S. Irish’s collection of 30 expert wire wrapping techniques, and her book walks through eight step-by-step projects covering necklaces, pendants, brooches, hairpins, and earrings.
That range sounds tempting, but I would stop adding complication the moment a project stops teaching a clear next skill.
Pile on bent-wire links before you can wrap a clean base, and the piece looks busy instead of deliberate. Five materials taught me control; thirty techniques taught me when to use only three of them.
What You Can Make
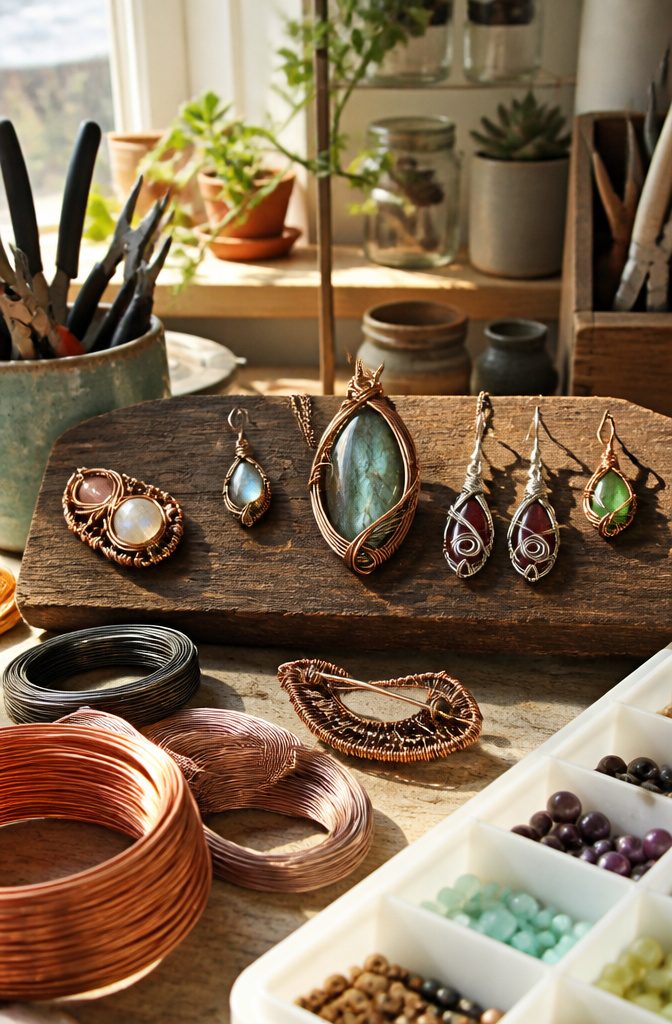
Wire wrapping offers enough range that I never feel boxed in.
Pendants with a single large central stone are where most people start, and for good reason: one flat back rests against the chest, gravity works with you instead of against you, and a simple basket weave or spiral cage holds the stone without fighting its shape.
The projects that follow break down by what they ask of your hands and your patience:
- Necklaces: Similar to standalone pendants but scaled up. A long piece needs either multiple wrapped stations or a central focal point with chain running from both ends. Beginners can manage a single wrapped element on a premade chain; designing the full chain from wire is years down the road for most of us.
- Earrings: Small and quick to finish, which feels encouraging, but the structural demands are sneakily high. Every catch, hook, and wrap has to survive daily on-and-off motions and the occasional snag on a scarf. Start with studs or short drops where the wrap is mostly decorative; dangles with complex suspended stones need very consistent tension or they torque sideways.
- Brooches: The pin mechanism itself is usually purchased, but the wrapped element must sit flat against fabric without tipping. That back needs to be as clean as the front, and the weight distribution matters more than it looks. I consider this intermediate territory, not because the wrapping is harder, but because the failure mode is public and awkward.
- Multi-stone pendants: Two or three stones in one wrapped setting multiply every problem. Each needs its own secure seat, and the wires cross and compete for space. The techniques are the same as a single stone, but the planning is less forgiving. I moved into these only after I could set a solo stone without checking my notes.
Frequently Asked Questions
What materials do I need for wire wrapping?
Round wire in 18–22 gauge, half-round wire for binding, wire cutters that deliver a flush cut, and cabochon stones with flat backs and domed tops.
Plated wire or bare copper keeps early mistakes affordable; upgrade to sterling or gold-filled once your wraps sit even and your hands stop cramping.
What are the steps to make wire wrapped jewelry?
Build a flat base by binding four round wires with half-round wire at the center, wrap and twist the four protruding wires for structure and decoration, then lay the stone on the base and bring those wires up and over to lock it in place.
Shape the bail before the stone goes in; adding it after usually means starting over.
Is wire wrapping hard?
Wire wrapping sits lower than most jewelry crafts: you need only wire, a few pliers, and a stone, and you can produce wearable work the same afternoon you start.
The foundational moves repeat across dozens of methods, so the first pendant teaches skills that transfer directly to earrings, bracelets, and more complex pieces.
How do I bend wire for jewelry making?
Bend wire with flat-nose or chain-nose pliers, turning the pliers rather than forcing with your wrist so the metal shapes without over-hardening.
For loops, twist the tail back against itself with gentle pressure until the seam closes; stop the moment the circle holds, since overworked wire turns brittle.
What is the best gauge wire for jewelry wrapping?
18–22 gauge round wire works best for pendant bases and structural frames; 20–24 gauge handles finer detail, and 16–18 gauge suits heavier bangle frames.
Half-round wire for binding usually runs 20–22 gauge. Anything above 22 flexes too easily for structure, and anything below 16 fights hand tools.
How can I make DIY earrings with wire?
Start with small studs or short drops where the wrap is mostly decorative; these finish quickly and build confidence.
Dangles with suspended stones demand very consistent tension or they torque sideways, and every hook and wrap must survive daily on-and-off motion and occasional snags.
What are some free wire wrapping tutorials for beginners?
Skillshare instructor Rachel Truax offers beginner guidance on cabochon pendants, and Lora S. Irish’s book Wire-Wrapped Jewelry Techniques covers 30 expert methods with 8 step-by-step projects for necklaces, pendants, brooches, hairpins, and earrings.
For a first project, a simple wrapped pendant on a plain cord rewards effort immediately.





