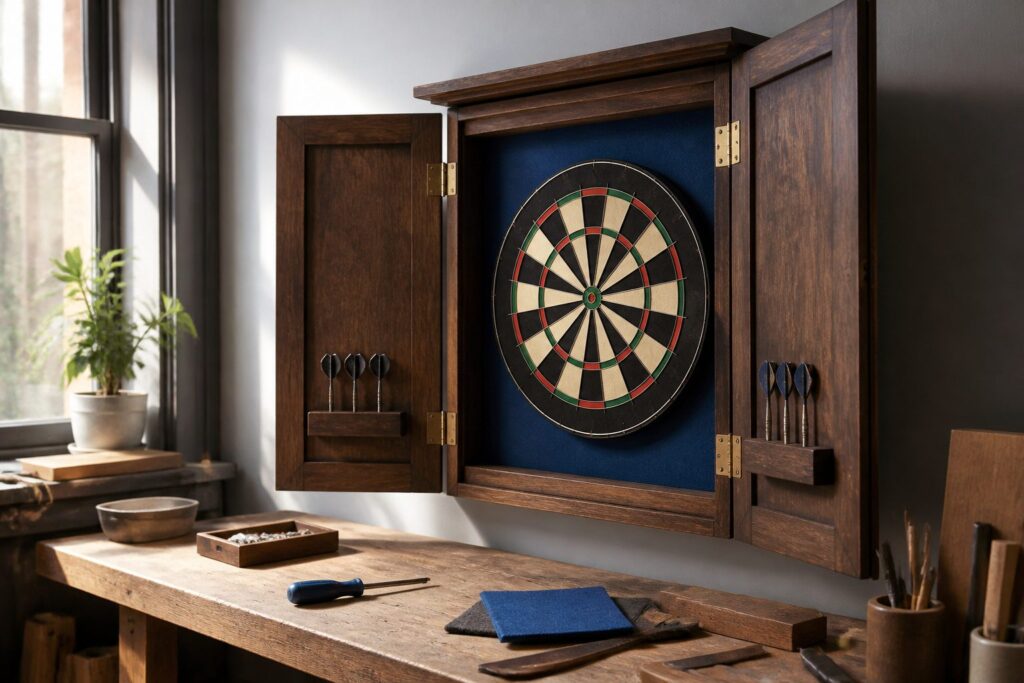
A finished dartboard cabinet or backboard takes an afternoon to build and between nothing and the cost of plywood, depending on which of the four approaches you choose.
The stage most people skip is squaring the box frame before the backboard goes on; a twisting cabinet door will never hang flush, and acoustic tile wrapped in felt will sag without pegboard behind it.
One detail that matters across every build: the bullseye mounts at 5’8" above the floor, measured from the floor itself, not the baseboard, or your throw line will be off.
1. Dartboard Cabinet
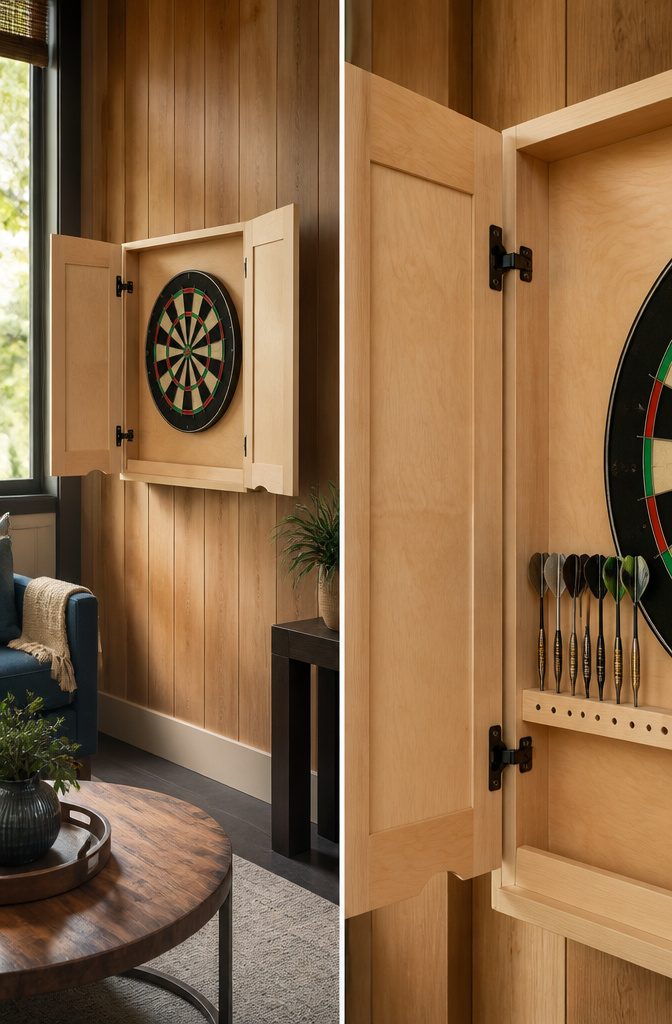
A finished dartboard cabinet keeps the board clean and gives your darts a home. The build starts with a 3/4″ x 24″ x 24″ plywood backboard cut to house the dartboard itself.
The doors measure 3/4″ x 12 3/4″ x 25 1/2″ each, sized to close over the face without catching throws. Top and bottom pieces run 3/4″ x 5 1/2″ x 24″, with sides at 3/4″ x 5 1/2″ x 25 1/2″ to complete the box frame.
I prefer soft-close cabinet hinges for this project. Standard butt hinges work and cost less, but the snap of a slamming door gets old fast if you play often.
Paint the interior flat black so missed throws against the wood don’t show every scuff. The exterior can match your room or stay raw plywood if you like the workshop look.
For dart storage, rip a strip to 3/4″ x 1 1/2″ x 8″ and drill holes sized to your dart barrels.
Mount it inside one door. If you throw soft-tips, the spacing matters more than with steel; the barrels are thicker and the holes need an extra 1/8″ clearance or the darts wedge.
Assembly order matters. Join the top, bottom, and sides into a rectangle first, square it with a carpenter’s square, then screw the backboard flush to the rear.
The doors go on last. One person can manage this, but clamping the frame to a workbench while fitting the backboard saves the headache of a twisting box.
2. Dartboard Backboard With Acoustic Ceiling Tiles
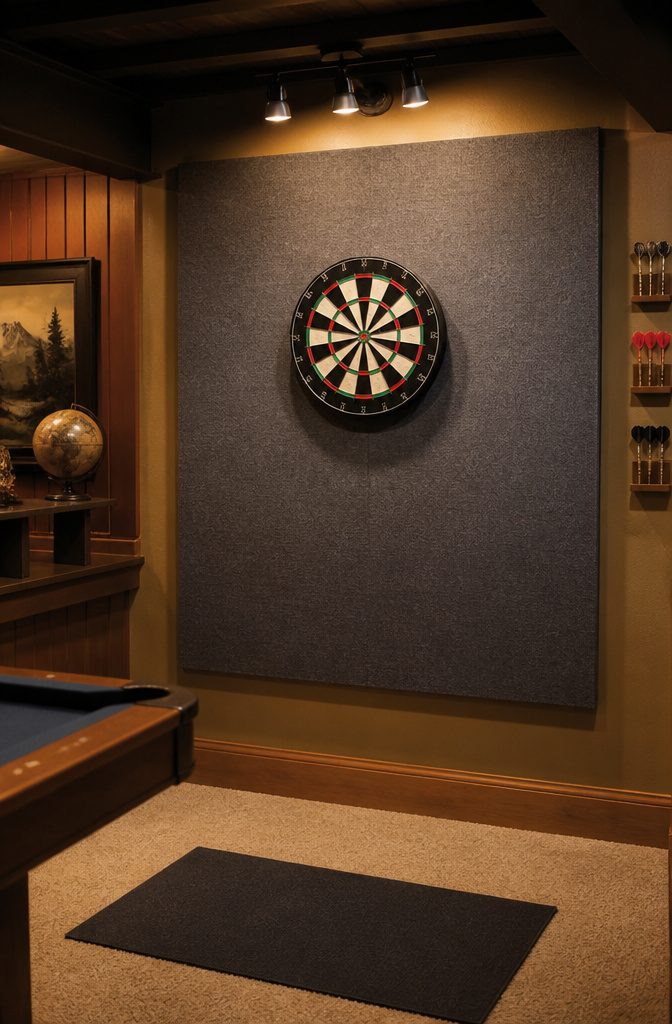
Leftover acoustic ceiling tiles from a basement or office remodel make a surprisingly solid dartboard backboard once you wrap them in felt.
The tiles themselves are soft enough to catch a steel-tip, and covering them hides that industrial speckled look. A finished backboard runs about 4ft by 6ft, which gives you real coverage without swallowing the whole wall.
The build is straightforward. Pegboard goes behind the tiles for rigidity; it is cheap and keeps everything flat.
Construction adhesive bonds the tiles to the pegboard, then felt wraps the face and edges with a glue gun. One detail that matters: slit the felt before you drill mounting holes, or the bit snags and ruins the wrap.
Secure to studs with drywall screws if you are lucky enough to hit them; otherwise anchors keep the weight from pulling free over time.
For decor, felt reads closer to a pool table than a ceiling panel, which helps the backboard settle into a den or finished basement without screaming "DIY patch job."
Charcoal or forest green felt leans traditional; a lighter gray fades into pale walls. The whole project stays budget-friendly because the tiles were already bought and paid for, and pegboard costs next to nothing.
Thickness is the catch: this backboard sits proud of the wall by a couple of inches, so it works best in a dedicated corner rather than a tight hallway.
3. Dartboard Backboard With License Plates
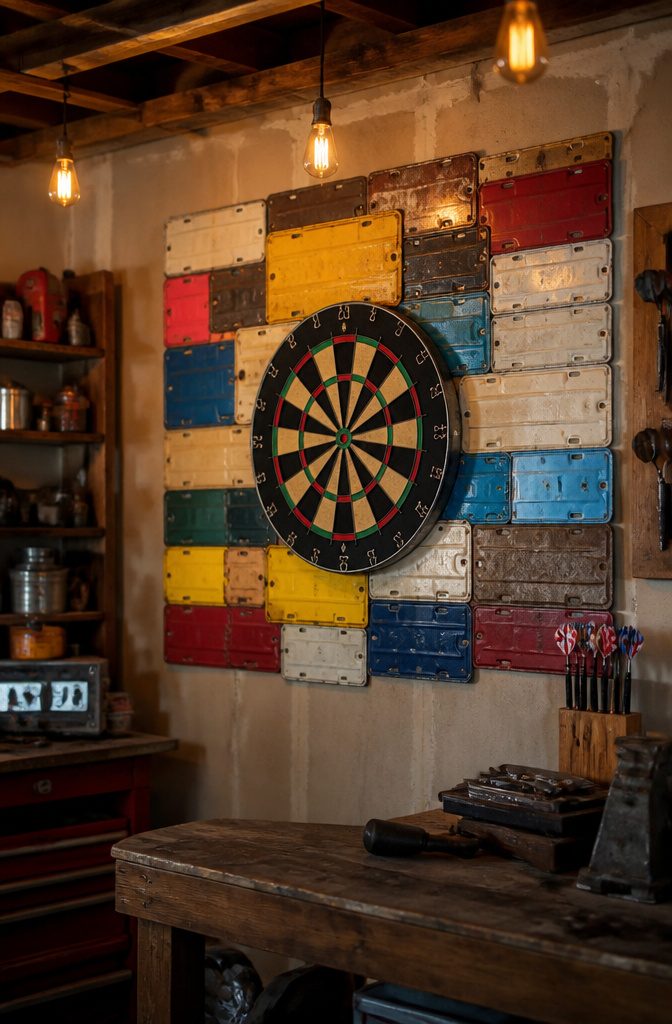
Old license plates make a surprisingly effective backboard because the thin metal deflects stray darts without the bulk of plywood.
I like this approach best for basements or garages where the collected-over-time look already fits the space, not for a finished living room where the mismatched colors fight your other finishes.
The materials stay minimal: old license plates, small finishing nails, a hammer, and basic layout tools like a tape measure, level, and pencil. Mount your dartboard case to the wall first, following the manufacturer’s instructions.
Then arrange plates around it, mark your spots, and tack each plate in place with two or three nails. The whole job takes under an hour if your plate collection is already sized to the area.
Cost is the real win here.
Plates cost nothing if you’ve saved them from your own vehicles or picked them up at swap meets. Even buying them, you’re usually under a dollar apiece.
Protection is the weak spot: the source that tried this eventually moved on after kids and guests punched holes in the drywall between plates, in the case itself, and even in the plastic board.
The gaps between plates are the weak point, so I would overlap them slightly or choose larger plates if your wall space allows.
For light adult use in a low-traffic spot, though, this remains the cheapest finished look you can install.
4. Dartboard Backboard With Cork Flooring Planks
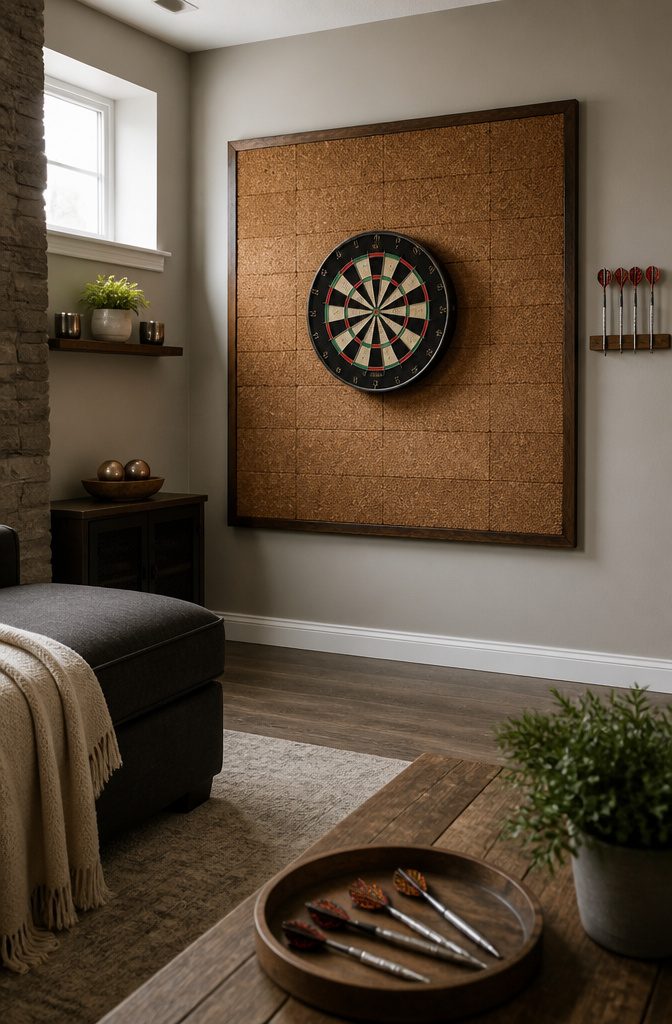
Cork flooring planks give a dartboard backboard a clean, finished surface that actually holds up to steel-tip play. The material sells in standard three-foot lengths, which maps neatly to the 36-inch square most players want behind a regulation board.
I have seen cheaper builds use sheet cork or bulletin board, and the darts chew through it inside a month. Flooring-grade cork is denser, with a factory finish that resists fuzzing and lets you pull darts clean.
For the build, three planks laid side by side span the width without cutting, and a fourth ripped lengthwise fills the gap at the rear.
Construction adhesive on plywood backing is enough; skip the fasteners through the face. Stain the edges or leave the natural tone, but seal the surface with a matte polyurethane if you want the color to stay consistent.
The whole assembly stays light enough to hang on a French cleat, so you can take it down when you move.
This is the option I would pick for a basement or garage setup where the board sees real use.
It costs more than foam or felt, but cork flooring plank is the only backboard material that looks intentional and still stops a dart that misses the wire by a full inch.
The upfront price stings, and you have to wait for adhesive to cure before you mount the board.
Materials for Each Build
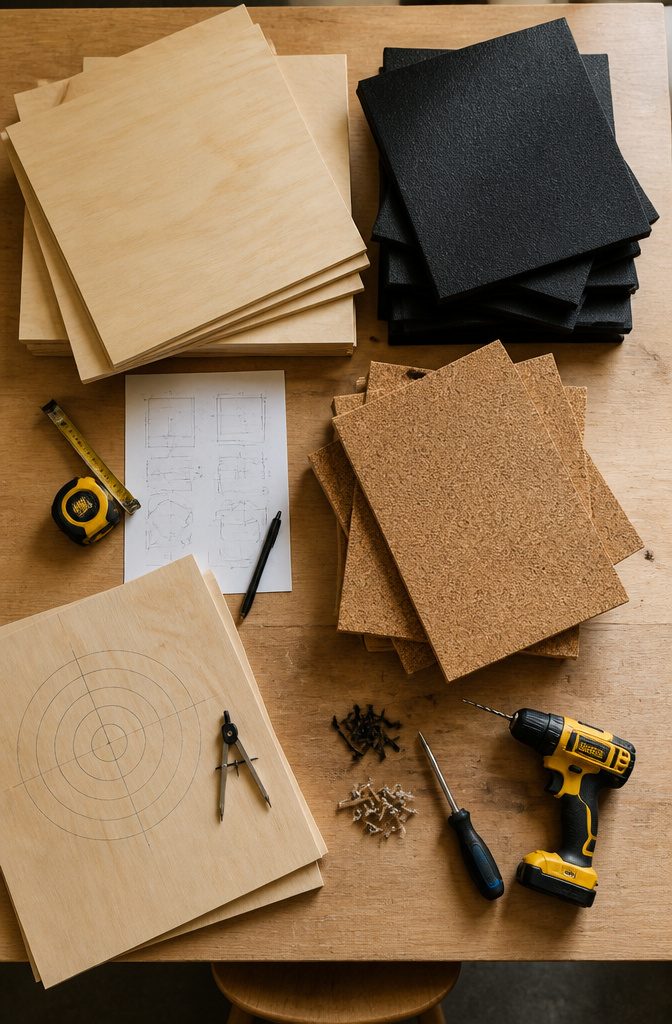
Plywood thickness matters more than the grade for these builds. I would not go below ½ inch for any backboard that actually stops a steel-tip; anything thinner flexes on impact and transfers force straight to the drywall behind it.
For the cabinet build, ¾-inch birch plywood gives the door enough heft to hang square on two basic butt hinges.
Paint-grade poplar works fine if you plan to prime and spray, but oak veneer plywood stains cleaner around the dartboard cutout where the grain shows.
Acoustic ceiling tiles absorb sound well but crumble if a dart glances the edge. Felt glued over half-inch cork gives a softer face and cleaner look for the backboard builds.
License plates need a rigid substrate, not just adhesive; I would rivet them to plywood with a neoprene washer behind each hole to kill vibration.
Cork flooring planks interlock with a micro-bevel edge that catches darts better than sheet cork, which tears in a ragged line.
| Build | Core Material | Facing | Mounting Hardware | Finish |
|---|---|---|---|---|
| Cabinet | ¾" birch plywood | Paint or stain | 2–3 butt hinges, magnetic catch | Spray lacquer |
| Acoustic tile | ½" plywood backer | Acoustic ceiling tile | French cleat or Z-bar | None |
| License plate | ½" plywood | Aluminum plates, riveted | Keyhole hangers or cleat | Clear coat over plates |
| Cork plank | ½" plywood | Interlocking cork flooring | Cleat | Wax or polyurethane |
The one material I would skip is adhesive-backed cork rolls. They bubble within a month unless the wall behind them is flawless, and flawless walls are not the reason you are building a backboard.
Installing Your Dartboard and Backboard
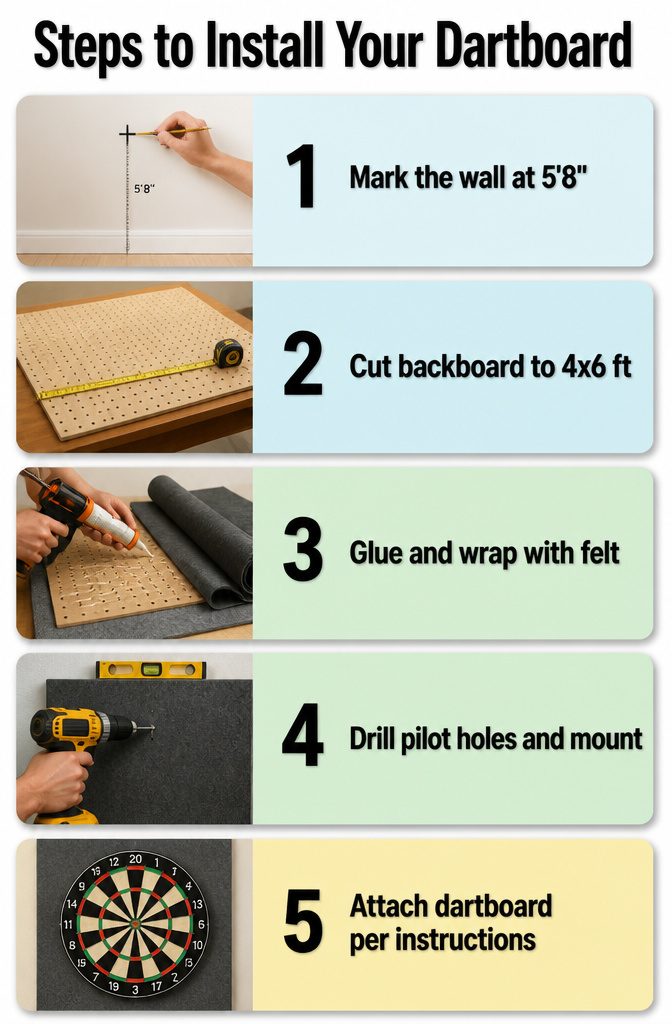
- Mark the wall where the center of your dartboard will sit. The bullseye hangs 5’8" above the floor, which is regulation height for both steel-tip and soft-tip play. I measure up from the floor, not the baseboard, since flooring thickness varies and throws off the math.
- Cut your backboard material to size. For the acoustic tile build, that means pegboard roughly 4 ft by 6 ft, plus felt to wrap it with a few inches of overhang on every side. I like pegboard here because it is rigid and cheap, and the holes make it easy to see where the studs sit behind it.
- Glue the acoustic tiles to the pegboard with construction adhesive, then wrap the whole assembly in felt and staple or glue the back side. Cut a small slit in the felt anywhere you plan to drive a screw, so the bit does not grab and tear the fabric.
- Find your studs, or mark anchor points if you are going into drywall alone. Drill pilot holes through the backboard, then drive screws into studs or install wall anchors and follow with screws. A level across the top edge keeps the board from looking crooked even if your floor is not.
- Mount the dartboard to the backboard per the manufacturer’s bracket. Most boards hang from a single center screw, so the 5’8" mark you made earlier should line up with the back of the bullseye bracket, not the front face.
Design Choices That Fit Your Space
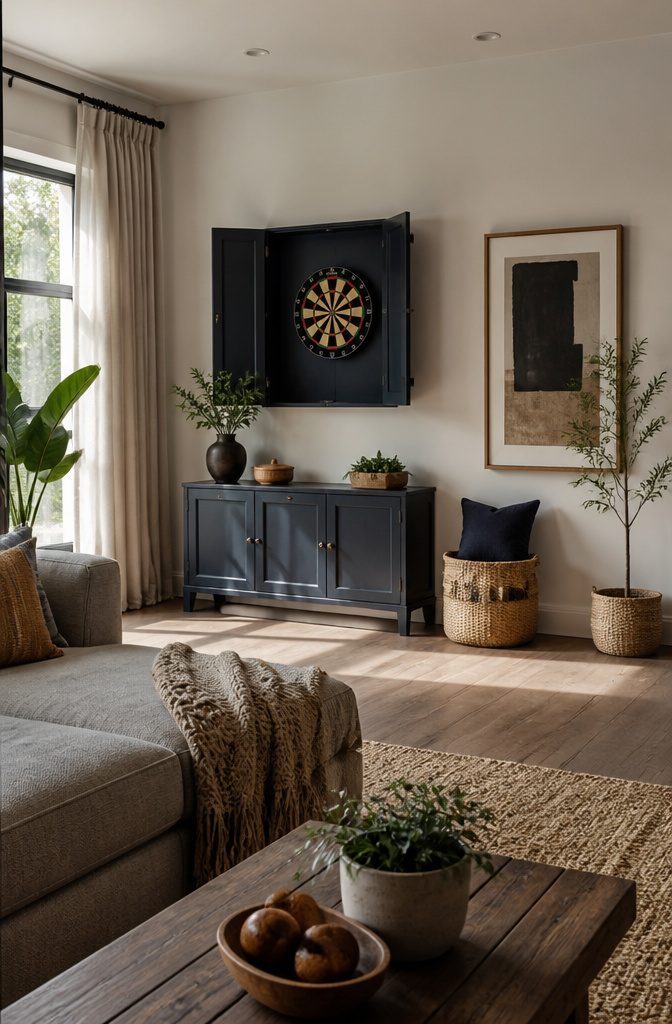
A dartboard cabinet can read as pub furniture or as a clean built-in, and the difference is almost entirely paint color and hardware.
I would skip the stained-wood look unless the room already has oak trim everywhere; a matte black or deep navy cabinet against a light wall looks intentional, while raw pine reads like leftover basement paneling.
The doors are where you hide the mess. One build I have seen uses 3/4-inch plywood for the backboard and pairs it with doors that hold dart storage and small whiteboards for scoring.
That detail matters in a household where someone else wants the wall back when the game is over.
Closed, the cabinet is 24 inches square; mounted with the bullseye at 5 feet 8 inches above the floor, it sits at regulation height without looking temporary.
For tighter spaces, a backboard without doors takes up less visual weight.
A padded fabric cover or cork surface can soften the look, though I think cork works best when the room already has warm, textured materials like woven baskets or vintage wood.
In a modern space, a slim plywood backboard painted to match the wall color keeps the dartboard from becoming the room’s focal point.
You are choosing between protection and display.
Doors guard against stray darts and dust; an open backboard leaves the board ready but exposes the wall to more risk. If the room is a shared living space rather than a dedicated game area, the cabinet wins.
Frequently Asked Questions
What materials do I need for a dartboard cabinet?
You need 3/4-inch plywood cut to 24 by 24 inches for the backboard, plus boards for the doors, top, bottom, and sides.
Soft-close cabinet hinges are worth the extra cost over standard butt hinges, and flat black paint for the interior hides scuffs from missed throws.
How do I install a dartboard backboard?
Mark the wall so the bullseye sits 5 feet 8 inches above the floor, cut your backboard material to size, then secure it to studs with screws or use wall anchors in drywall alone.
Mount the dartboard to the backboard per the manufacturer’s bracket, lining up your mark with the back of the bullseye bracket.
What is the best material for a dartboard backboard?
Cork flooring planks are the best choice for a backboard that sees real use.
The flooring-grade density and factory finish resist fuzzing, let you pull darts clean, and stop a steel-tip that misses the wire by a full inch. Sheet cork or bulletin board chews through in about a month by comparison.
What is the correct height and distance for a dartboard?
The bullseye hangs 5 feet 8 inches above the floor for both steel-tip and soft-tip play. Measure up from the floor itself, not the baseboard, since flooring thickness varies and throws off the math.
How do I make my own dart board?
For a playable board, you would need sisal fibers, a wire spider, and a bullseye assembly, which is a different project entirely.
What are some fun games I can play with a dart board?
It focuses on building backboards and cabinets to protect your wall while you play whatever rules you already know.





