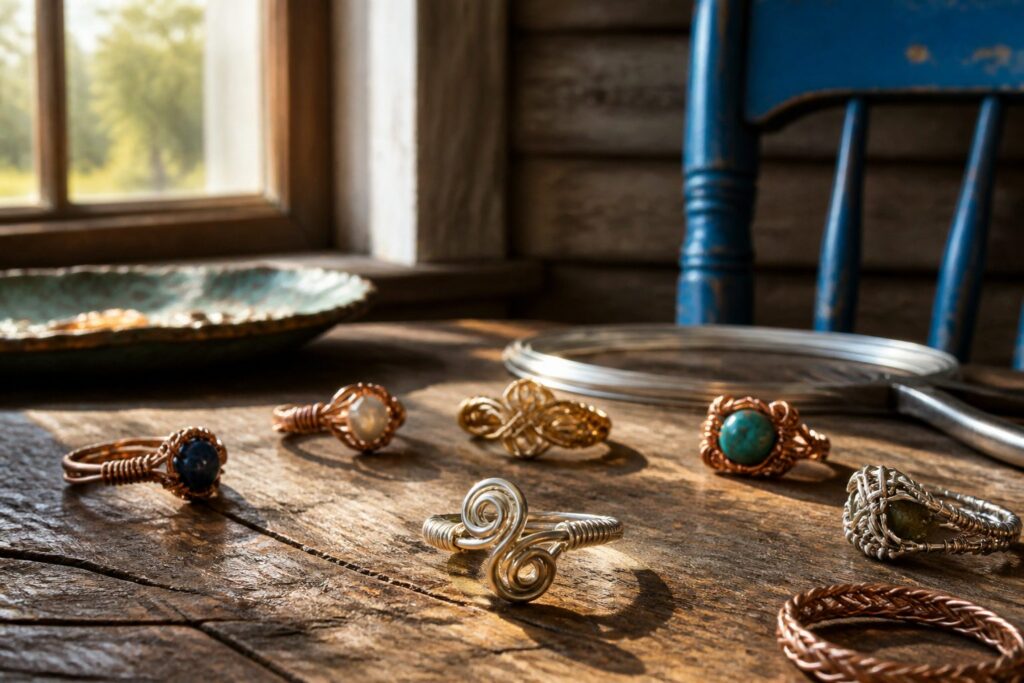
Wire rings are handmade jewelry formed by weaving, bending, and wrapping metal wire around a mandrel, with the critical difference from store-bought bands being that every stone seat and closure must be built by hand from the same continuous material.
One wrong pull of tension bows the core wires into a spiral; one exposed tail snags a sweater and the piece goes unworn.
Start with 5–6 inches of 20-gauge wire, measured against a ruler, because short wire cannot be spliced once you are halfway through shaping the band.
Cut Wire to Length
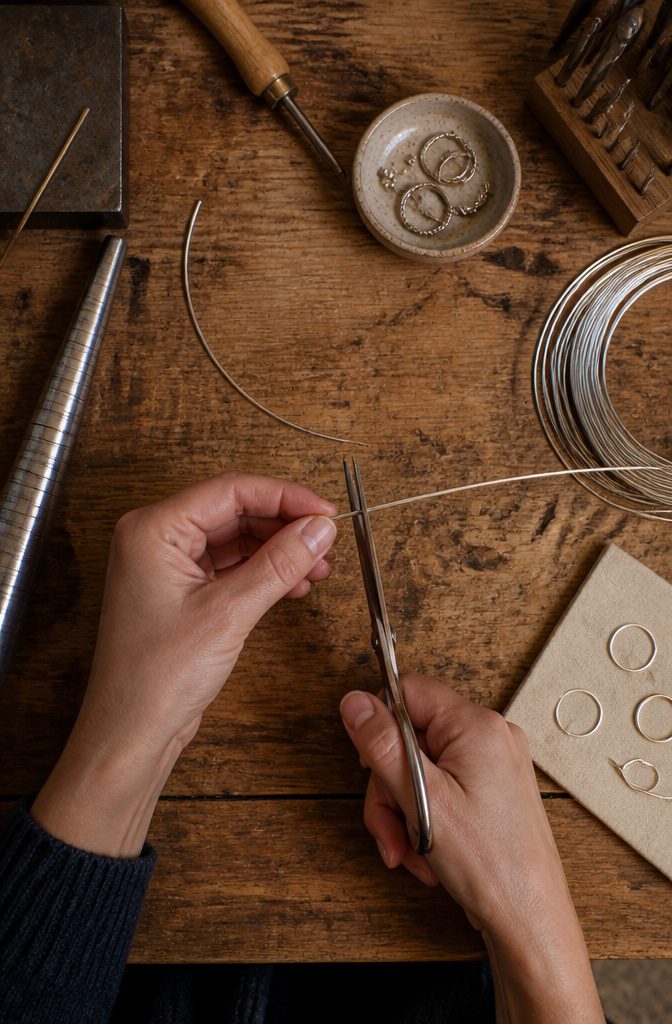
Start with 5–6 inches of wire for most ring sizes. That length leaves you enough material to weave the band and still have extra on each side for setting a stone or adding decorative wraps later on.
I usually begin the weave about 2 inches in, which gives me roughly 2 inches of working wire on either end to shape the seat and secure everything.
If you start with too little, you will run short right where the ring needs the most manipulation: bending around the mandrel, wrapping to hold the round shape, and building a seat that actually grips the stone.
Short wire means a weak band, a loose setting, or both, and there is no clean way to splice in more once you are halfway through.
For a thicker band or more decorative elements, add more wires rather than trying to stretch one short piece across the whole job.
Weave the Band
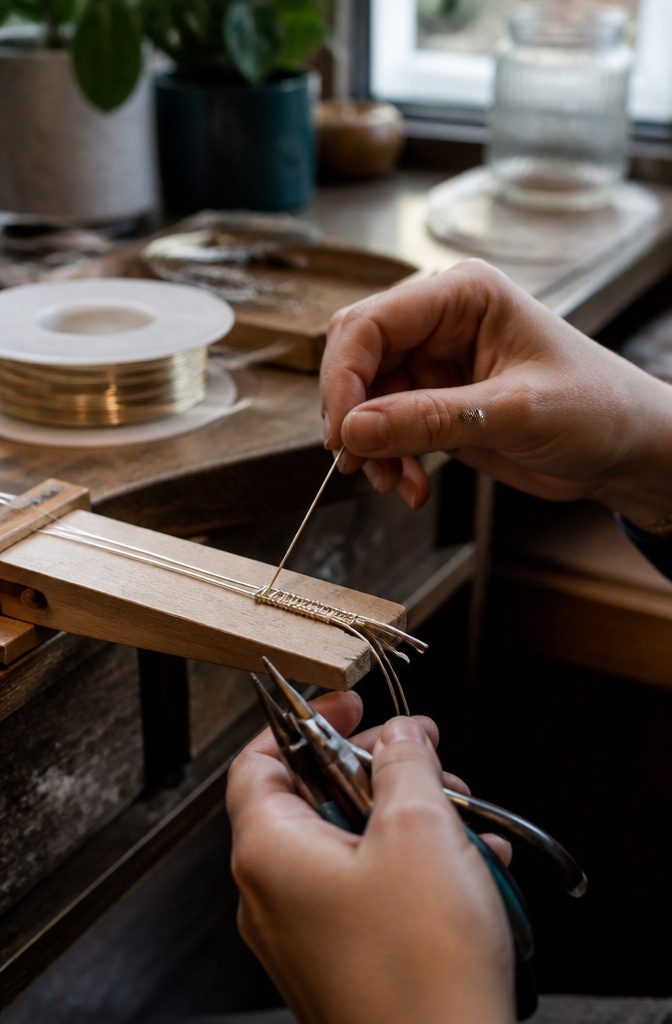
Start the weave about 2 inches from either end of the wires so you have enough free length on both sides for finishing later.
I like to anchor the bundle against my bench pin or a clamped dowel with my non-dominant hand while my other hand does the wrapping; this keeps the core wires from rotating as you work.
A simple over-under pattern works fine for a first band: take your weaving wire and wrap it around all three core wires, keeping each coil snug against the last.
The half-round profile sits flatter than round wire, which is why I reach for it when I want the band to look clean rather than lumpy.
The place most beginners lose it is tension. Pull each wrap firm enough that the wire bites, but not so tight that the core wires bow inward or twist into a spiral.
If you feel the bundle starting to torque, pause and roll the whole piece back straight before the next wrap.
Check your work against a ruler as you go; roughly 2 inches of woven length will give you about a size 6.5 ring once you bend it around the mandrel, though the exact conversion depends on how tight your weave packs.
For a little visual interest without getting fancy, try five wraps with the weaving wire passing underneath the cores, then ten with it passing over. The pattern is simple to memorize and breaks up the monotony of a plain band.
Measure for Ring Size
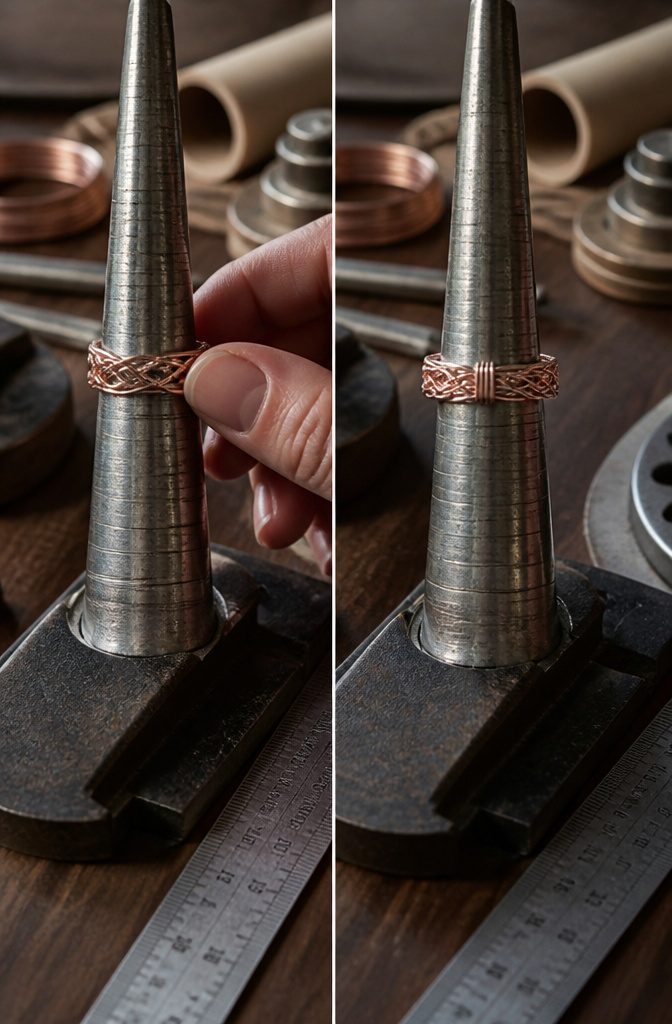
A 2-inch weave typically yields a size 6.5 ring, though that length assumes a standard 20-gauge round wire worked in a simple over-under pattern.
The weave compresses slightly when you shape it around the mandrel because the crossing wires settle against each other under pressure, so the finished band ends up a touch shorter than the flat strip you measured.
I usually add an extra quarter inch for every full size up from 6.5, and subtract roughly the same for smaller sizes, but I check the fit after every few wraps by slipping the growing band onto the mandrel.
A ring sizer or a strip of paper wrapped around your finger will get you close, yet nothing beats the mandrel itself for confirming where the wire will land once it is curved and compressed.
If the band feels tight at the knuckle, I would rather trim a little extra length before the final tuck than fight a ring that will not come off easily.
Shape on a Ring Mandrel
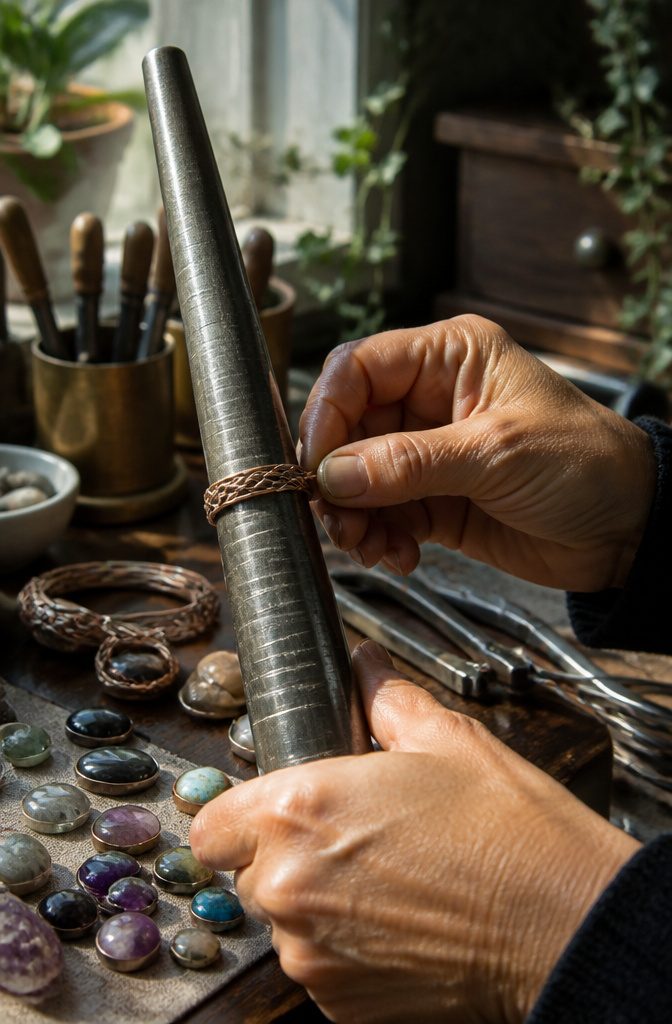
The ring mandrel is where a woven wire band becomes a wearable circle, and the difference between a clean result and a kinked mess is patience.
I start the curve about two inches from where the weave begins, using that unworked tail as a handle so pressure lands on the mandrel rather than the pattern.
The mandrel itself does the bending if you let it: rotate the piece a few degrees, press gently, rotate again. Forcing the wire in one aggressive squeeze distorts the weave and leaves flat spots that no amount of adjustment fixes.
A ring mandrel marked with sizes helps, but the band will spring back slightly, so I aim a half size smaller than the target and test often.
Wide seats for stones need extra attention. A wide rectangle seat suits an oval stone well, but the extra width fights the curve more than a narrow band, and the weave wants to buckle at the corners.
Working the wire gradually, easing the tension around the mandrel in small increments, keeps the seat shape intact.
The round shape sets once you wrap the loose wires around the band to secure it, so the curve you form here is the curve you keep.
Wrap and Secure the Band
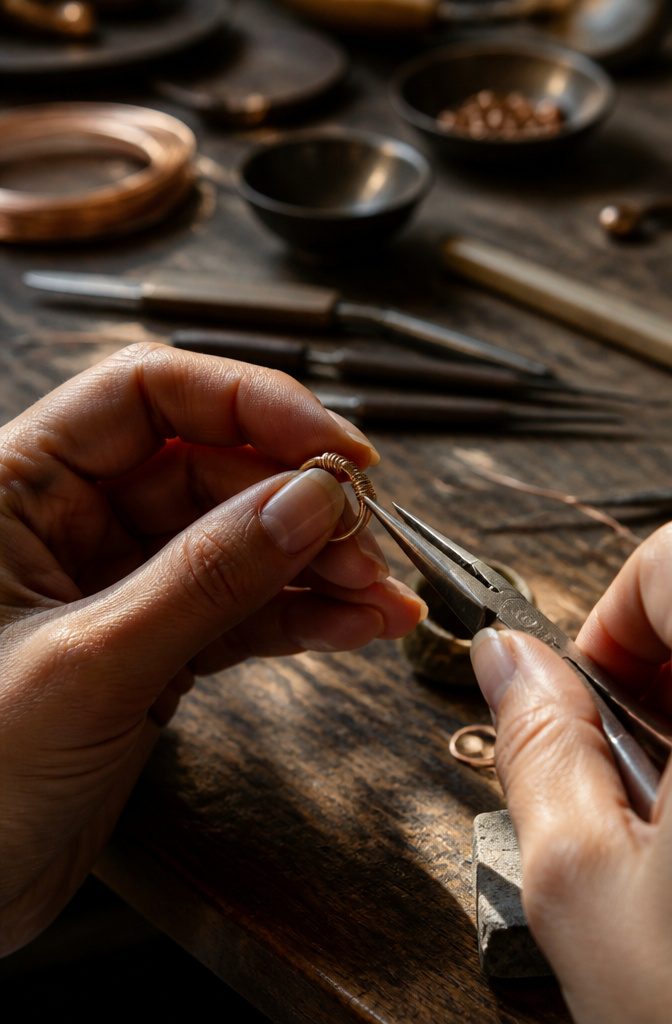
Two or three tight wraps on each side of the band are enough to lock the shape without building a bulky ridge.
I place them dead center over the seam where the band wires meet, nudging each coil flush against the last so the metal lies flat against your finger.
The tail ends want to splay outward after snipping, so I press them into the inner wall of the band with the tip of chain-nose pliers, rocking the metal until the cut disappears.
A file at this stage is a waste of time; a tucked end that sits below the surface line will never snag skin or clothing.
If one tail is longer, the extra wraps go on that side, keeping the balance even.
The band should feel smooth when you run a thumb across it; any catch means the end is still proud and needs another pass with the pliers before you move on.
Set the Stone
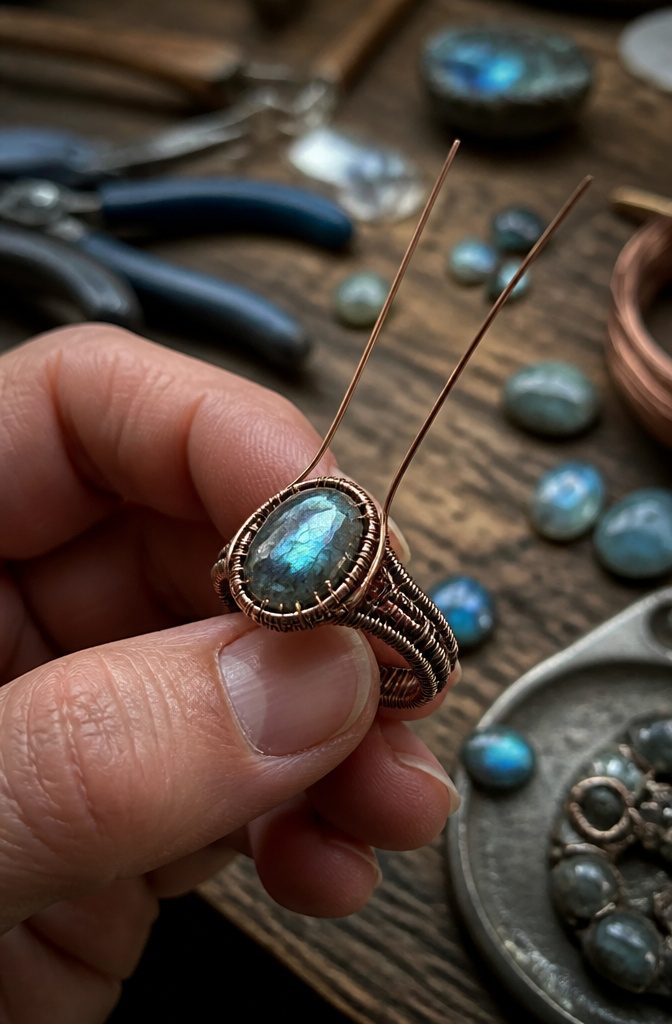
Place the stone in the center of the woven band so it sits level. The inner two wires get pulled straight up first, then bent over the stone’s edge to form the seat.
These two do the holding; the outer four stay down for the design work later. Pressure matters more than you expect: too loose and the stone shifts, too tight and you risk cracking softer stones like turquoise or opal.
I test by trying to spin the stone with a fingernail; it should resist, not rotate freely.
The wires need to pull beneath the opposite side’s outer two wires so the seat sits clean against the band. Adjust the angle until enough stone shows above the wire without exposing so much that it catches on a sleeve.
Both sides get the same treatment, and the wraps finish on top of the band, never underneath where the finger rides.
Trim and Tuck the Ends
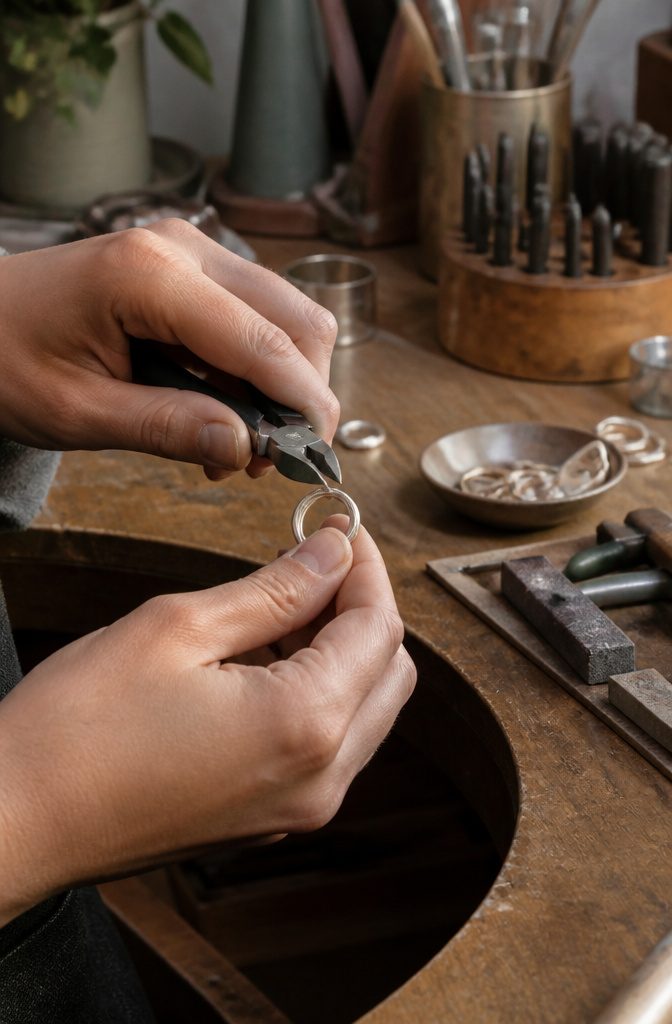
A wire ring lives or dies at the finish. The band can be beautifully woven, but one exposed end will snag a sweater or scratch a finger and the piece goes unworn.
I trim the tails flush with the top surface of the band using flush cutters, not angled ones that leave a beveled point.
The cut should sit slightly below the surface, not level with it, so there is metal to press down into.
Then I take a pair of chain-nose pliers and rock the tip back and forth across the end, folding it flat against the band’s top rather than the edge. This buries the cut in the structure of the ring itself.
After the tuck, I run a fingertip slowly along every inch of the inside and outside of the band, including right over the joint where the wires meet. Skin catches what eyes miss.
If I feel anything that drags or pricks, I open the pliers again and reseat that end until the surface is uniform. A quick polish with a sanding pad helps, but it does not replace the fingertip test.
Wire Gauges and Shapes
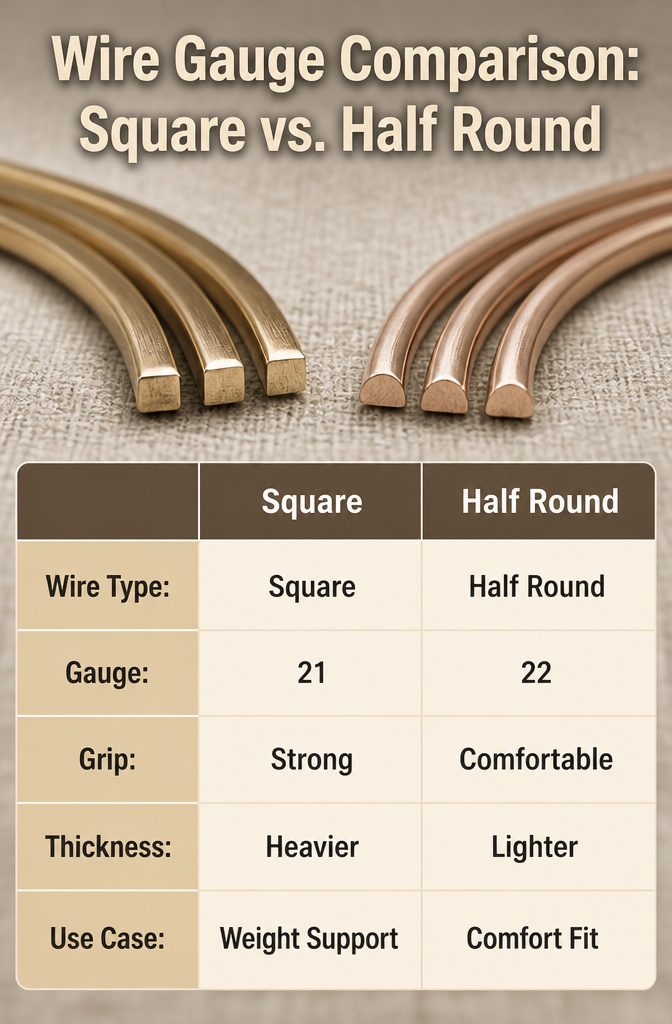
Square wire gets 21 gauge; half round gets 22 gauge. That pairing is not accidental.
Square wire bites. Each edge grips a stone setting like a tiny corner brace, so the seat resists torque when you push the wraps tight.
I reach for it when the design has to hold weight, a wider cabochon or a seat built from several bundled wires.
Half round wire, 22 gauge, lies flush. The flat face settles against skin without the rollover that square edges can cause during a long day, and the domed back gives enough bulk to look substantial without feeling like hardware.
I use it for band-forward rings, pieces where the weave itself is the point and no stone fights for position.
Thickness matters too. 21 gauge square is slightly heavier than 22 gauge half round, so a ring built from three or four square wires carries more metal and reads more industrial.
Two or three half round wires, woven, still keep a leaner profile. The choice between them is the choice between architecture and comfort: square when the stone needs muscle, half round when the finger needs mercy.
Ring Sizing
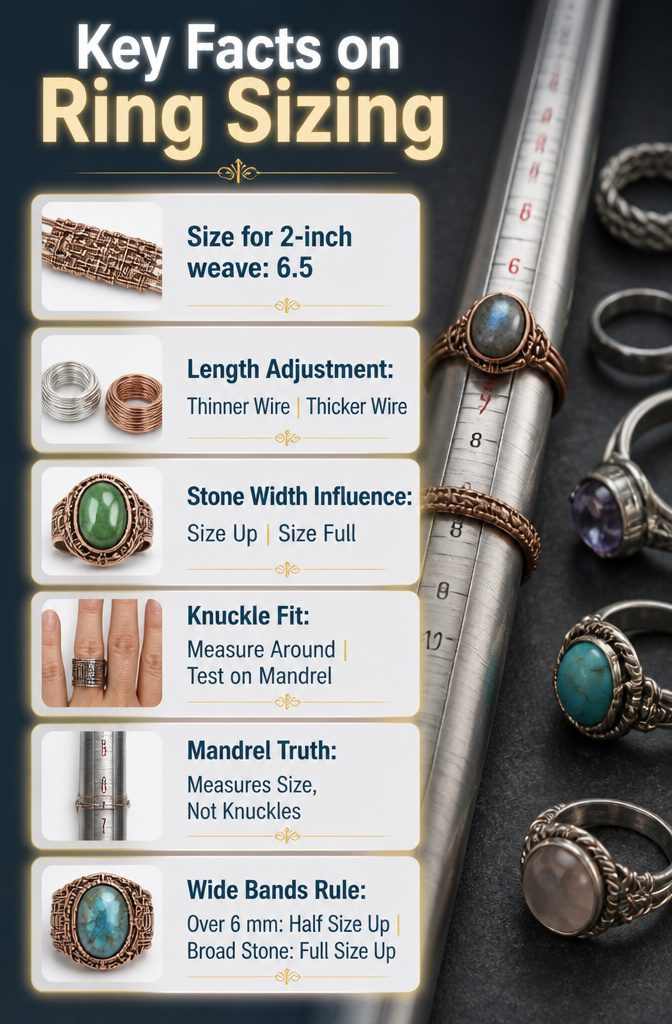
A 2-inch finished weave lands me right at a size 6.5.
That is my baseline every time, and from there I scale up or down depending on what I am wrapping. Thinner wire needs a touch more length for the same ring size because the weave compresses less.
Thicker wire or a tighter twist eats more of that length into the structure itself, so I add a quarter inch and test on the mandrel before I commit to the final band.
Stone width changes the fit more than most beginners expect. A 10 mm cabochon sits across three fingers’ worth of knuckle, and the ring has to slide over the widest part to get home.
I always size up by half a size for any band over 6 mm wide, and a full size if I am setting something that broad.
A ring may measure a 7 on the mandrel, but once that stone spans the top, it wears like a 6 when you are trying to take it off. The mandrel does not lie, but it also does not have knuckles.
Stone Setting
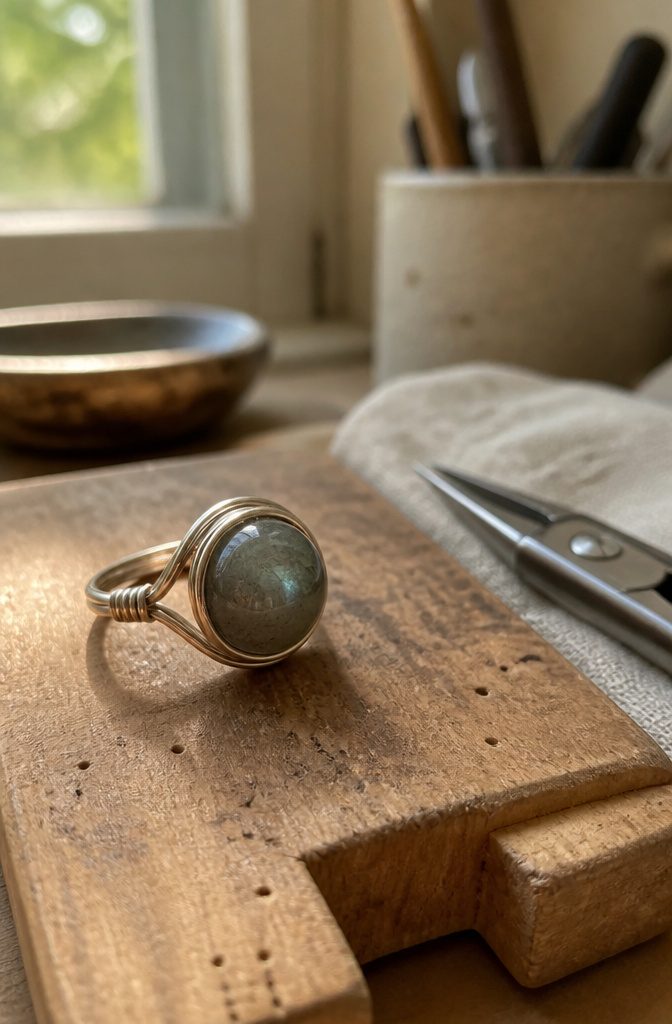
The pull-up technique works just as well for cabochons as it does for small faceted stones, though stone height is what decides how many wires you actually need.
A low dome cabochon might settle in with four wires, while a taller stone needs six or even eight to keep the bezel tall enough to grip the girdle.
I learned this the hard way on an early ring where I cheaped out with four wires and the stone sat so proud it snagged on every sweater sleeve.
For your first few rings made with wire, skip stones with sharp corners.
Square and marquise cuts look crisp in a store display, but those points are where the wire slips first and where you will fight tension that wants to spring loose.
Rounded shapes forgive uneven tension and hide the small gaps that come with beginner fingers.
Before you trim anything, test the setting like you mean it.
Press the stone from the back, then from the front, then give the ring a few sharp taps against your bench block. If the stone shifts even a hair, add another wrap or tighten your existing pulls before you cut.
Trimming a short tail only to discover the setting is loose means starting the whole bezel over, and wire that has been work-hardened once will fight you harder the second time through.
Frequently Asked Questions
How do I make a wire wrapped ring?
Cut 5–6 inches of wire, weave the band starting about 2 inches from either end, then shape it around a ring mandrel. Finish by setting a stone and tucking all wire ends flush so nothing snags.
What is the best wire to use for making rings?
Square 21-gauge wire grips stones best because its edges bite like corner braces.
Half-round 22-gauge wire lies flatter against skin, so it works better for band-forward rings without stones. The choice depends on whether the stone needs holding power or the finger needs comfort.
How old is wire-wrapped jewelry?
Wire wrapping is one of the oldest jewelry techniques, dating back thousands of years to ancient civilizations that shaped metal without soldering or casting.
How to make jewelry with wires?
The same core skills apply: cut wire longer than you think you need, maintain even tension while weaving, and always tuck ends below the surface so the piece wears comfortably.
Rings are a good starting project because the mandrel gives you a built-in form to shape against.
How to make a circle out of wire?
Work gradually around a ring mandrel, rotating the piece a few degrees and pressing gently rather than forcing it in one squeeze.
Let the mandrel do the bending; aggressive pressure distorts the weave and leaves flat spots that cannot be fixed later.





