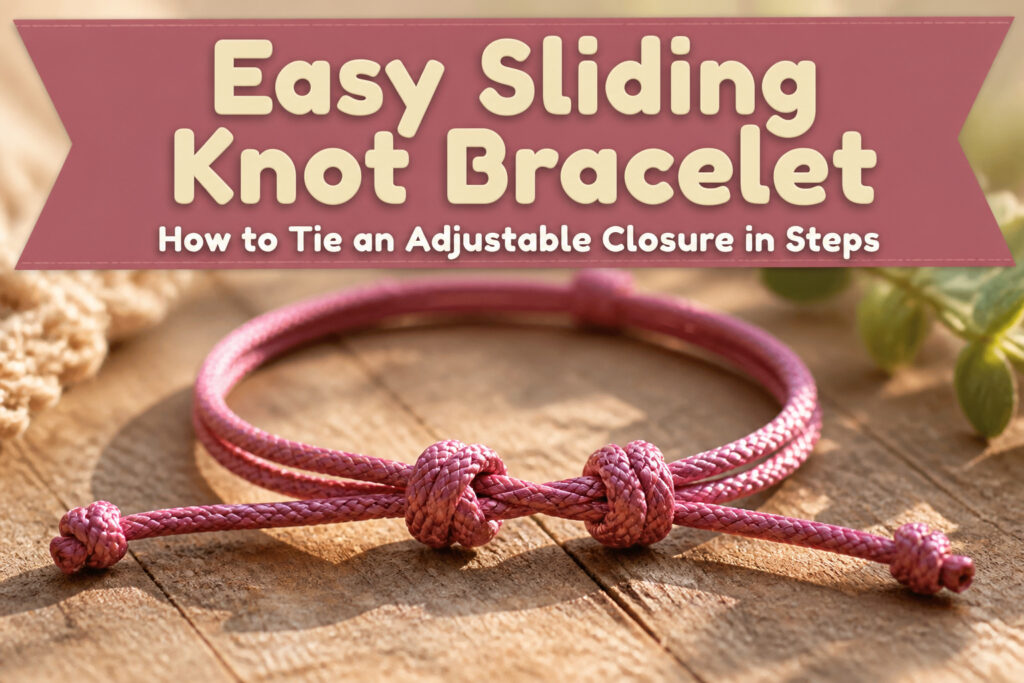
An easy sliding knot bracelet is a cord bracelet with two adjustable overhand knots that slide toward or away from each other to tighten or loosen the fit.
The catch is that most first attempts fail because one knot gets cinched too tight and locks in place, turning an adjustable closure into a fixed one.
A 24-inch cord gives you the working length to avoid that: enough tail to handle the knot, with roughly 4 inches on each side once you cross the ends into the X that forms the foundation.
1. Cross the Ends

A 24-inch cord is the working length most makers settle on for an easy sliding knot bracelet, which leaves you enough room to handle the knot and still end up with a wearable piece.
The first move is laying the bracelet flat and crossing the two ends over each other so they form a loose X right at the center.
You want about 4 inches of tail on each side once the cross is made; anything shorter and your fingers fight the knot, anything much longer and the tails tangle while you work the second half.
The crossed ends look a bit like a rabbit’s ears, if that helps you remember what you’re aiming for.
That X is the foundation everything else builds on, so keep the cords lying flat and don’t let one twist under the other. A clean cross now means the knot seats properly later.

What’s Included – 1 (one) adjustable blue cord bracelet (1.5mm thickness), packed in a protective cellophane bag with a meaningful color card and a QR code for easy access to instructions and product details.

1mm Waxed Cotton Cords: Softer than Korean waxed cord, waxed polyester cord, and waxed linen cord yet not as sticky as waxed twine hemp cord, the lightly coated cotton wax cord makes great waxed jewelry cording.

Quantity and Size:30pcs black semi finished bracelet,about 12-3/8 inch(31.4cm) long, jump ring: 5x0.6mm, 3.6mm inner diameter.All are packed into a plastic storage box for ease of use,store and carry.
2. Loop One End Around
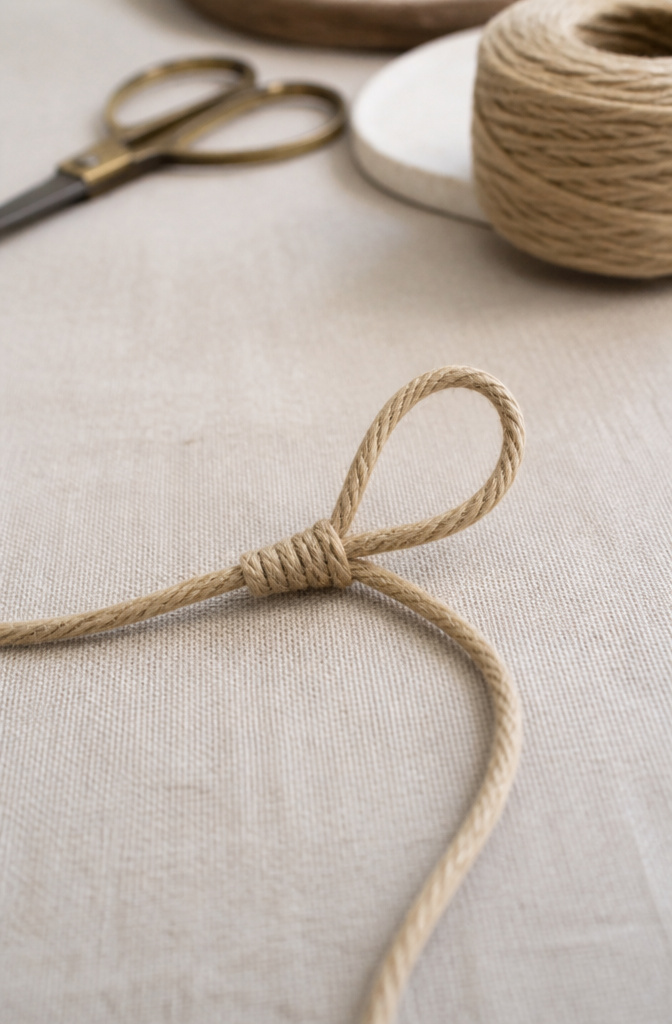
Take one end of the cord and wrap it around the main bracelet strand so the working end crosses over itself, forming a loose loop.
The standing part stays where it is; this is the backbone that will let the bracelet slide later. Keep the loop loose enough to feed cord through but shaped clearly enough that you can see the crossing point.
A loop pulled too tight now turns into a fight with your own fingers two steps from now.
I learned that the hard way on my third bracelet, when what should have been a two-minute knot became ten minutes of picking at a cord that had already half-cinched.
The right end goes over, then under, then around; the left end waits its turn. If the loop collapses or the strands twist, lay it flat and start again.
Cord has memory, especially waxed cord, and a clean loop now means a knot that slides evenly later.

Dainty Gold Knot Bracelet for Women Design: This bright and glossy lightweight friendship knot bracelet. Represents forever love with a charming knot design. The mother daughter knot bracelet is a creative and unique style knot bracelet. With an asymmetrical stitching design, half bracelet and half chain always a classic style and fashionable trend that also stands out in various ceremonial occasions. This luxurious material guarantees the durability and hypoallergenic properties of mother daughter bond knot bracelet

Unique long distance best friend Bracelet : A delicate knot sits at the heart of this bracelet, symbolizing connection, trust, and the promises we keep. A sweet reminder of the bond you share with someone special

Handmade Braided Bracelet: You will get 24pcs Boho braided ankle bracelets for women in 12 colors, 2pcs/color. The colorful links bracelets can meet your summer, beach crafts, showcasing your unique charms
3. Feed Through to Form the Overhand

The cord end you are holding needs to go back through the loop you just formed. Pass it under and up through that opening, which turns the simple wrap into a basic overhand knot.
This is the move that makes the whole bracelet adjustable, because the knot grips the main cord just enough to hold position while still letting it slide when pulled.
Pull the knot partway tight, but do not lock it. There should be a little give in the cord so it can still travel through the knot body.
If you cinch it fully now, the sliding action disappears and you have a fixed closure instead of an adjustable one.
The right tension feels slightly firm under the fingers, with the wrapped strands still able to shift when you tug the bracelet ends.

Craft with Colorful Variety: dive into a world of colors with 16 vibrant hues included in this set; The variety ensures you can design and DIY a range of crafts uniquely catering to your style, while also providing multiple color pairing options; Indulge in the delightful spectrum, nice for your creations

QUANTITY: Selizo necklace cords comes with 100 pcs bright necklace cord with clasp that are enough for making necklaces, bracelets and other jewelry projects

【Enough Colors】The hemp string comes in 20 kinds of bright colors. Different colors can meet your different needs.The perfect combination of a variety of vivid colors to creating your own unique bracelets.
4. Tighten Without Locking
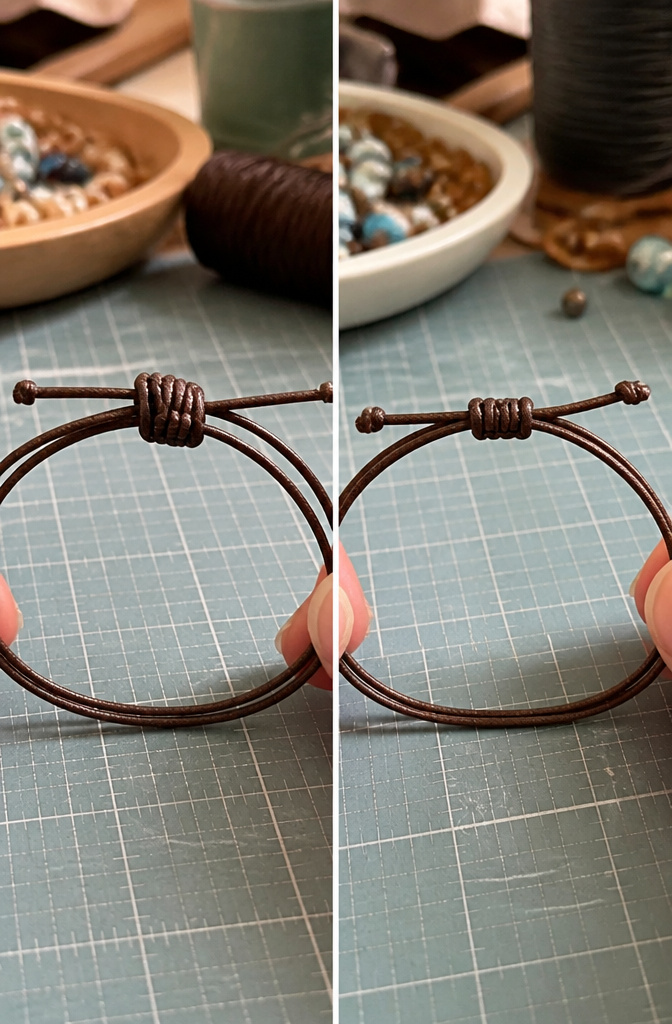
Five wraps around the main cord gives the knot enough grip to hold its place without choking the bracelet.
Pull it snug enough that the loops seat firmly, then test by sliding the cord back and forth; it should move with light finger pressure. Too loose and the bracelet drifts open on your wrist.
Too tight and you have created a fixed knot that defeats the whole point of an adjustable closure. Most beginners err on the side of overtightening, probably because a firm tug feels more finished.
The cord will still compress slightly after the first few wears, so a little resistance in the test slide is normal. If it grips and releases smoothly, stop there.

2mm Waxed Cotton Cords: Softer than Korean waxed cord, waxed polyester cord, and waxed linen cord yet not as sticky as waxed twine hemp cord, the lightly coated cotton wax cord makes great waxed jewelry cording, macrame cord, & wax beading cord.

This is a set of colorful, woven friendship bracelets in a beautiful blue series. Each bracelet features a classic woven design and is equipped with an adjustable slip knot, allowing it to be worn comfortably as a bracelet or anklet by most people. They are crafted for DIY enthusiasts and serve as a timeless symbol of friendship, perfect for sharing or personal styling.

THE SYMBOLIC MEANING OF BLACK: Black is traditionally associated with strength, confidence, resilience, protection symbolism, and timeless style. Wear this black string bracelet as a personal reminder of the meaning and intention you choose to carry
5. Mirror the Knot on the Other End

The second cord end gets the exact same treatment. What convinced me, reading through a dozen of these tutorials, was that most people nail the first knot and then rush the mirror image.
The two knots have to face each other like partners in a conversation, not like strangers at a bus stop.
Thread the tail back through the loop the same way, wrap it around the doubled cord, and pull it snug. The facing matters.
One knot’s barrel sits to the left, the other to the right, so they can slide toward or away from each other without jamming.
If you accidentally tie two identical left-facing knots, the bracelet locks in place and the whole point of an easy sliding knot bracelet disappears.
Test both knots together before you trim anything. They should travel smoothly along the doubled cord, meeting in the middle to tighten the bracelet and spreading apart to slip it over your hand.
The first time I tried this, one knot gripped while the other slid freely, and the bracelet kept falling off. The problem was uneven tension.
Both knots need the same snugness, matched by feel rather than measured.
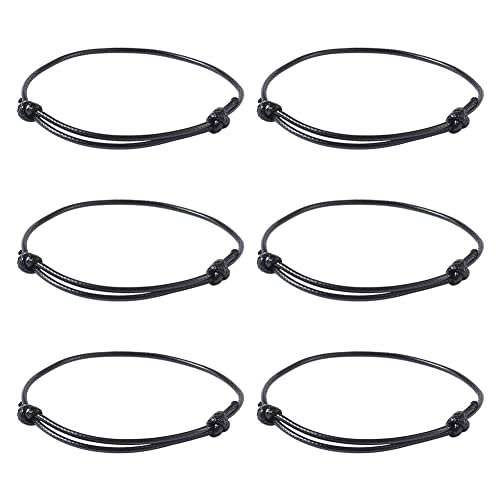
【Package Include】: You will received 50pcs bracelet---Size: about 40~70mm inner diameter; waxed cord: about 1.5mm in diameter.

AUTHENTIC ST. BENEDICT MEDAL: Features a detailed St. Benedict Medal centerpiece, a cherished Catholic sacramental symbolizing faith and devotion

Product Include: There are 50 pcs assorted color adjustable braided cords in total, 10 colors are available, size: about 5-1/2-11 inch(14-28cm) long, jump ring: 5x0.8 mm, inner diameter: 3.5 mm, ideal quantity and color for your jewelry and handicraft making
6. Size the Bracelet by Sliding

The gap between your two knots is what controls the whole fit. Slide them toward each other and the bracelet shrinks; pull them apart and it opens wide enough to slip over your hand.
Test this on your wrist before you call it done, not just against a ruler. The widest part of your hand, where the thumb meets the palm, is the real gate you need to clear.
I usually set the bracelet a little loose at first, wear it for a minute, then nudge the knots tighter once I feel where it actually sits during the day.
Moving one knot shifts the other if you are not careful, so brace the first knot with a fingertip while you adjust the second. That keeps your sizing from drifting while you work.
Once the fit feels right, with the bracelet staying put but not digging in, you are ready to lock everything down.
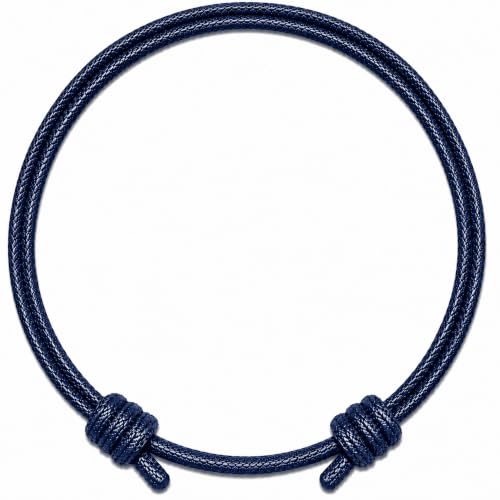
Included in Purchase – Receive one (1) handcrafted bracelet, carefully packaged in a cellophane bag with a meaningful color card. Thoughtfully designed for durability and style.

Durable Rope Bracelet: Made from strong, scratch-resistant cord with a smooth finish, this bracelet maintains its neat appearance during everyday wear. Its lightweight design makes it comfortable for both casual and formal outfits.

Included in Purchase – Receive one (1) handcrafted bracelet, carefully packaged in a cellophane bag with a meaningful color card. Thoughtfully designed for durability and style.
7. Trim the Tails Close

A clean pair of scissors is all you need for this last mechanical step. The first time I trimmed a sliding knot, I left almost an inch of tail on each side because I was afraid the knot would loosen.
The bracelet looked unfinished, and the extra cord caught on everything. Now I cut about two millimeters from the knot face, close enough that the tail disappears but the cord still has something to grip against.
The cut itself matters more than the exact measurement. A single snip with sharp blades leaves a flat end that sits flush.
Dull scissors or a sawing motion frays the cord and weakens the point where the tail meets the knot.
Worse, angled pressure can nick the working cord that runs through the bracelet, creating a thin spot that will break after a few weeks of sliding.
Cotton cord, leather cord, silk cord, suede cord, or hemp cord each behave a little differently under the blade.
Leather rounds off and looks neat even with a slightly longer tail; cotton and hemp need that tighter trim or they fuzz. The knot is finished once the tails are gone.
Pull the two working cords and the knots travel, making the design larger or smaller.

Size: Adjustable Women size M-L, Men size S-M

♥10 Knot Cross Bracelet—10 knots align with Christian "Decenario" tradition, carrying sincere prayers. Symbolizing redemption & protection, it offers warm support, keeping faith and peace with you always.

Elegant Dainty Love Knot Cuff Bracelets: WOWORAMA dainty knot gold cuff bracelet features a stylish love knot design that adds a touch of elegance to any outfit, and is excellent for those who appreciate understated beauty.
8. Add Beads or Charms

Beads and charms turn a simple cord bracelet into something personal, but timing matters. Thread them onto the cord before you tie the sliding knots, or leave the tails long after and string them there instead.
Two shapes that sit well on cord are ceramic rounds and brass cubes; both have enough weight to hang right without pulling the knot out of shape.
The hole size is what limits your options more than the bead style. Large-hole beads are built for this, and they work best when your cord is at least 1mm thick.
Anything thinner and the bead can wobble or slide where you don’t want it.
Erin Siegel’s version adds a few beads to the bracelet cords themselves, then knots and trims; the key is leaving those tails long enough that the bracelet still opens wide enough to slip over your hand.
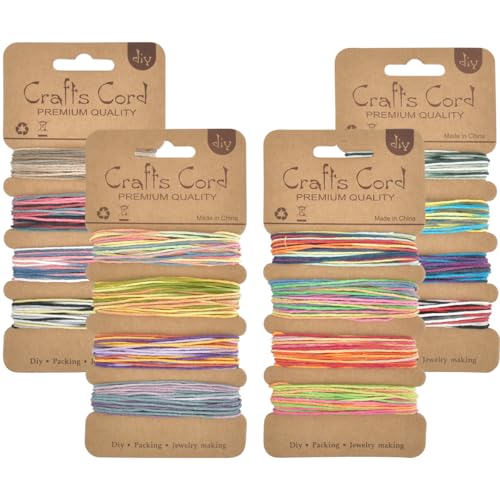
【Hemp Bracelet Making Kit】You will receive 4 sets of jute thread cords, each set contains 4 colors, 5m for each color, 80m in total length, and the thickness of each hemp thread cord is approx. 1 mm; Enough quantity and colors can easily meet your various craft requirements

FOR CREATIVITY: For kids to create their own stylish bracelets; includes a sturdy buckle and multicolored 550 paracord cord.

Craft with Colorful Variety: dive into many colors with 16 vibrant hues included in this set; The variety ensures you can design and DIY a range of crafts uniquely catering to your style, while also providing multiple color pairing options; Indulge in the delightful spectrum, nice for your creations
Cord and Length

Cotton, leather, or paracord all work for an easy sliding knot bracelet. The cord needs to be at least 1mm thick; anything thinner tends to collapse under tension and the knot slips instead of gripping.
Waxed cotton, satin, or dedicated knotting cord are all worth trying, though paracord has the stiffness that makes the first few knots easier to form.
Length is where most first attempts go wrong. The finished bracelet uses roughly half the cord you start with, so doubling the target length is the safe call.
For most adult wrists, a 24-inch piece is the standard starting point. That leaves enough tail to work with and some margin for error when the knots don’t seat cleanly the first time.
Thread any beads or charms before you tie; the sliding knot needs two free ends to function, and opening it afterward to add hardware defeats the point of the closure.

Included in Purchase – Receive one (1) handcrafted bracelet, carefully packaged in a cellophane bag with a meaningful color card. Thoughtfully designed for durability and style.

2mm Waxed Cotton Cords: Softer than Korean waxed cord, waxed polyester cord, and waxed linen cord yet not as sticky as waxed twine hemp cord, the lightly coated cotton wax cord makes great waxed jewelry cording, macrame cord, & wax beading cord.

Quantity and Size: 40pcs black semi finished bracelet,about 10-1/4-11 inch(26-28cm) long, jump ring: 5x1mm, inner diameter: 3mm.All are packed into a plastic storage box for ease of use,store and carry.
Tools and Beads

Sharp scissors matter more than you’d think. A frayed cord end turns threading beads into a fight you don’t need.
- Thread every bead and charm before you tie a single knot. Sliding the knot open later to add hardware is possible, but the cord frays and the knot profile bulges. Do it now.
- Choose cord at least 1mm thick. Waxed cotton, satin, or dedicated knotting cord all work; paracord holds its shape well for learning.
- Check that bead holes clear your cord diameter with room to slide freely. A charm that grips the cord kills the adjustment.
- Allow roughly twice your finished bracelet length in cord. The knots and tails eat more than they look like they should.

【Quantity and Multi-Colored】 You will GET 40 pieces of waxed threads in 40 different colors, sufficient quantity and rich colors for you to mix and match, easy to create beautiful bracelet

Package contents: You will receive 9 pieces empty necklace cord and 9 pieces bracelets in Black, Khaki and Beige color. Enough quantity to meet your different DIY needs or as a nice gift to share with your friends and families.

What You Will Receive: 20pcs Adjustable Waxed Polyester Cord Bracelets, semi finished.
Keep the Cord Sliding

A finished sliding knot can look perfect and still refuse to budge. The first time I tied one, the cord slid beautifully while I worked, then seized up the moment I cut the tails short.
Now I test the slide before I trim every time, running the knots back and forth a dozen times to see if they catch.
Leave the tails long enough to grip. I aim for about two inches past the second knot, which gives your fingers something to pull when you are tightening the bracelet around your wrist.
Too short, and you are pinching cord ends against your skin.
Pull each overhand knot firm, but stop before the cord flattens and loses its roundness. Crushed cord grips itself; round cord glides.
If a knot starts to lock up while you are working it, stop and work it loose with your fingernail before it sets.
A locked knot only gets tighter under pressure, and once it is set you are cutting it off and starting over.
Frequently Asked Questions
How do you make a sliding knot bracelet?
Cross the two cord ends into an X at the center, then loop one end around the main strand and feed it back through to form an overhand knot.
Repeat with the other end so the two knots face each other and can slide toward or away from each other to adjust the fit.
Test the slide before trimming any tails, since a knot that grips too hard will lock in place instead of staying adjustable.
What materials do I need for a sliding knot bracelet?
You need cord at least 1mm thick, sharp scissors, and optionally beads or charms with holes large enough to slide freely on your cord. Waxed cotton, satin, leather, hemp, or paracord all work; paracord’s stiffness makes early attempts easier.
Thread every bead and charm before you tie any knots, since adding hardware afterward frays the cord and bulges the knot profile.
How long should the cord be for a sliding knot bracelet?
Start with about 24 inches for an adult wrist, which is roughly double your finished bracelet length. The knots and tails consume more cord than they appear to, so doubling gives you working room and margin for error.
If you plan to add beads or leave longer tails for grip, add a few extra inches to that starting measurement.