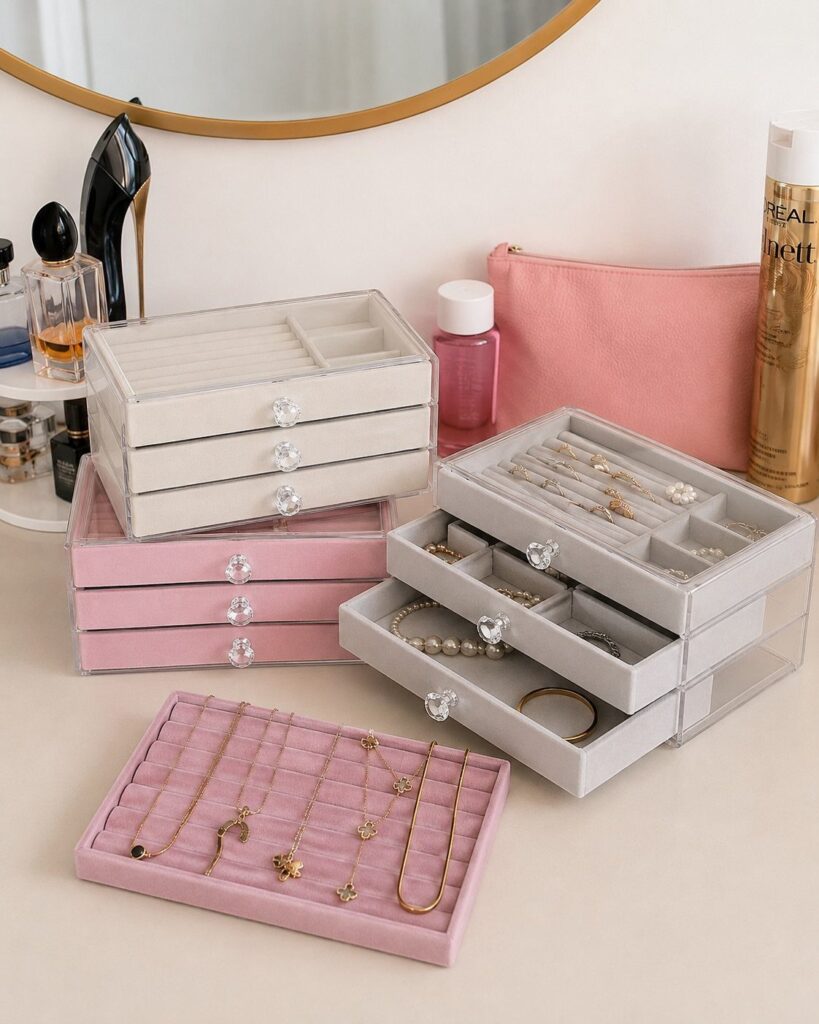
The ideas below run from a few dollars in oven-bake clay to velvet-lined boxes that cost more than some of the jewelry they hold, and the deciding factor is whether you need your pieces visible on a dresser or tucked away from dust and light.
An open display only works if the base has real weight to it; a marble slab or heavy ceramic keeps the frame still when you pull a stud off one-handed, and that single detail matters more than how pretty the stand looks.
1. Jewelry Tray
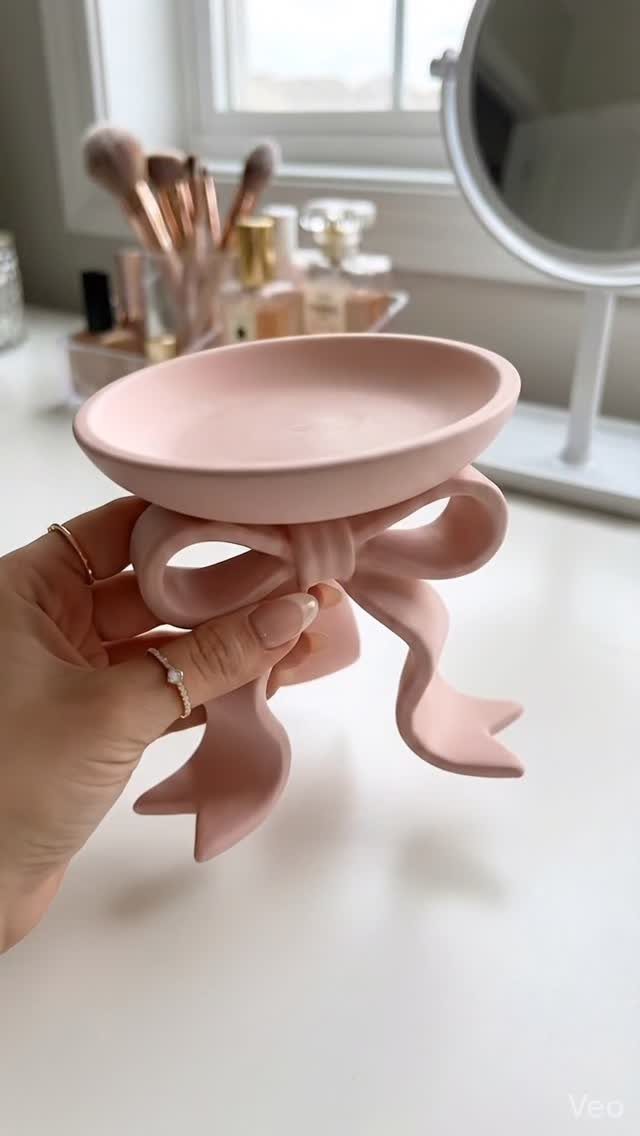
A bow-shaped dish in pale pink ceramic turns a vanity surface into an intentional landing spot for rings and earrings you reach for daily.
I like that the shallow depth keeps pieces visible; nothing gets buried or forgotten like it might in a deeper bowl.
The ceramic surface wipes clean with a damp cloth if makeup residue collects, and the flat base sits steady on narrow ledges.
Oven-bake clay takes acrylic paint well and keeps material costs low, which matters when you want a tray that matches your space without matching a catalog price.
Press a real bow into the clay while soft if you want that folded fabric texture.
2. Velvet-Lined Jewelry Box
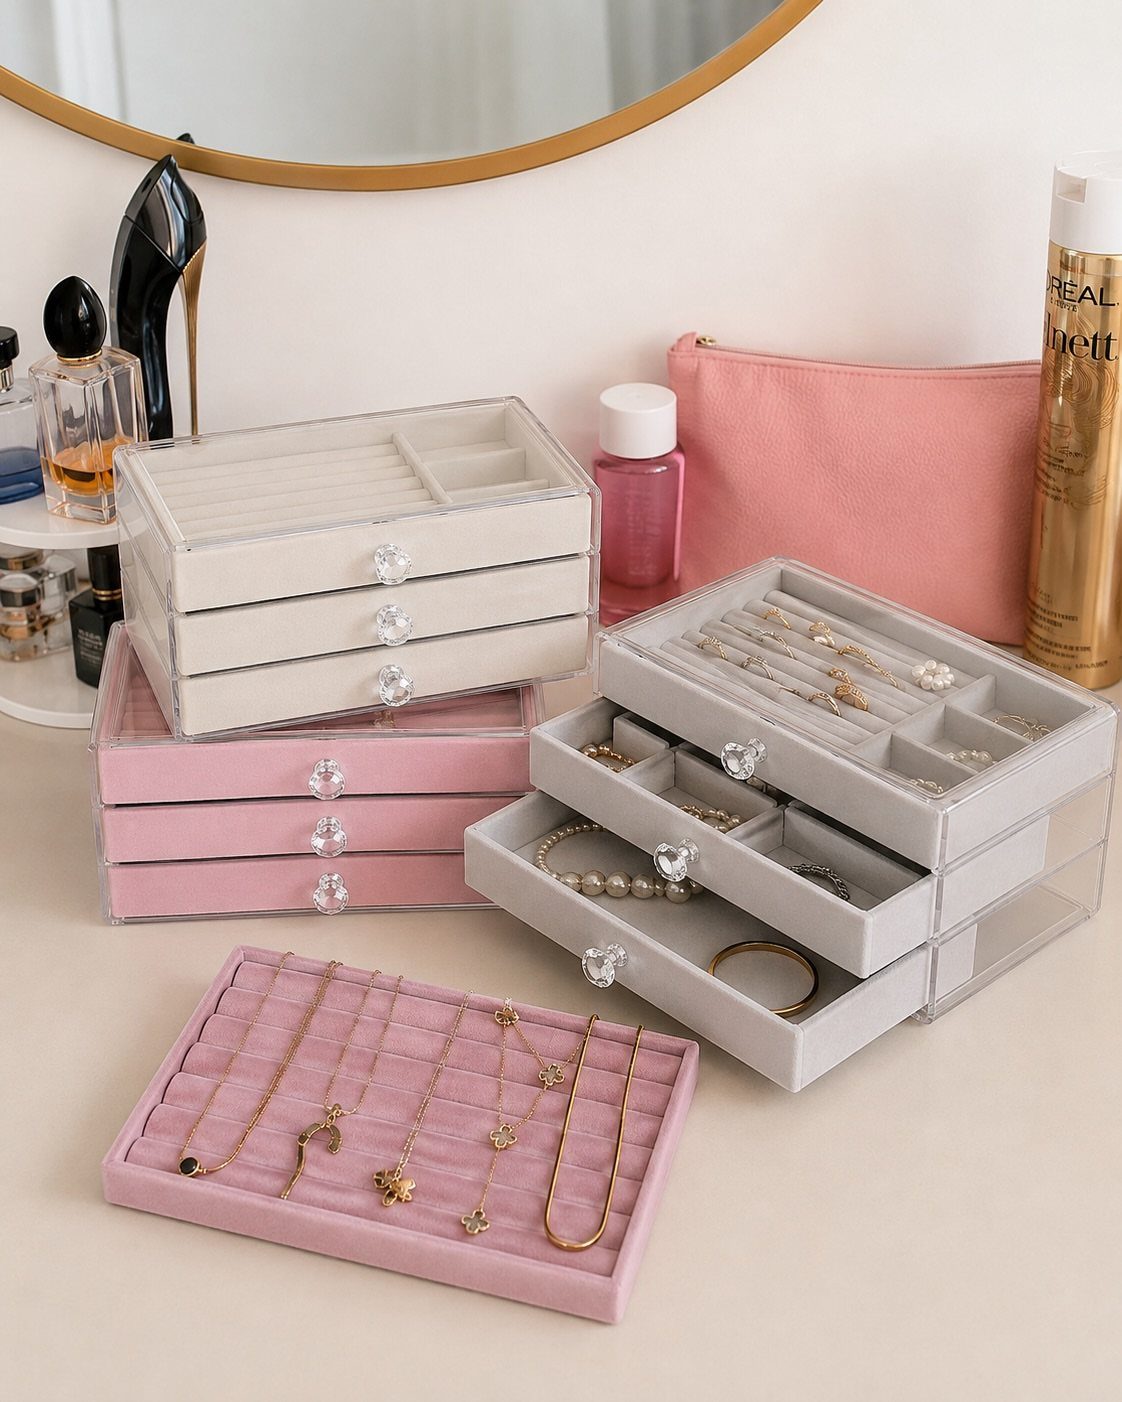
Clear acrylic boxes with velvet-lined drawers let you see the full inventory without opening anything, which I find makes the morning search faster.
Pink, white, and grey lining options coordinate with most vanity setups, and the velvet pile protects plated metals from the scratches that come from harder surfaces.
Stackable units work for collections that grow; I started with two drawers and added a third when my necklace count passed fifteen.
Acrylic scratches with abrasive cleaners, so stick to microfiber and water. Gold-rimmed mirror reflection gives a sense of scale: these run wide enough to fit standard vanity depths without hanging over the edge.
3. Earring Stand
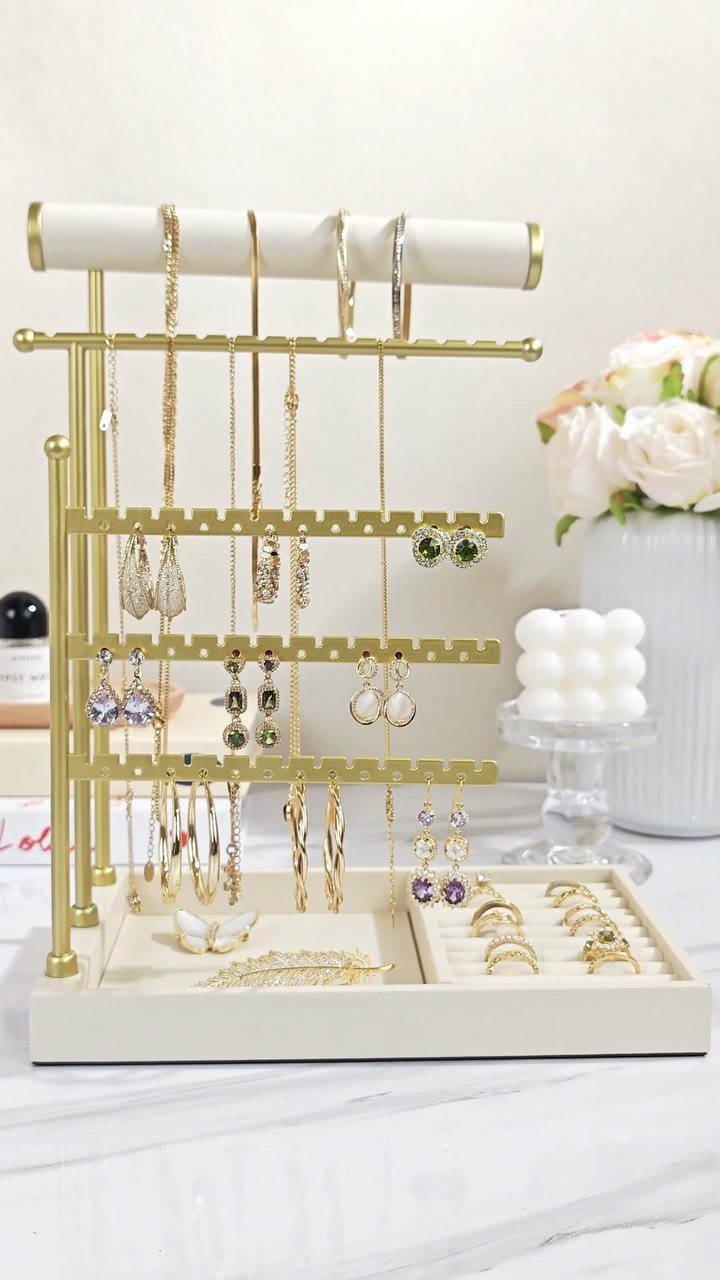
Gold metal framing with a white marble base reads as jewelry itself rather than mere storage, which is why I recommend this style for open display on a dresser top rather than tucking it inside a cabinet.
The vertical rods keep earrings paired and untangled, and the lower tier catches rings or stud backs that slip.
Marble is heavy enough that the stand stays put when you pull pieces off one-handed. Humidity dulls gold plating over time, so an earring stand belongs in a getting-ready zone, not a bathroom; keep it dry.
4. Wall-Mounted Jewelry Organizer
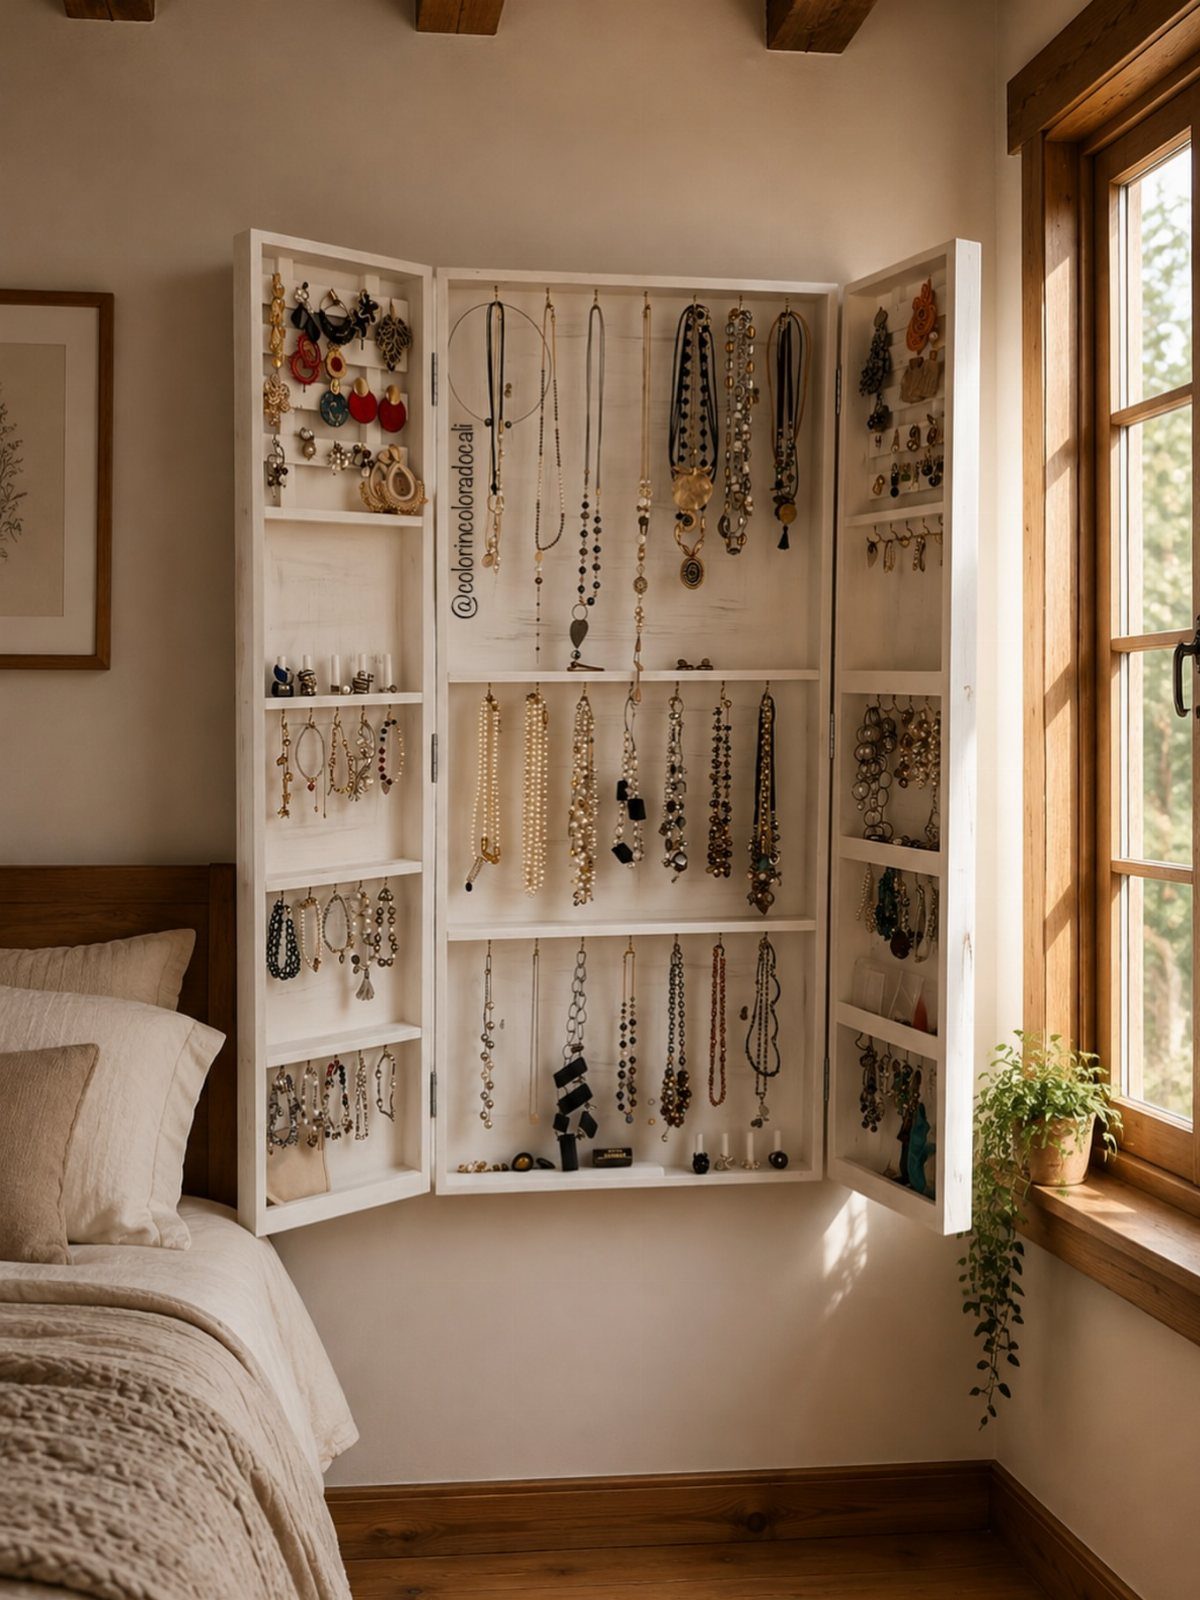
Wall-mounted cabinets reclaim the narrow space beside a bedroom window or behind a door, and a white finish disappears into most rental-friendly paint colors.
Necklace hooks on one door plus earring grids on the other organize by type without mixing chains with posts. Mounting requires finding a stud or using toggle bolts rated for 20+ lbs; jewelry accumulates weight faster than people expect.
The @colorincolorado.ali credit marks this as a real installed example, not a stock render, which matters for judging actual proportions against a bed frame.
5. Marbled Clay Ring Dish
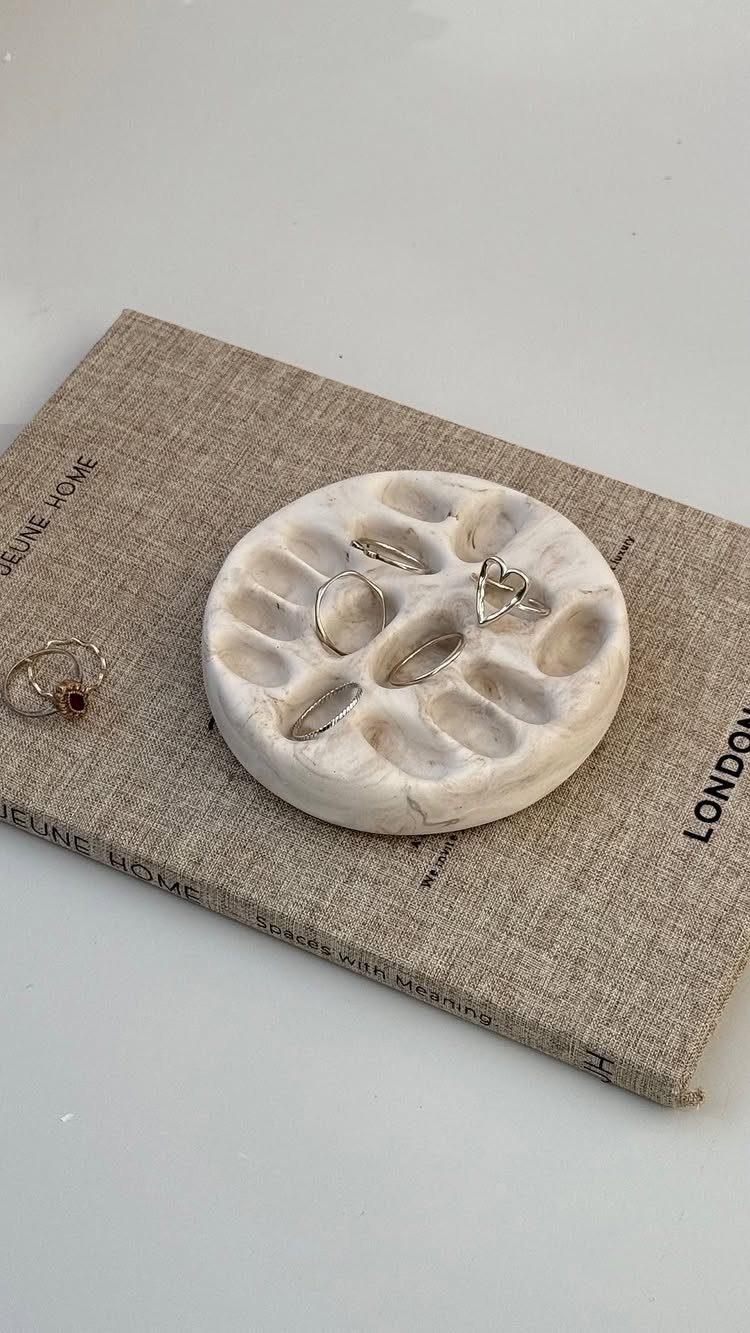
Marbled clay starts with two or three colors kneaded together just until they streak, not blend; overworking turns the mix muddy.
I roll to quarter-inch thickness, press into a shallow bowl form, and bake per the package directions, watching for the slight flex that means it is done rather than overdone.
White-grey veining reads as stone but weighs almost nothing, though the glazed surface means you will want to dry rings before setting them down.
Silver rings suit this finish especially; gold against grey reads cooler than I prefer. Sliding a book underneath gives height on a nightstand without requiring a dedicated stand.
6. Travel Jewelry Organizer Case
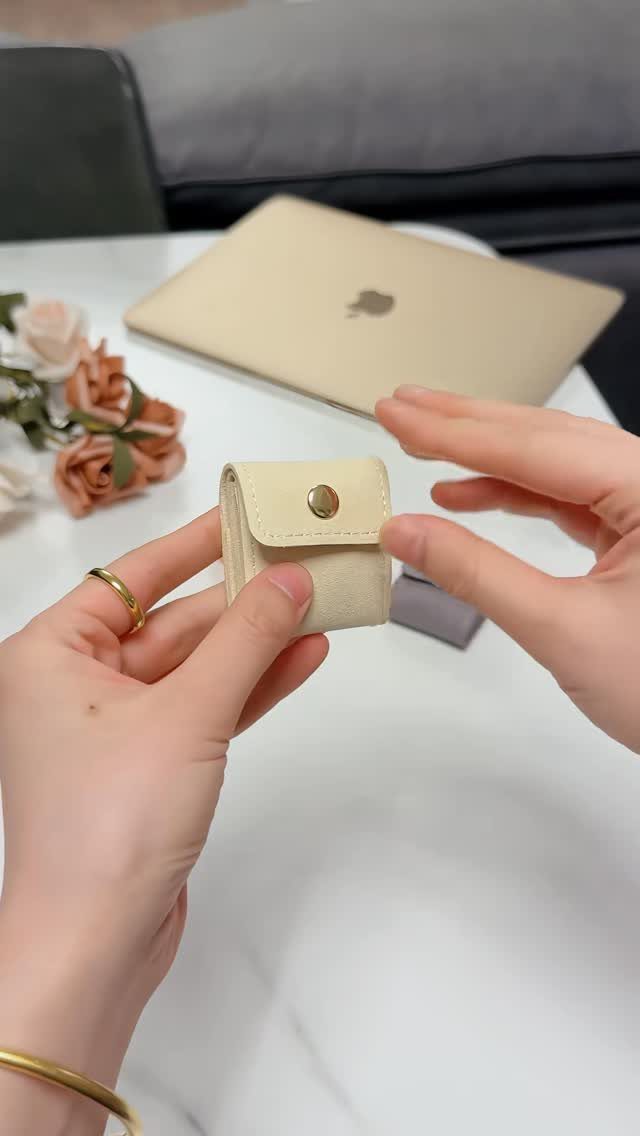
A case that fits in one hand solves the problem of tangled chains in a toiletry bag, and the cream color stays clean-looking through hotel stays and gym bags alike.
I look for zippered compartments that keep earrings from sliding, plus a padded ring roll that prevents the stones knocking against each other.
The laptop and stems in the background suggest this travels between desk and weekend trip rather than long-haul flights; for that use, I would want a hard shell insert, which this soft-sided version does not show.
Below a certain price, construction stays basic; above it, leather trim and metal zippers start appearing, and I think the upgrade pays off if you travel monthly. Spot-clean the exterior, never submerge.
7. Ceramic Hand Jewelry Holder
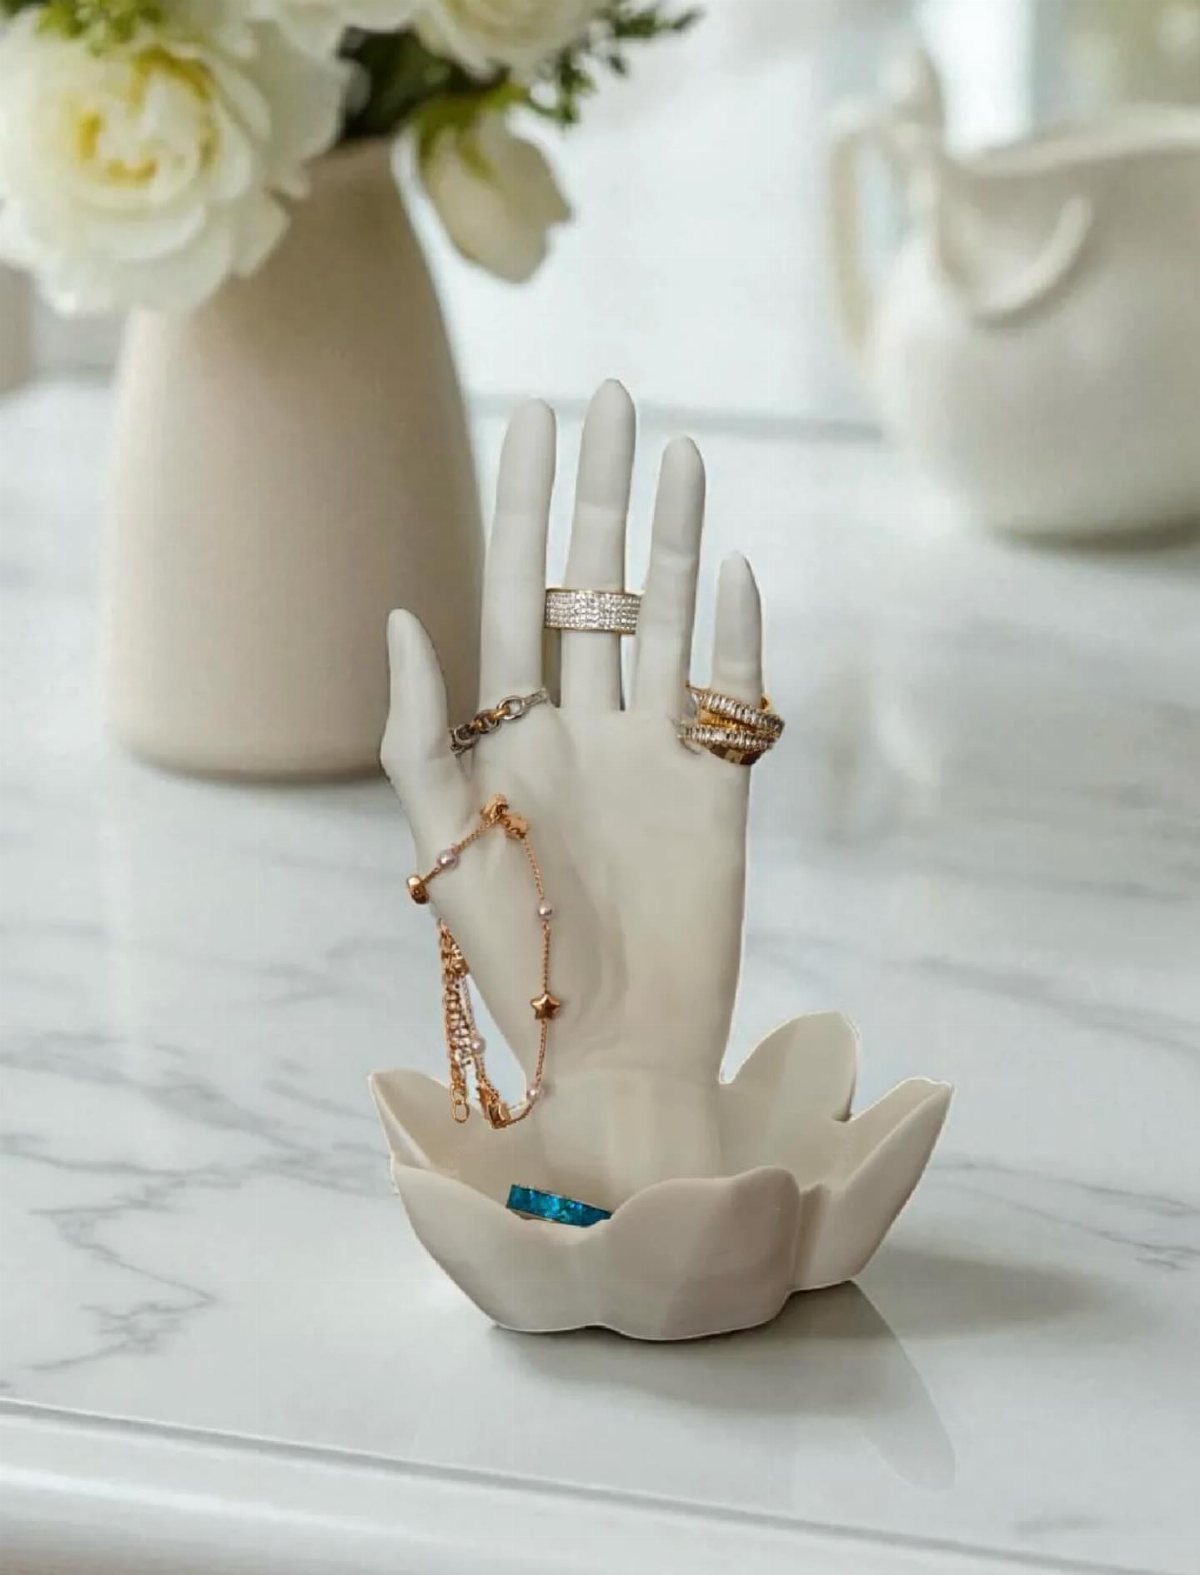
A ceramic hand turns jewelry storage into small sculpture, and the upright fingers keep rings separated so you can pull one without disturbing the rest.
The shallow dish at the base catches earrings or a bracelet looped around the wrist stump, which I find more useful than hands that end at the palm.
White ceramic stays neutral on marble or painted wood, though it shows dust more than darker finishes.
Unglazed bisque absorbs oils from skin contact; a clear matte sealant prevents that if you handle it daily. This size suits a vanity corner, not a full collection.
8. Clay Multi-Tier Jewelry Stand
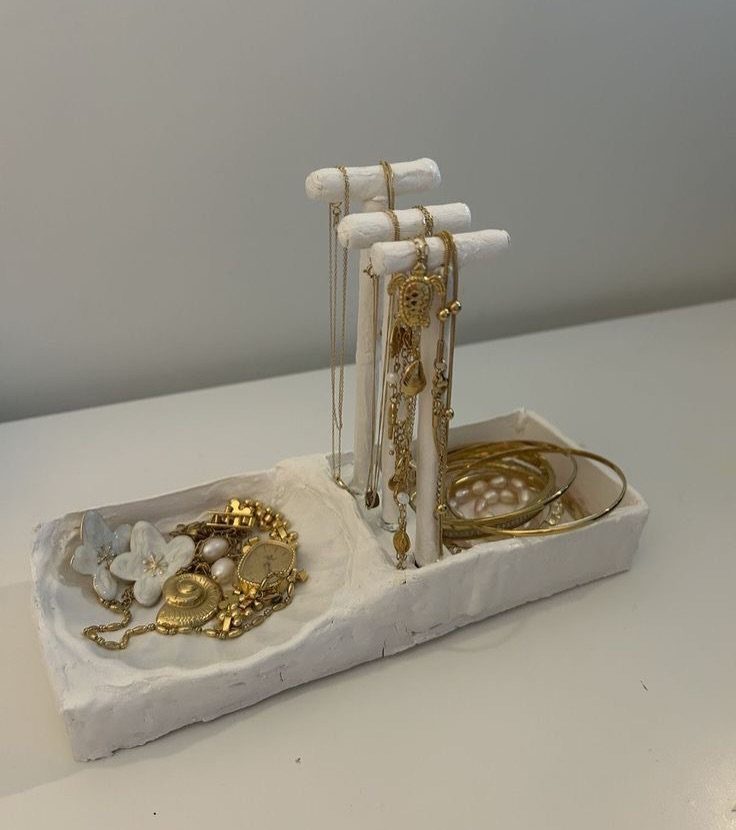
3 tiers of horizontal bars let necklaces hang at different lengths without tangling, and the base tray below catches whatever slips, a layout I prefer to single-post stands that leave bracelets sliding to the floor.
Oven-bake clay shapes around wooden dowels for the bars, then sand smooth before baking so chains glide without snagging. White clay keeps the focus on the jewelry, though raw terracotta or grey stoneware would read as more deliberate.
The open sides mean this belongs against a wall, not in a traffic path where a sleeve could catch. Plan enough hands-on time for shaping and assembly, then bake per the clay package instructions before painting or sealing.
9. Velvet Jewelry Bust
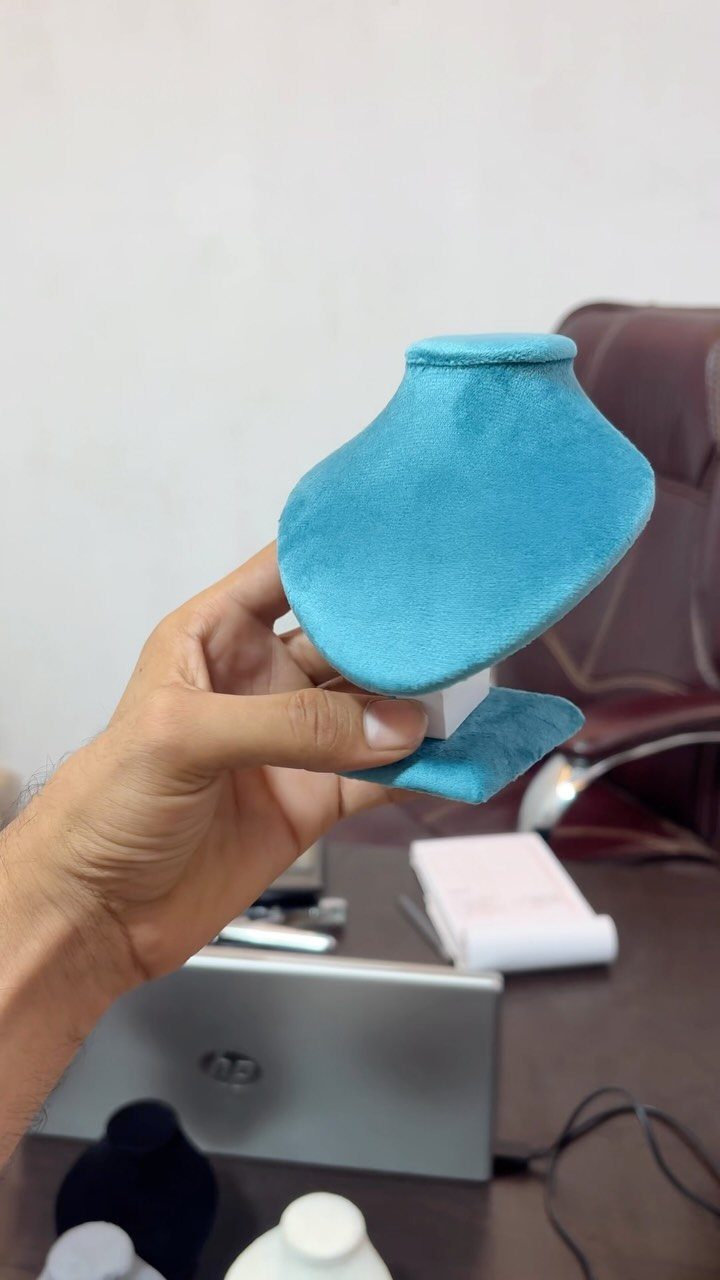
Turquoise velvet against a desk setup reads as content-creator equipment, and I would choose this bust for filming flat-lays or photographing pieces for resale rather than hiding it in a closet.
Dust and lint collect fast on velvet; a lint roller lives in my desk drawer for this reason. The scale visible against the hand suggests a compact height, portable for craft fair booths or small apartment surfaces.
10. Floral Ceramic Ring Holder
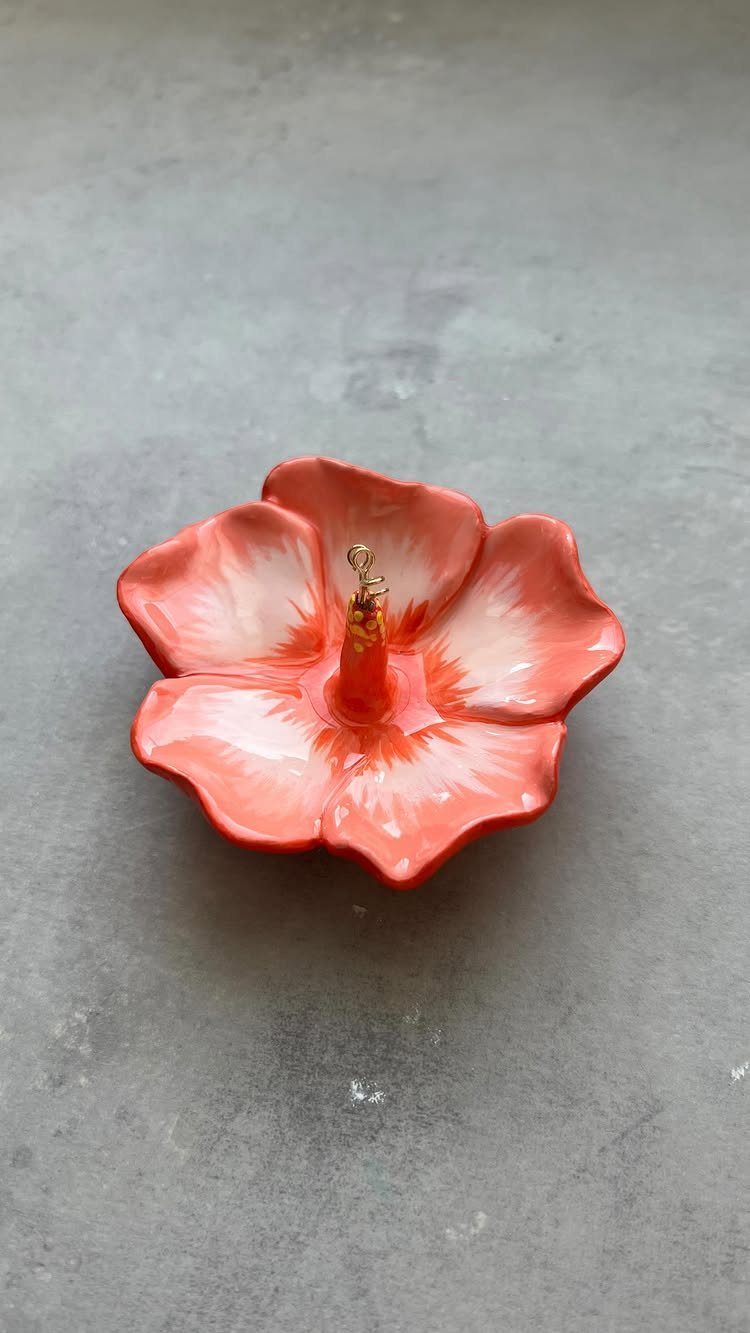
A raised stem in the center of a dish means rings stay upright and visible, not stacked flat where the bottom one gets forgotten.
The coral glaze warms against grey stone or white laminate, a color choice I would repeat in clay rather than hunting for the exact match in stores.
Flower petals form shallow compartments that separate earrings by pair, though large hoops may span 2 petals.
Ceramic holds up to daily wet-ring placement better than wood or cardboard, and the weight stays put when you pull a ring off one-handed. Materials stay reasonable if you already own basic glaze and keep the form simple.
How to Store Jewelry
I start by grouping pieces into what I reach for daily, what I wear on weekends, and what only comes out for events; that split decides whether something earns dresser-top space or goes into deeper storage.
Everyday pieces belong where you can grab them without opening a lid; trays, stands, and hanging organizers speed up a morning routine.
Occasion pieces I touch a few times a year do fine in a lidded case or cabinet drawer where air and dust stay out.
Necklaces need individual hanging space to stay untangled.
A freestanding holder on a closet shelf or island works if you have the room, or mount a small peg rack on the wall. Bracelets and bangles tangle less, so countertop organizers or compartmentalized boxes suit them fine.
Best Materials for Organizers
Open storage (stands, trays, catchalls) works for costume jewelry you reach for daily.
Lined boxes and drawers matter most for finer work: semiprecious stones pick up scratches from hard surfaces, and silver left bare against wood or plastic tarnishes faster than I like; velvet or a similar soft lining slows both problems.
Keep stones out of direct sunlight, since shine fades over time.
Clear acrylic organizers let you scan everything at once, though a see-through lid alone can give you enough visibility without the full craft-project look.
An attached mirror turns a box into a trying-on station. The best material is the one you will actually use; a perfect system you hate looking at fails by default.
Avoiding Tangles
Hanging necklaces individually is the only reliable way to stop tangles.
Vertical rods, hooks, or pegs keep chains separated and let you spot the one you want without digging. Bracelets tangle less, so they can hang or sit in compartments; the same freedom does not apply to chains.
If you use a jewelry stand, the open frame should sit against a wall, not in a walkway where sleeves or bags catch.
Frequently Asked Questions
How can I make a DIY jewelry hanger?
A wall-mounted board with hooks or pegs keeps necklaces separated and untangled, which I find more reliable than any countertop solution for chains.
Chicken wire stretched inside a frame works for earrings; add small hooks along the bottom rail for bracelets or longer necklaces.
Driftwood branches with screw eyes drilled into the bark give a coastal look and the natural curves keep pieces from sliding together.
What is the best hanging jewelry organizer?
A wall-mounted cabinet or peg rack with individual hooks wins for necklaces, since chains stay separated and you spot the one you want without digging.
An extending closet frame with hooks set wide apart lets you grab one piece without disturbing the rest, which matters when you are dressing fast. For earrings, chicken wire inside a shallow frame keeps posts paired and visible.





