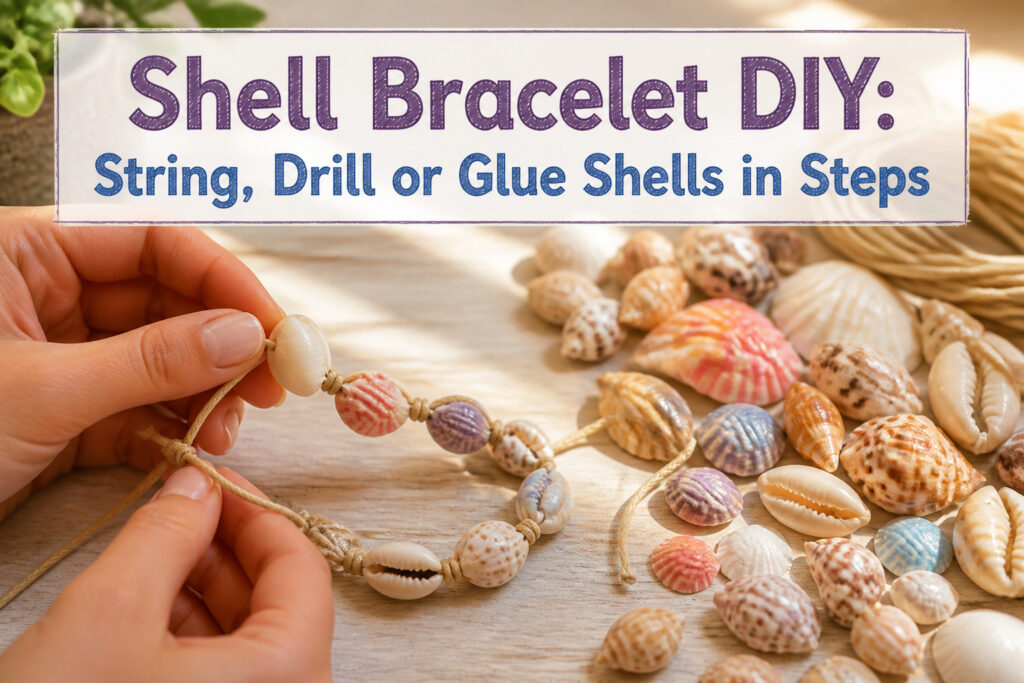
A shell bracelet diy is a wrist piece you build by threading shells onto cord, wire, or chain and finishing it with knots or a clasp.
The catch is that shells break, cord frays, and a closure that looks fine on the table will slide off your wrist the first time you reach for your keys.
Starting with 24 inches of waxed polyester cord, doubled to 12 inches of working length, gives you enough room to correct spacing before the first knot goes in.
1. Cut and Prepare the String
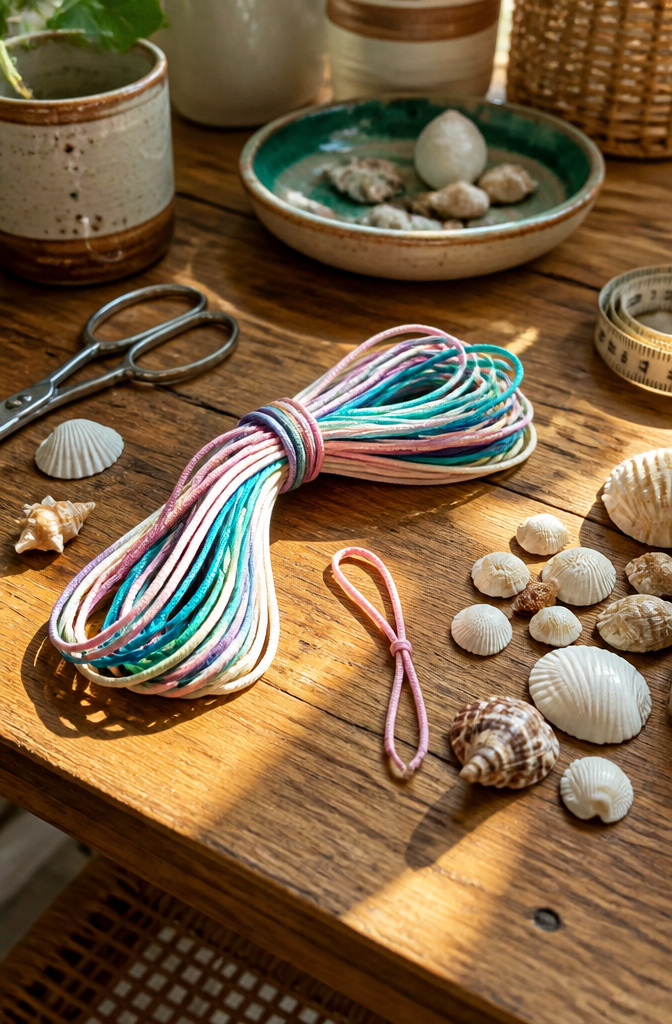
24 inches is the standard starting length for cord, though 36 inches leaves more room to work with if this is your first shell bracelet diy.
The extra foot matters when you fold the cord in half to create a doubled strand, because that loop end becomes your anchor point and any miscalculation shrinks the working material fast.
I like the security of the longer piece, especially since the first knot sits about four inches down from that folded loop and immediately eats into your usable length.
Elastic stretch cord works differently, and for that you will want to wrap it around your wrist first, then add roughly four inches before cutting.
Either way, the doubled strand is what lets the shells sit centered and crossing inside, so do not skip that fold.

What You Get: You will get 134pcs natural seashell bead charms for DIY crafts, 1 roll crystal elastic beading cord for jewelry making.

Size and quantity: about 100 pieces beach shell beads totally, each size is 19 x 12 mm with aperture 2.3 mm
2. Attach the Shells
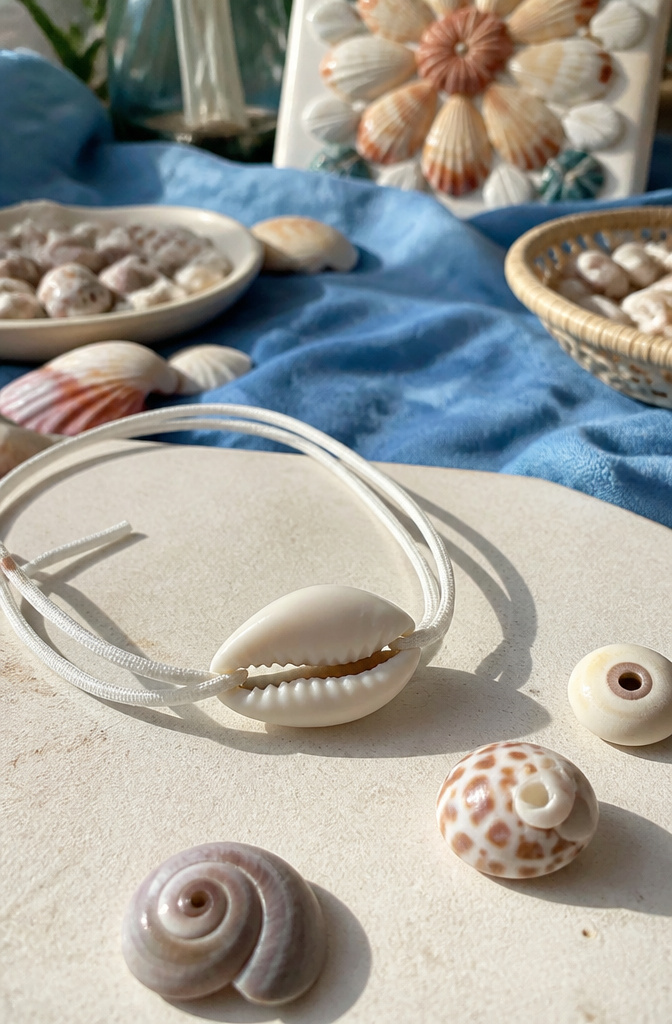
Cowrie shells sit flat against the wrist with almost no fuss, their backs smooth enough that the cord crosses neatly inside and holds.
For something with more texture, Shark Eye and Northern Moonsnail shells give that ridged, spiral feel, though you will need to thread carefully around their openings.
Five shells makes a minimal bracelet that reads as a single accent, while a fuller strand of 24 snail shells wraps the wrist almost completely.
The count depends on shell size and your own wrist measurement, so string a few, hold it against your skin, and adjust before knotting.
Cross the two cord ends inside each shell, pull tight, and add a small knot between shells if you want them to stay spaced rather than sliding together.

STRETCH CORD FOR JEWELRY MAKING: Elastic cord designed for slip-on jewelry such as bracelets, rings, and anklets. Provides flexible stretch for comfortable wear without clasps while supporting clean professional-looking designs.
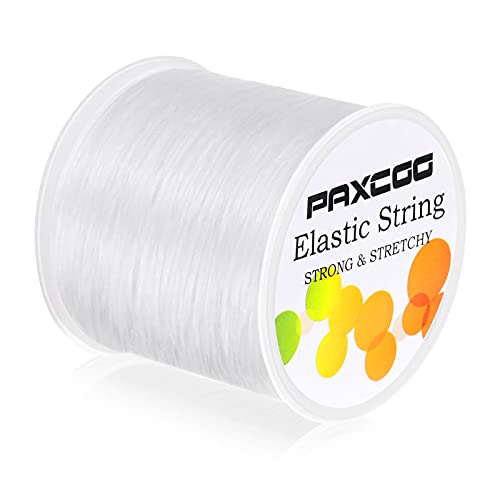
EASY TO TIE KNOTS: The elastic thread for bracelets is very flexible and can be threaded through both small and large beads, and is suitable for beads of all materials. The bead string is very simple to tie a knot to secure your bracelets and easily hide the knot among the beads

0.5mm Elastic String: Comes with a roll of 70m/230ft clear elastic string with a diameter of 0.5mm. 0.5mm fits for double stringing the beads, especially when using heavier or large beads and 70m length is enough for bracelets and necklace jewelry making and the roll is lightweight and portable that you can take it to school or gathering and bead with friends.
3. Secure the Shells
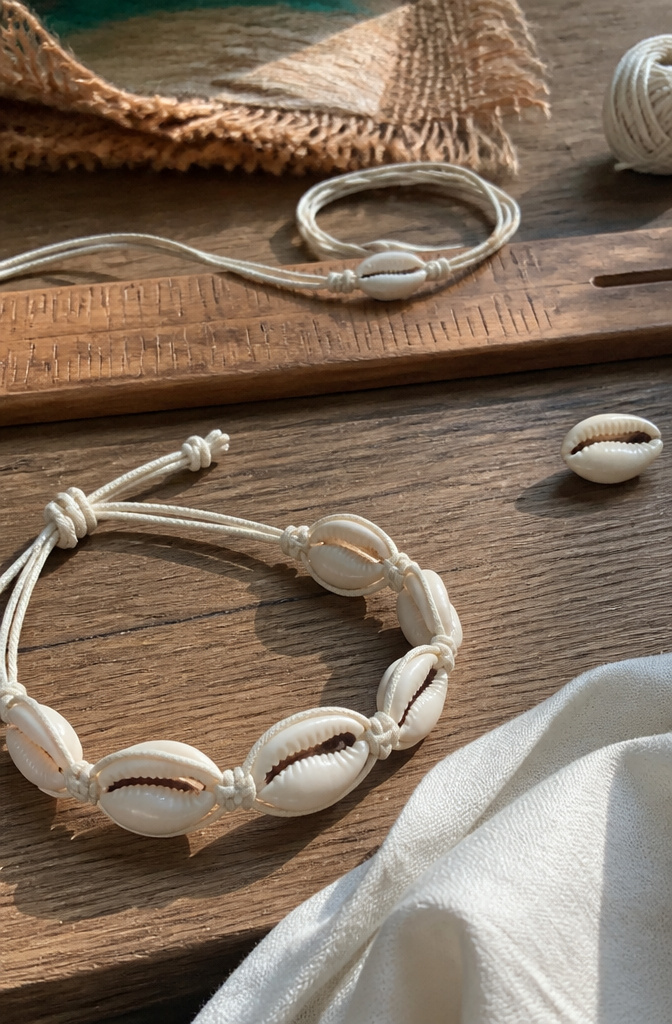
A shell that slides around on the cord ruins the whole bracelet before you even finish it.
Tie a knot on each side of every shell, pulled tight enough that the piece can’t shift but not so tight that the cord bunches or frays.
Where those knots sit matters more than most people expect. Two knots placed flush against the shell keep it flat against the wrist, which reads as tidy and lets the shell’s surface catch light evenly.
Push the knots a hair farther out, though, and the shell tilts slightly. That angle changes how light hits it, so the bracelet glints differently with every movement.
Neither approach is wrong; they just read as two different pieces.
Spacing stays consistent only if you measure as you go. Eyeballing works until one gap tightens and the next one gaps, and then the whole strand looks accidental.
I check each interval against the first one I set, using my thumbnail as a rough gauge, and adjust before the next knot goes in.

【Quantity and Multi-Colored】 You will GET 40 pieces of waxed threads in 40 different colors, sufficient quantity and rich colors for you to mix and match, easy to create beautiful bracelet
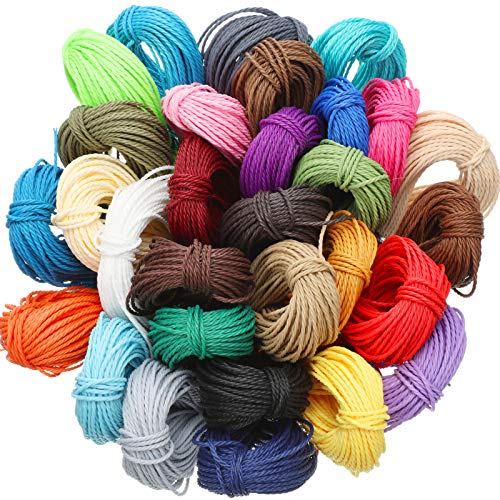
Package Inlcudes: 30 colors waxed polyester cord, each color polyester macrame cord is 32.8 ft/ 10 M, totally 984 ft/ 300 M

Durable material: these string for bracelet making is made of 3 plies polyester and lightly wax, which is sturdy and durable, easy to knit
4. Add the Closure
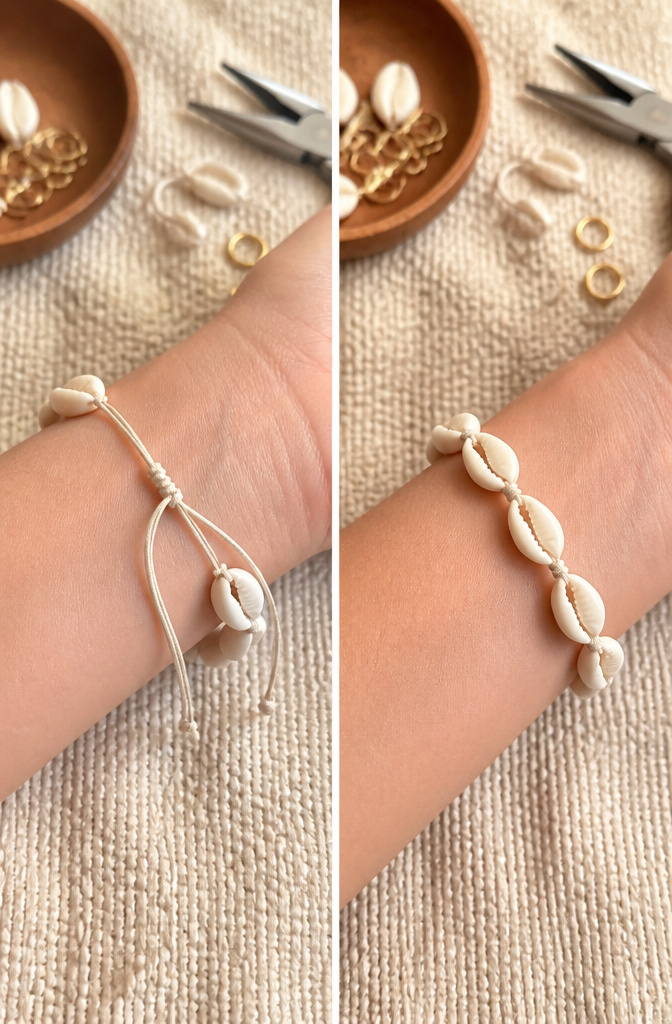
A sliding macramé knot needs about 10 inches of extra cord to work with.
You wrap the bracelet so the two ends overlap, bringing all four strands together, then lay that extra piece underneath and tie it tight enough to hold but loose enough to slide up and down your wrist.
Four square knots usually do it; trim the tails flush when you’re done.
Jump rings and a clasp are the other road. A lobster clasp on a short chain goes on in seconds, no fumbling with knots, but the fit is whatever the chain gives you.
If you want a fixed length, 7.25 inches is the standard bracelet size that works for most wrists without sliding around.
The macramé wins if your wrist swells in summer or you plan to stack this with other bracelets and need to adjust on the fly.
The clasp wins if you want to snap it on one-handed and walk out the door.
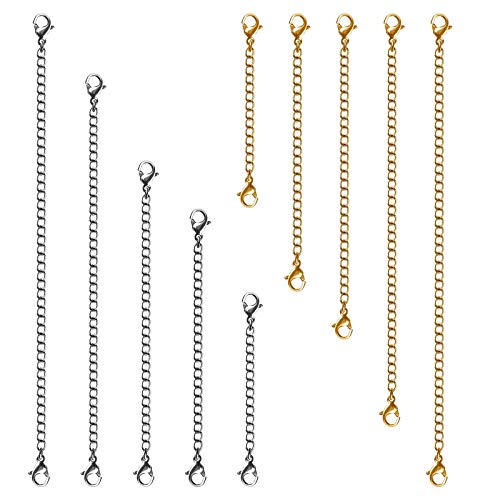
High quality- Our necklace length extender is made of premium quality stainless steel. High tarnish resistance, strong and durable, bright and delicate

COLOR & SIZE: 10 pieces,5 different length:2 inches,3 inches,4 inches,5 inches,6 inches,each size 2 pack(5 gold, 5 silver)

3 Sets of Extenders : Contains 3 pieces (1, 2, 3 inches) of shiny necklace extenders for women, making it easy to adjust the length of your necklaces, bracelets, and anklets, pendant for the perfect fit or a stylish layered look
5. Finish the Ends
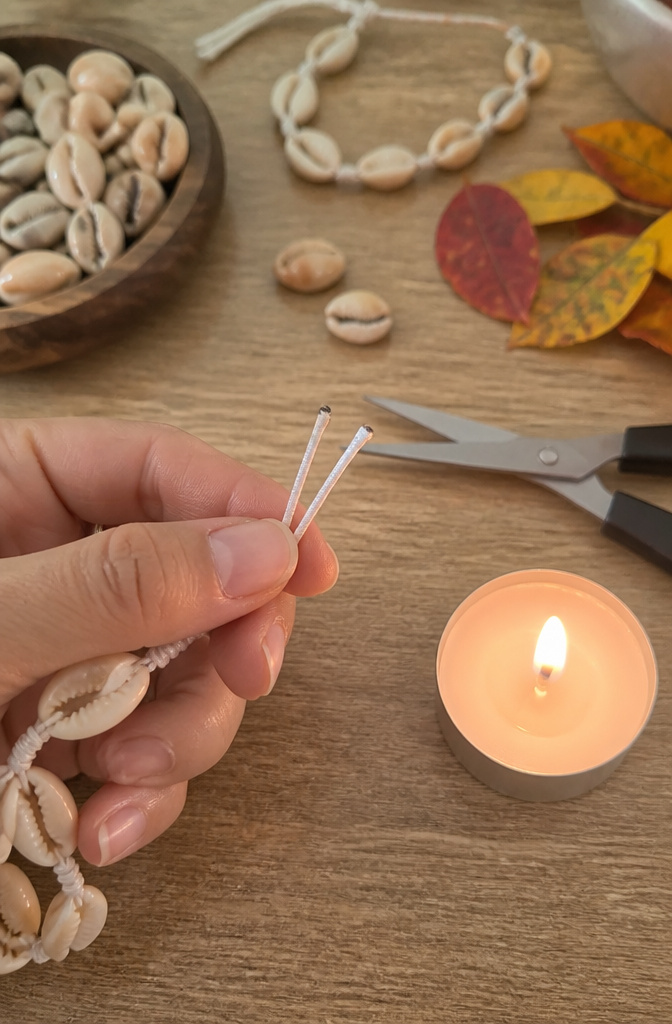
Trim the cord tails to about an eighth of an inch from your last knot. Hold the flame near, not in, the synthetic tip until it melts to a small bulb.
The first time I tried this, it took three attempts. Too close and the cord blackens and stinks; too far and the heat never reaches the fibers, so they fray the moment you tug the bracelet on.
The sweet spot is letting the flame lick just close enough that the end glassifies slowly, turning glossy before it darkens. Polyester cord is the right material for this, since natural fibers will char instead of sealing.
Work over a sink and keep water nearby. If the melted bulb looks uneven, roll it between your fingers while it is still warm, it will smooth out and hold.


Authentic Divination Tool: Set of 21 opened cowrie shells traditionally used in Santería, Yoruba, and Ifá spiritual practices.

Get ready for your bohemian look for the beach! Natural shell beads will always be on a jewelry maker's summer must-have list.
6. Optional Embellishments
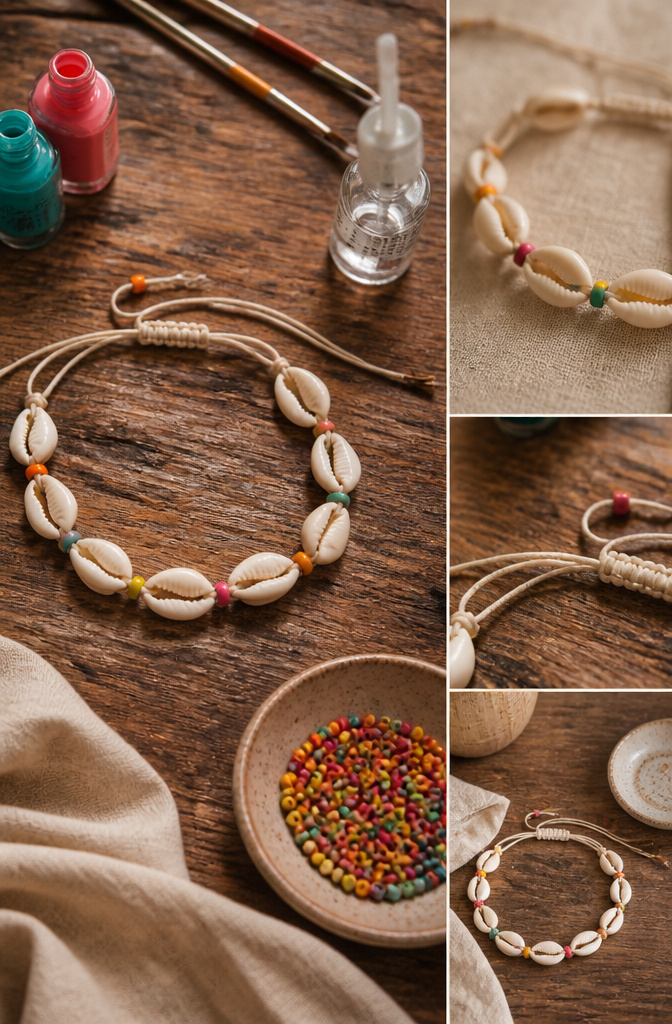
Small gaps between shells give a bracelet rhythm without stealing attention from the shells themselves. 8/0 seed beads thread neatly onto doubled cord and sit almost flush, while 5mm wooden beads add warmth and a little weight against lighter shells.
Satin rattail cord works best with the wooden ones; anything thinner and the beads rattle.
Painted shells need more care than raw ones. Nail polish chips fast at knot points where cord rubs, so a clear topcoat is non-negotiable if you go that route.
For decoration that stays put through summer salt and sunscreen, E6000 adhesive holds gilding or small inlays better than polish ever will.
Plaid Martha Stewart Decoupage Gilding Adhesive layers over that for a finished surface that does not flake when the bracelet twists against a wrist.

Size: Cowrie shells with hole, Size: about 1.6~1.8cm/0.63~0.71 inch long, 1.2~1.4cm/0.47~0.55 inch wide. Storage box size: 11.5*9*3cm/4.5*3.5*1.1 inch

Beach Style Design: Seashell anklet made of beaded shells threaded onto a cotton cord for a casual coastal look

【MEET YOUR DIY NEEDS】The shell bead has 100 quantities. Fit for all your DIY needs, for hawaiian necklace, pendant making, bracelets, anklets and earring sets with these tiny cute shell beads.
Shells That Work Best
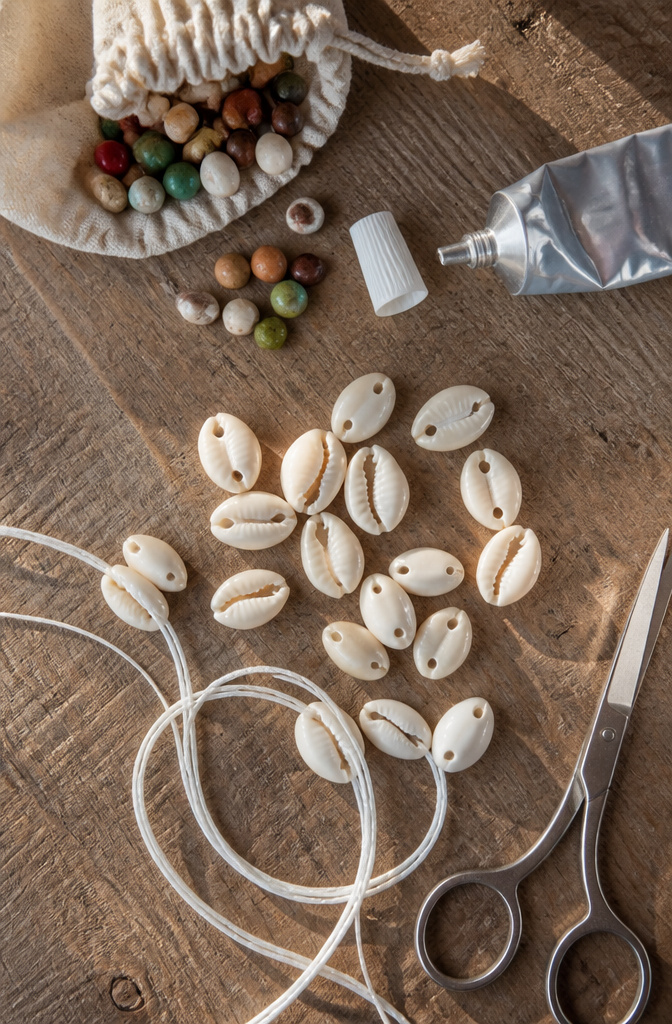
Cowrie shells win for a first attempt because the back is already flat and most carry a natural hole near the hinge.
You can cross two strands of waxed polyester cord through that opening, knot between shells, and the bracelet will hold up to water without much fuss.
For string, elastic stretch cord is the friendliest starting point. It forgives sizing mistakes and slips over the hand without a clasp.
If you prefer not to drill at all, chain changes the whole approach. Small beads glued to the top of each shell give you a loop to attach with jump rings, and a lobster clasp finishes it.
E6000 adhesive is what sources consistently reach for on that bond.
- Cowrie shells: flat backs and natural holes mean no drilling and no glue for basic stringing
- Elastic stretch cord: easiest to size and wear, though waxed linen or hemp work if you want the knot-and-tie look
- Chain: skip the holes entirely; glue a small bead to each shell top, then connect with jump rings
- E6000 adhesive: the specific glue mentioned for shell-to-bead attachment
- Jump rings plus needle-nose pliers: the hardware for closing chain links and attaching charms

WHAT YOU GET: Package comes with a roll of crystal beading thread, ideal for jewelry making

GREAT VALUE BRACELET MAKING KIT: The package comes with 12 rolls of stretch cord for bracelets in assorted colors that are perfect for seed beads, pony beads, clay beads, bracelets, necklaces, beading, jewelry making and DIY crafts

HIGHEST QUALITY: Stretch Magic is a strong, durable, non-fraying material, with great elasticity and resiliency. Consistent diameter throughout the entire spool. The perfect stretch cord for making jewelry that's easy to wear and remove!
Drilling Versus Gluing Shells
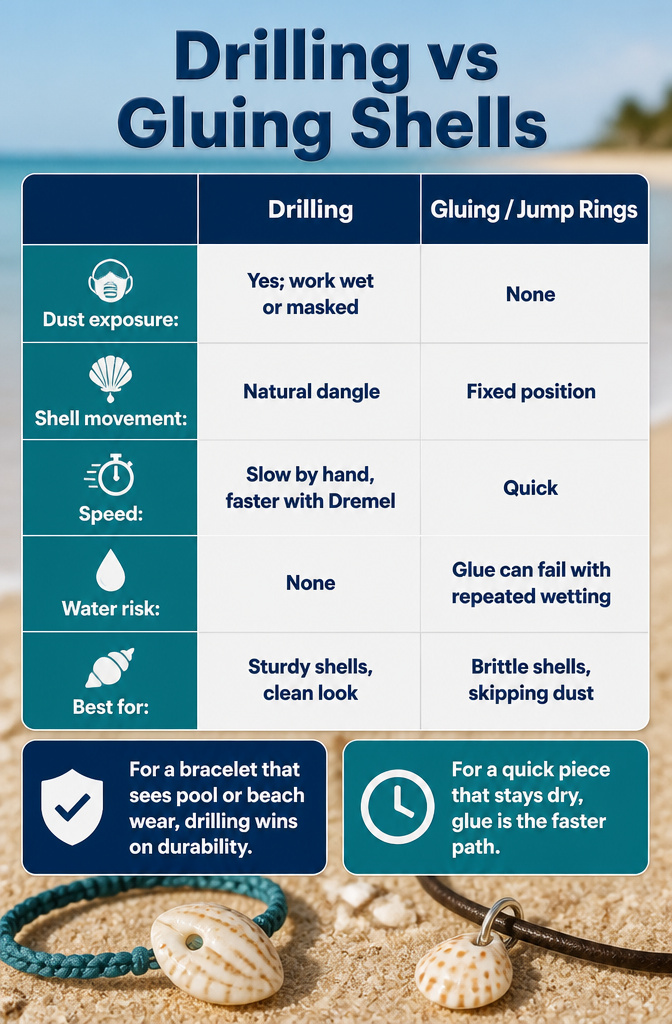
Drilling with a 1/16 inch bit gives you the cleanest mechanical hold and lets the shell dangle naturally on the cord, but it comes with a real downside: shell dust.
Some makers flag that dust as potentially toxic, and the safer route is to work wet or wear a mask while you drill.
A hand drill works for brittle shells, though it takes longer; a Dremel speeds things up on sturdier pieces like snail shells. You will break a few while you learn the pressure.
Gluing with E6000 or linking with jump rings skips the dust entirely and saves fragile shells from the bit.
The catch is that glue fixes the shell in one position, so it sits flat rather than moving freely, and repeated soaking can weaken the bond over time.
Jump rings work if the shell already has a natural gap or hole to hook through.
| Drilling | Gluing / Jump Rings | |
|---|---|---|
| Dust exposure | Yes; work wet or masked | None |
| Shell movement | Natural dangle | Fixed position |
| Speed | Slow by hand, faster with Dremel | Quick |
| Water risk | None | Glue can fail with repeated wetting |
| Best for | Sturdy shells, clean look | Brittle shells, skipping dust |
For a bracelet that sees pool or beach wear, drilling wins on durability. For a quick piece that stays dry, glue is the faster path.

Size: about 2mm in diameter; about 90yards/roll (80m/roll).

MATERIAL - Made of polyester and wax Coated.

wax thread for Bracelets: Package includes 20 rolls of wax string in various color, approx. 1 mm in diameter, and 25 yards per roll in length. Perfect for making bracelets, anklets, necklaces, beading, macrame knotting, jewelry making, crafting, wrapping and wind chimes
Beads and Paint for Decoration
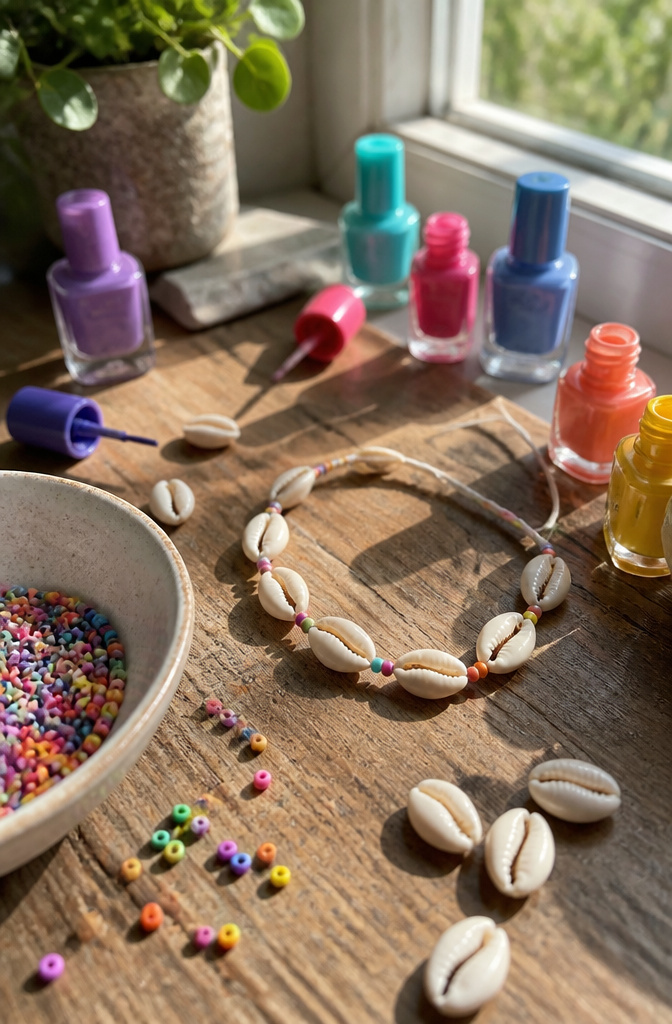
Small beads thread between shells without stealing the show. 8/0 seed beads sit flat and add a quiet rim of color, while 5mm wooden beads give more heft and a warm contrast against white or cream shells.
I have watched nail polish turn a plain cowrie into something hand-painted, but it chips fast unless you seal it with a proper topcoat. Even then, a bracelet that gets knocked around daily will need touch-ups.
The catch is weight. Every seed bead or wooden disk you add pulls the cord harder than shells alone.
A bracelet strung only on thin nylon might hold up for light wear, but once you load in beads and painted shells, the same cord frays where it rubs against the holes.
Stronger cord, something closer to satin rattail or a doubled line, becomes worth the slight bulk.
Measure the finished weight in your palm before you tie off; if it feels heavier than shells by themselves, the cord choice needs to level up too.

The Best Necklace Extender Clasp: Receive 8 lobster clasps, each 0.9 inch/22 mm long with a lobster head of 0.39 inch/10 mm by 0.02 inch/6 mm. The size is perfect for DIY jewelry and crafts, meeting various jewelry needs
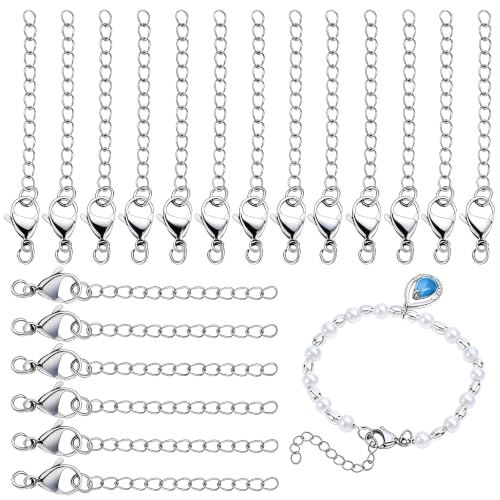
Extension Chain: total length of the extender chain is about 2.28"(58mm) in length; jump ring: about 0.24"(6mm) in diameter, 0.04"(1mm) thick, 18 gauge, lobster claw clasps: about 0.6"(15mm) long, 0.35"(9mm) wide; the chain is thick and strong, perfect for jewelry connectors.

Quantity: 3pcs sterling silver necklace bracelet extenders chain(1,2,3 inches,one for each size), easily add the length of your jewelry. Multiple sizes meet your different needs. There have a silver polishing cloth in the package so that you can use it at any time
Macramé Versus Clasp Closures
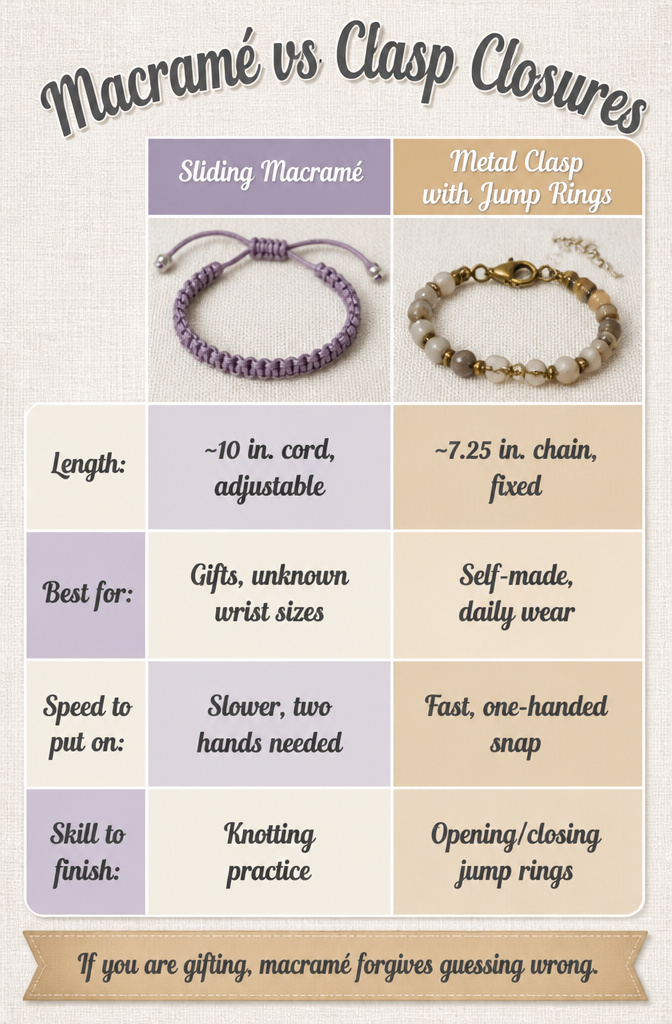
Sliding macramé knots and metal clasps solve two different problems, and the wrong choice will sit in a drawer instead of on a wrist. The macramé approach uses roughly ten inches of extra cord tied into an adjustable closure.
That length lets the bracelet open wide enough to slip over a hand, then cinch down to fit.
It is the option I reach for when I am making a gift and have no idea whether the recipient’s wrist measures six inches or seven and a half.
Metal clasps with jump rings give a fixed length, typically around 7.25 inches of chain. They snap on fast, which matters more than you would think for a bracelet you put on yourself one-handed.
The tradeoff is measuring your own wrist before you start, or accepting that the piece may dangle or pinch.
| Feature | Sliding Macramé | Metal Clasp with Jump Rings |
|---|---|---|
| Length | ~10 in. cord, adjustable | ~7.25 in. chain, fixed |
| Best for | Gifts, unknown wrist sizes | Self-made, daily wear |
| Speed to put on | Slower, two hands needed | Fast, one-handed snap |
| Skill to finish | Knotting practice | Opening/closing jump rings |
If you are gifting, macramé forgives guessing wrong.

Cowrie shells with hole, Size: about 1.6~1.8 cm long, 1.2~1.4 cm wide, hole: 1mm. Quantity: 100 piecesnatural seashells in total.

💕Versatile Crafting Material: This set includes 100 white and ivory natural cowrie shells perfect for jewelry making, crafting, and DIY projects.
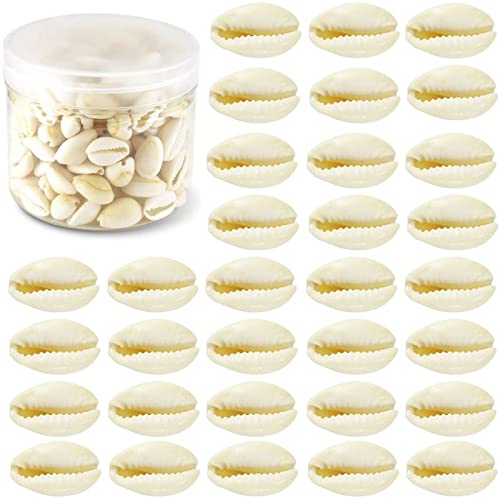
200 pcs natural white cowrie shells. A bulk supply of classic cowrie shapes for jewelry, beading and craft projects. Includes 200 pcs beige natural white cowrie shells bulk, size about 16-18mm long, enough quantity for various DIY projects and crafting needs
Frequently Asked Questions
How do you make a shell bracelet?
Fold your cord in half to create a doubled strand, then cross the two ends inside each shell and pull tight.
Add knots between shells if you want them spaced, or tie a knot on each side of every shell to keep them from sliding. Finish with a sliding macramé knot or a lobster clasp closure.
What materials do I need for a shell bracelet?
You need shells, cord (waxed polyester, elastic stretch cord, or nylon), scissors, and a lighter or cord cutter for sealing ends.
Optional additions include 8/0 seed beads, 5mm wooden beads, jump rings, needle-nose pliers, a lobster clasp, E6000 adhesive, and nail polish with topcoat if you want to paint your shells.
How long should the cord be for a shell bracelet?
Start with 24 inches of cord for a standard bracelet, or 36 inches if this is your first attempt and you want extra room to work with.
For elastic stretch cord, wrap it around your wrist first, then add about four inches before cutting. A sliding macramé closure needs roughly 10 inches of extra cord beyond the bracelet length itself.