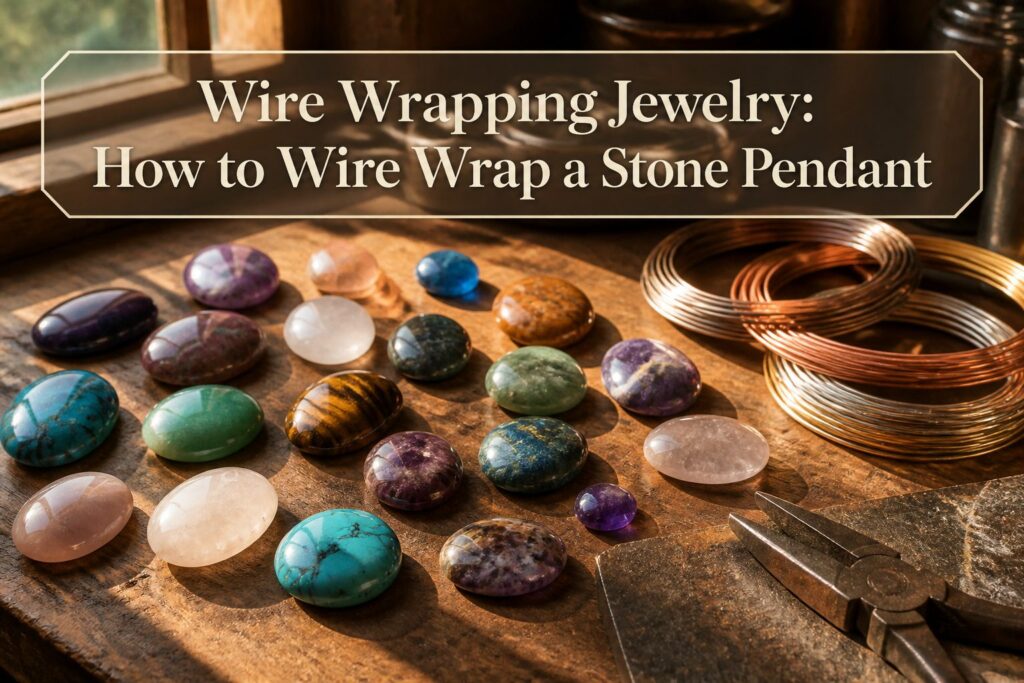
Wire wrapping jewelry is the craft of bending and coiling metal wire around a stone to hold it without solder or glue.
The wire’s temper matters as much as its thickness: dead soft wire bends freely at first, but every movement work-hardens it, and reworking the same section risks a crack.
A cabochon with its flat back and domed top gives the wire the best grip, and 22 gauge suits smaller stones while thicker wire carries the load on larger ones.
Choose a Stone and Wire for the Job
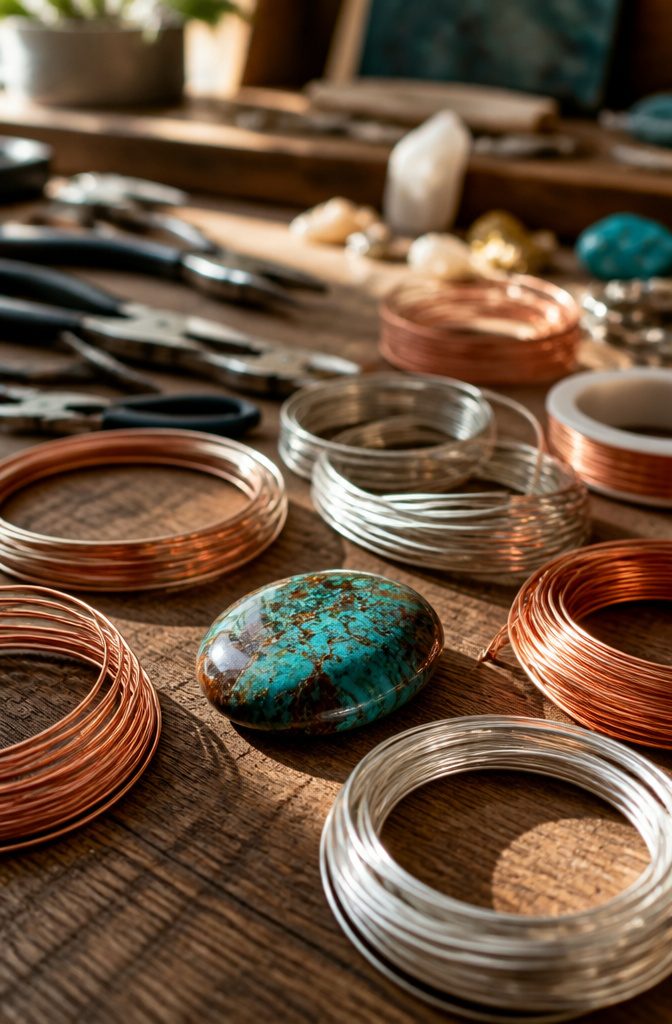
A cabochon gives you the flat back and domed top that wire grips best.
Size dictates gauge. 22 gauge pairs with smaller stones; step up to thicker wire as the stone grows, or the wrap loosens and the frame flexes.
Wire temper matters as much as diameter. Dead soft wire bends without fighting back, which matters when you’re coaxing it around curves that don’t forgive half millimeters.
Once you start moving it, you are work hardening it, so begin soft and plan your moves. Coiling and uncoiling the same section courts a crack.
For the frame itself, 16–20 gauge wire carries the structural load. Move to 24–28 gauge for the wrapping that holds the stone seated; 22 gauge still bends at that scale, though it stiffens noticeably.
Where weaving comes in, 28–30 gauge thread the tightest gaps without crowding the design. Copper or silver both start soft; sterling holds its set shape a touch better after you’ve finished bending.
Create the Frame
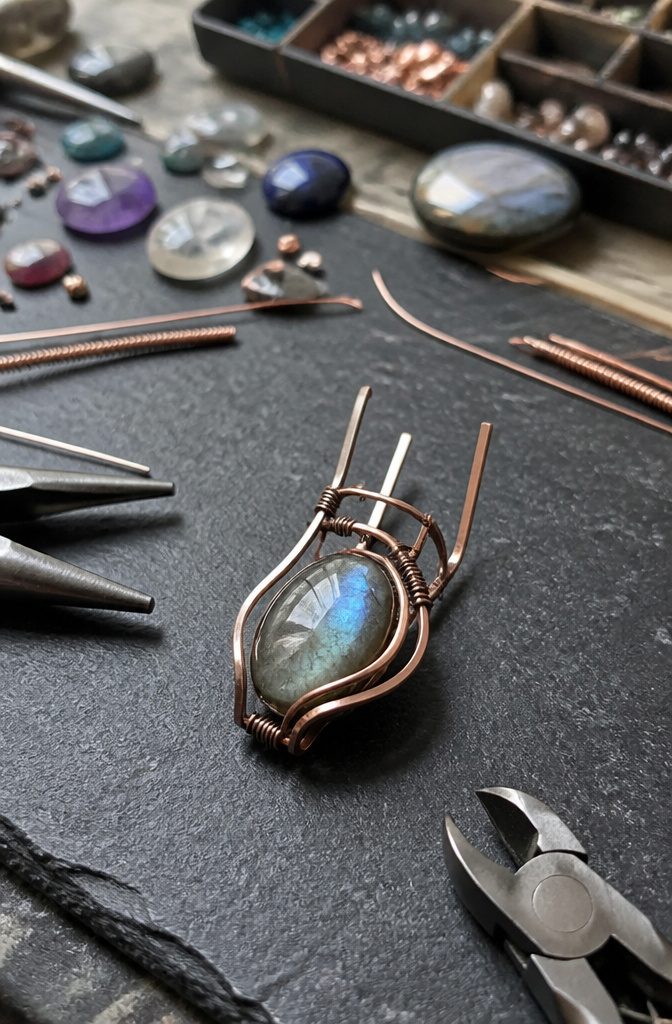
Half-round wire is what turns a bundle of loose wires into a frame that actually grips the stone.
I lay two to four strands of thicker square or round wire side by side, then use the half-round to bind them with anchor wraps spaced to match the stone’s size.
A small oval or teardrop might hold steady with just two wraps, one near each lower corner. A larger or irregular cabochon needs three or four to keep the structure from flexing.
Once the anchor wraps are tight, I bend the thicker wires to trace the stone’s exact outline.
The corner bends must match the stone’s width; the top bends must meet dead center. Bend in the wrong spot and the stone rattles or pops free, so I work slowly, checking the fit as I go.
Some people tape the stone inside the frame with masking tape while they finish the top, though with practice you can close the gap without it.
The finished frame should be the stone’s precise size and shape, because every wrap that follows depends on this skeleton holding true.
Complete the Frame and Create the Bail
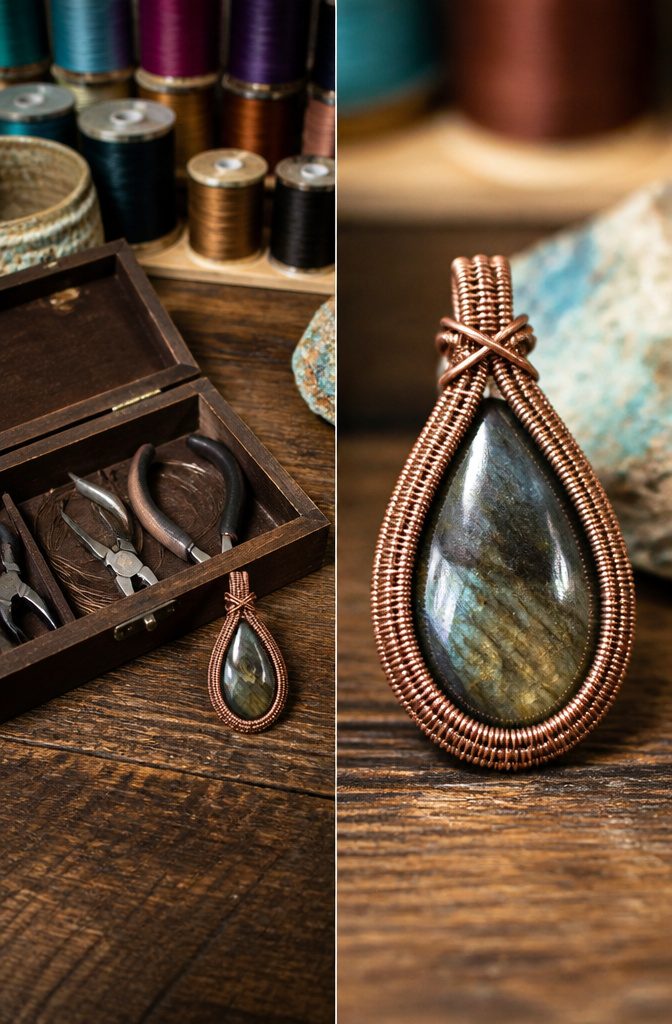
Closing the frame is where the wrap lives or dies. I take half-round wire and run tight wraps across all six wires at the top, squeezing each coil against the last with flat-nose pliers so nothing gaps.
Loose wraps here mean a frame that shifts and a stone that eventually slips, so I check every coil by sight and by feel before I move on.
Once the frame is locked, I separate out the two back wires and wrap them separately to start the bail.
I keep wrapping until I have enough wrapped length to bend back into a loop that will sit cleanly on a chain.
The bail can be finished now, before the stone is secured, or held until after; I finish it now when the top is still open and my fingers have room to work, but either order works if the wraps stay tight.
Secure the Stone and Finish the Bail
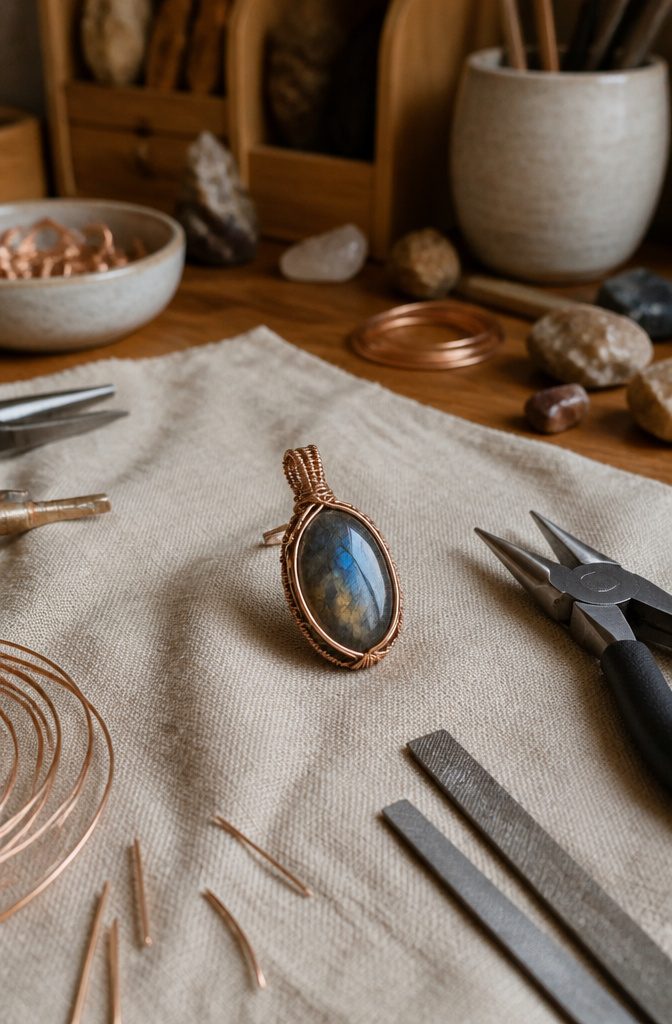
Sliding the stone into a frame that already has its front prongs partially bent keeps the silver wire from picking up tool marks during the final adjustments.
I work the frame wires around the girdle evenly, matching the bends on both sides so the setting looks intentional rather than rushed.
A thumbnail works better than pliers for these last nudges; steel jaws scratch, and the point of wire wrapping jewelry is letting the metal show its hand-finished character.
Once the stone sits snug front and back, the bail gets its final wrap. Two loose wires at the top get coiled around the upper frame, the excess trimmed, and the ends tucked behind so nothing catches on a chain.
The bail’s angle matters: too far forward and the pendant flips; too far back and it hangs stiff against the collarbone.
Half-round wire gives a flatter, cleaner finish than round wire here, though either holds. I usually secure the stone first and finish the bail after, since the stone’s exact thickness can shift where the balance point needs to sit.
Add Decorative Flourishes and Trim Excess Wire
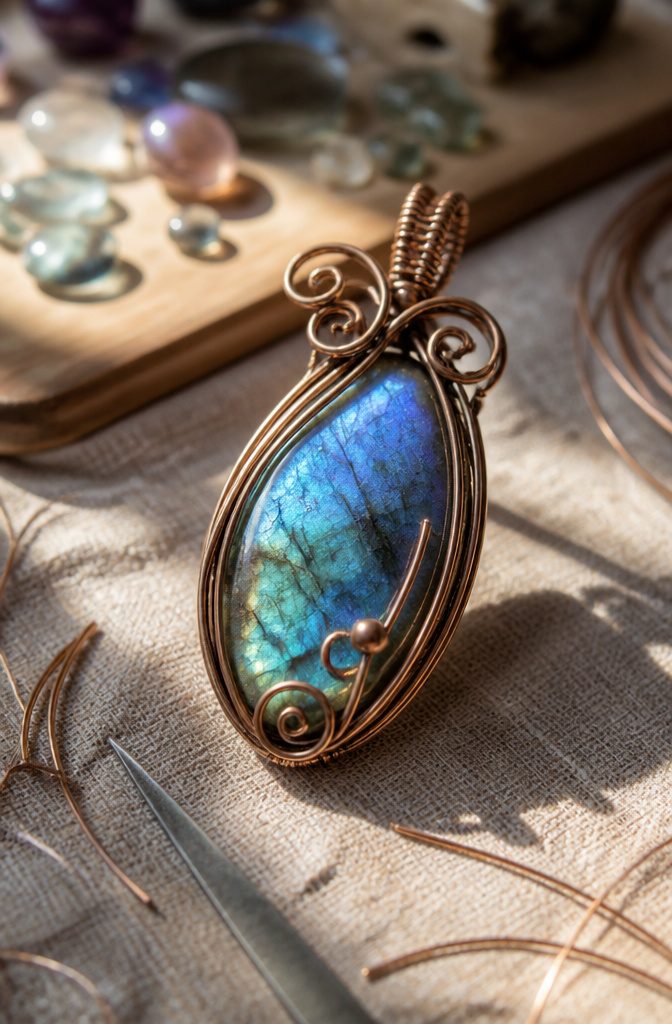
Those four or more frame wires poking out past the bail are where the personality of the piece lives.
I like to drape them around the base of the bail or form small loops just in front of it, though bringing a wire down into the body of the wrap and finishing with a tucked loop can anchor the stone with a little extra security.
Whatever flourish you choose, cut the excess wire so only what you need remains, then finish the cut ends by filing them smooth or curling them into tiny closed loops that sit flush against the metal.
A sharp tail left visible will snag on sweaters and skin alike, so I spend the last few minutes testing the back and edges with a fingertip for anything that catches.
Most wire wrapping jewelry projects run 1 to 3 hours from start to finish, and this final stage of trimming and tucking is usually what separates a piece that feels finished from one that feels rushed.
Once the last end is seated, the pendant is ready to wear.
Basic Wire Wrapping Tools
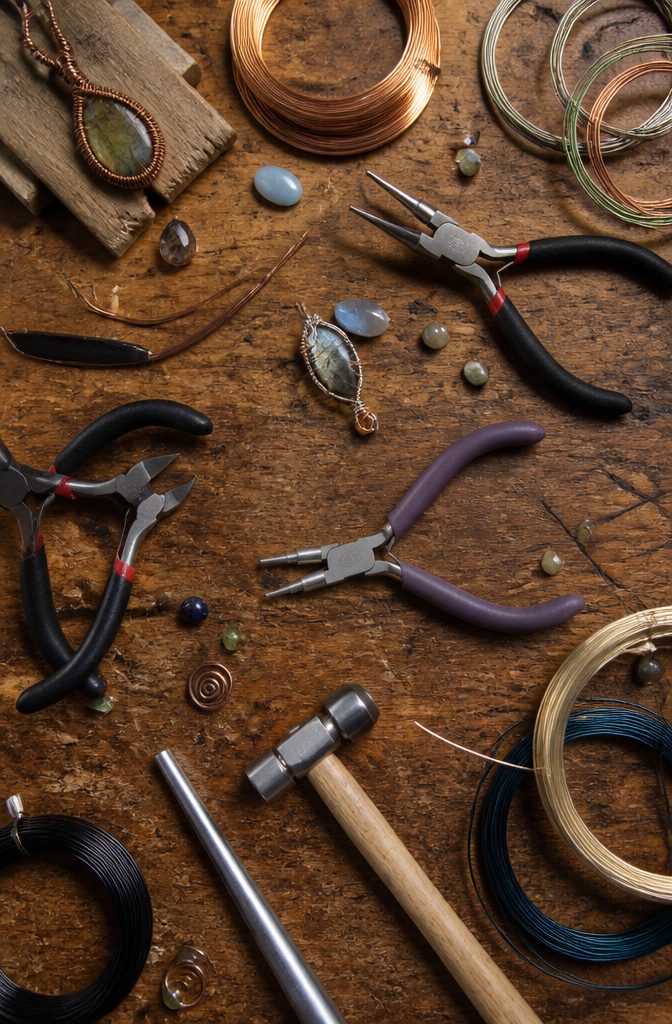
The right tools keep wire wrapping jewelry from turning into a wrestling match with metal. I started with these six, and they still handle ninety percent of what I do.
- Wire cutters slice through gauge cleanly. A flush cutter leaves one end flat and the other pointed, which matters when you are tucking tails against a stone.
- Round-nose pliers shape loops and curves with their tapered jaws. I reach for these first when building a bail.
- Chain-nose pliers grip and bend without marring the surface. Their flat smooth jaws work tight spots where teeth would leave dents.
- Flat-nose pliers hold areas flat and make crisp 90-degree bends. I use these when I want a corner that stays put.
- A ruler keeps wraps even and frames symmetrical. Eyeballing it works until it does not.
- A rawhide or nylon hammer hardens and textures wire on a bench block without leaving the dings a steel hammer would.
- Small jewelry files smooth sharp ends and flush cuts so the piece wears comfortably against skin.
Skip the jigs and step-jaw sets at first. These six get you wrapping real stones while you are still deciding whether the craft sticks.
Wire Types for Wrapping
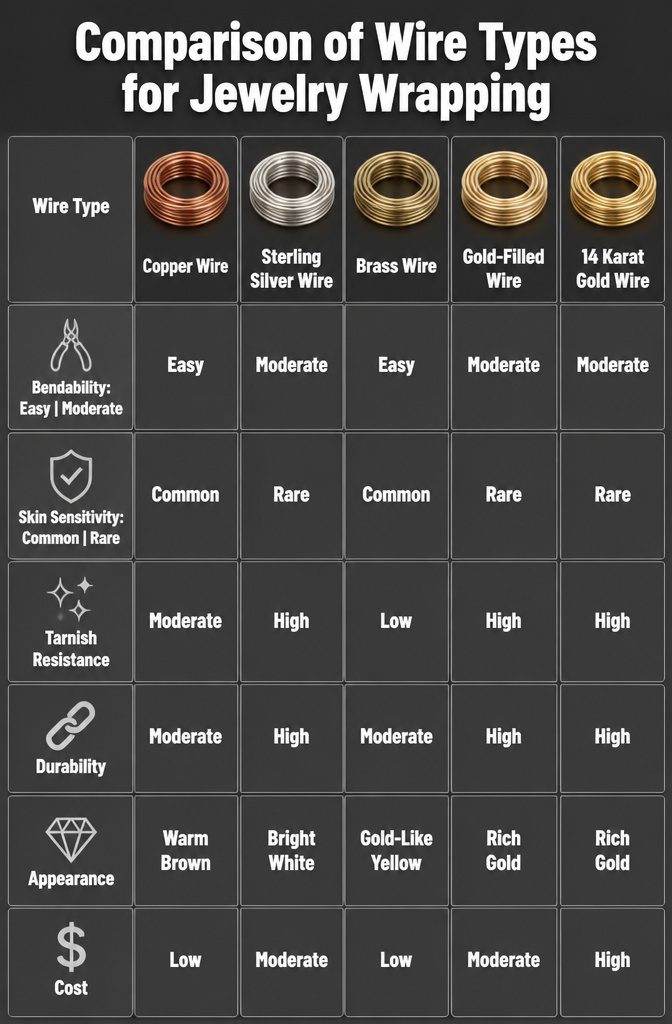
The wire you choose for wire wrapping jewelry shapes how the piece feels in your hands and how long it lasts. The common options break down like this.
- Copper wire remains the place to start. It bends easily under gentle pressure, which means you can correct mistakes without fighting the metal, and the cost stays low enough that wasted inches do not sting. The downside is skin sensitivity; many people react to copper over time, so a finished pendant worn against the neck may not suit every wearer.
- Sterling silver wire sits one step up in stiffness. It still moves where you direct it, yet it holds curves and spirals with less tendency to spring back. Fewer people show allergies, and the bright white finish reads as more finished than copper’s warm brown.
- Brass wire gives a gold-like color at brass prices, though it tarnishes faster than most metals and the nooks of a wrapped design make polishing difficult.
- Gold-filled wire fuses a layer of 12- or 14-karat gold to a base metal core, so the shine lasts through years of wear without the price of solid gold.
- 14 karat gold wire carries the highest cost and justifies it only when the design itself is the star, not the learning exercise.
First Techniques to Learn
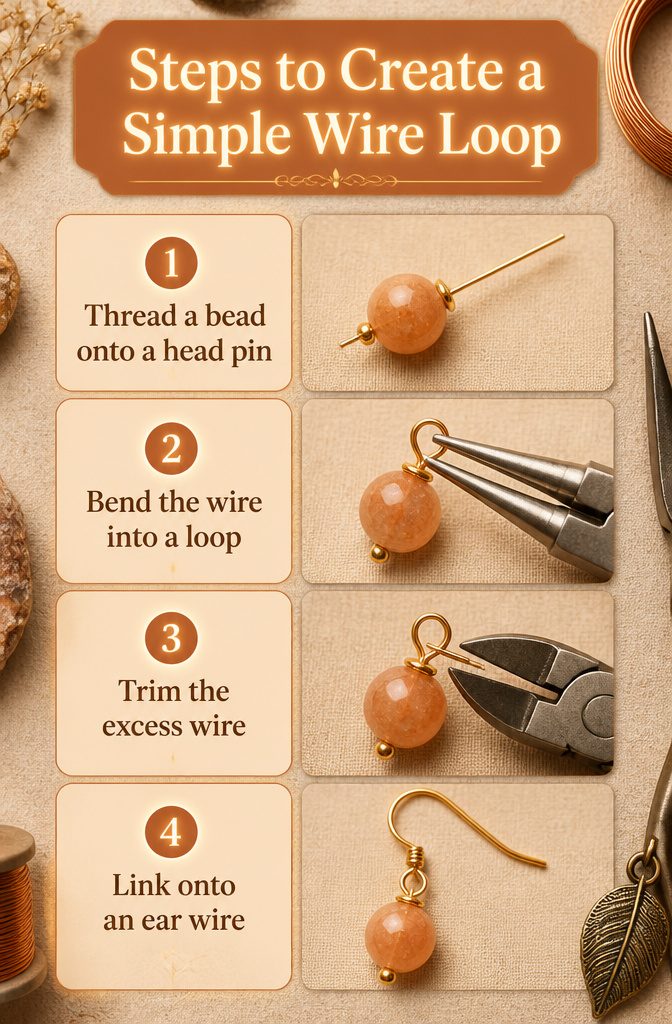
The simple loop is where wire wrapping jewelry actually begins.
Thread a bead onto a head pin, bend the wire into a loop with pliers, trim the excess, and you have a bead dangle ready to link onto an ear wire.
That single motion teaches you how wire responds to pressure and where it will fight back.
In the simplest example of handmade wire wrapped jewelry, a bead is threaded onto a jewelry making finding called a head–pin… The resulting bead hanging from a loop is called a "bead dangle".
From there, move to a wrapped wire loop, where the tail coils around the neck instead of getting snipped.
It secures the bead properly and builds the hand control you’ll need for a wire wrapped pendant. The herringbone weave comes after, pressing wire around a bead’s edge in a figure-eight pattern that locks spirals in place.
Skip ahead to bezel techniques too early and the wire fights you; the gauge and hardness matter more than the design. Practice the simple moves until your pliers feel like an extension of your hand.
Frequently Asked Questions
What tools do I need to start wire wrapping?
You need six tools: wire cutters, round-nose pliers, chain-nose pliers, flat-nose pliers, a ruler, and a rawhide or nylon hammer.
Small jewelry files round out the set for smoothing sharp ends. Skip jigs and step-jaw sets until you have hours of practice behind you.
What materials are best for wire wrapping?
Copper wire is the place to start because it bends easily and mistakes cost little.
Sterling silver sits one step up; it holds curves with less spring-back and bothers fewer wearers’ skin. Gold-filled wire lasts years without the price of solid gold, while 14 karat gold only makes sense for finished designs, not learning exercises.
How long does it take to make wire-wrapped jewelry?
Most wire wrapping jewelry projects run 1 to 3 hours from start to finish. The final stage of trimming and tucking wire ends is usually what separates a piece that feels finished from one that feels rushed.
How do I wire wrap jewelry as a beginner?
Start with the simple loop: thread a bead onto a head pin, bend the wire into a loop with round-nose pliers, trim the excess, and link it onto an ear wire.
Move next to a wrapped wire loop, where the tail coils around the neck instead of getting snipped, then practice the herringbone weave before attempting full bezel techniques.
What kind of wire is used for wire wrapping jewelry?
Dead soft wire bends without fighting back, which matters for curves that do not forgive half millimeters.
Use 16–20 gauge for the frame that carries structural load, 22 gauge for smaller stones, and 24–28 gauge for the wrapping that holds the stone seated. For tight weaving gaps, 28–30 gauge threads through without crowding the design.
What is wire wrapped jewelry?
Wire wrapped jewelry is handmade jewelry where wire bends, coils, and weaves around stones or beads to hold them in place without soldering.
In the simplest example, a bead threads onto a head pin, the wire bends into a loop, and the resulting bead dangle links onto an ear wire or chain.





