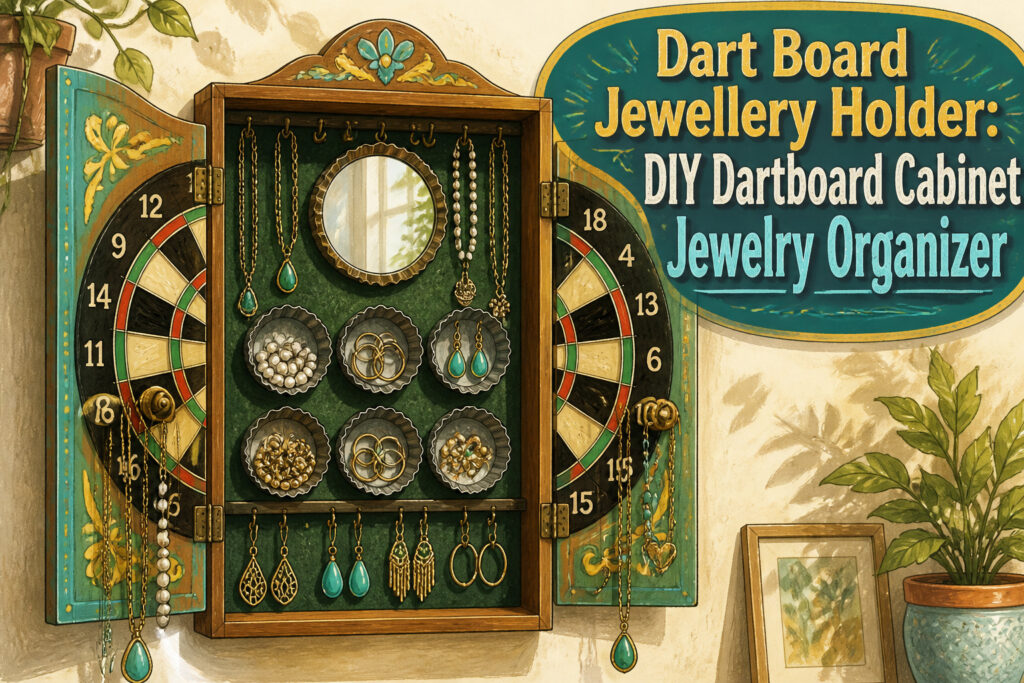
A dart board jewellery holder is a gutted dartboard cabinet turned into wall-mounted jewelry storage, with its doors fitted with knobs and hooks and its hollow back fitted with tart tins and a small mirror.
The whole build costs under $15 if you start with a thrift-store cabinet, which is the condition that makes this project worth doing rather than buying retail. The one that inspired this was a $2 find with faded felt and working hinges.
Find a Dartboard Cabinet

A dartboard cabinet with its doors still attached is what makes this project worth doing, because those doors become the real estate for necklaces and the closed box keeps dust off everything inside.
The $2 thrift store find that started this whole idea was nothing special to look at at first, just beat-up wood and faded felt, but the frame was solid and the hinges still worked smooth.
Check that the inside depth is enough for hooks or a small mirror later, and that both doors open flat without sagging. A bare dartboard on the wall leaves your jewelry exposed and limits you to one layer of storage.
The cabinet gives you the board itself for earrings or small pieces, plus the back of each door for longer items, and it all disappears when you close it up.

[Practical Jewelry Cabinet] Boasting more functional areas for various types of jewelry, this jewelry cabinet helps you say goodbye to the lost earrings and tangled necklaces
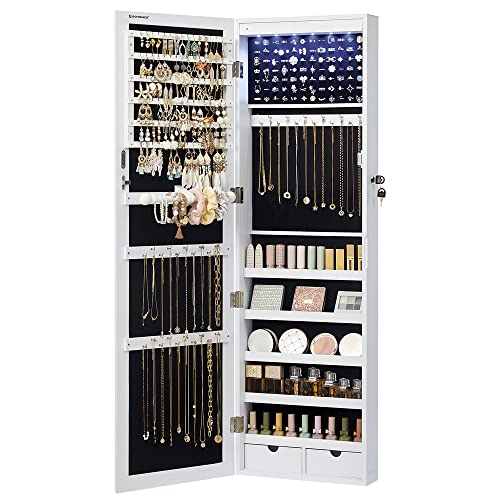
[Specialized Jewelry Cabinet] You deserve this well-constructed and designed jewelry cabinet from SONGMICS. The solid MDF body is for long-term use and the full-length mirror is framed to avoid leaving fingerprints on it every time you use the cabinet

[Holds More Necklaces Than Traditional Jewelry Organizers] Designed for jewelry lovers with growing collections, this jewelry organizer tower features 18 dedicated necklace hooks, a 4-tier earring display rack, 2 bracelet bars, and 36 ring slots. Easily organize long necklaces, statement pieces, hoop earrings, rings, watches, and bracelets in one place while keeping everything visible and tangle-free
Strip and Sand the Wood

The cabinet door arrives with the dartboard face still mounted, and prying it loose takes more patience than force.
A thin putty knife slipped under the edge finds the brads holding the board to the frame; wiggling it free without splitting the surrounding plywood is the first small victory.
The foam and bristle guts lift out clean, leaving a shallow recess that will later cradle necklaces and bracelets without them sliding forward.
Light sanding with 220-grit paper is enough to knock off the factory varnish and give the primer something to bite. The surface should feel slightly fuzzy, like a peach, not stripped down to raw fiber.
A palm sander saves time on the flat door faces, but the mitered corners and the inside lip of the cabinet need hand work with a folded quarter-sheet.
Skip the heavy grits; they leave scratches that telegraph through paint no matter how many coats follow.
When you run a palm across the wood and catch no snags, the prep is done and you can move on to filling the old hardware holes before the first coat of primer.
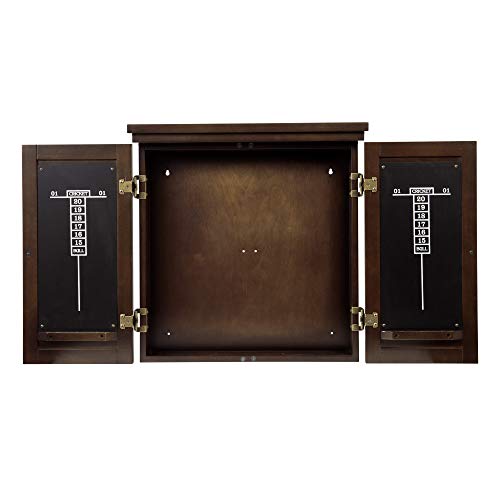
TRADITIONAL, FURNITURE‑STYLE DESIGN – Solid wood cabinet with rich espresso finish, crown molding, and routed doors delivers a timeless, classic look for any game room or living space.

Suitable for all Winmau dartboards
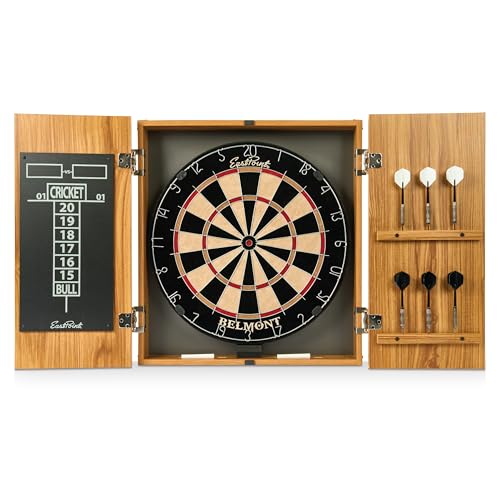
OFFICIAL DARTBOARD CABINET: The EastPoint Sports Belmont Bristle Dartboard Cabinet Set features an 18-inch dart board with cabinet, ideal for dart board set enthusiasts and indoor games for adults. Crafted from durable self-healing sisal fiber, it ensures longevity and consistent performance
Paint for an Aged Look
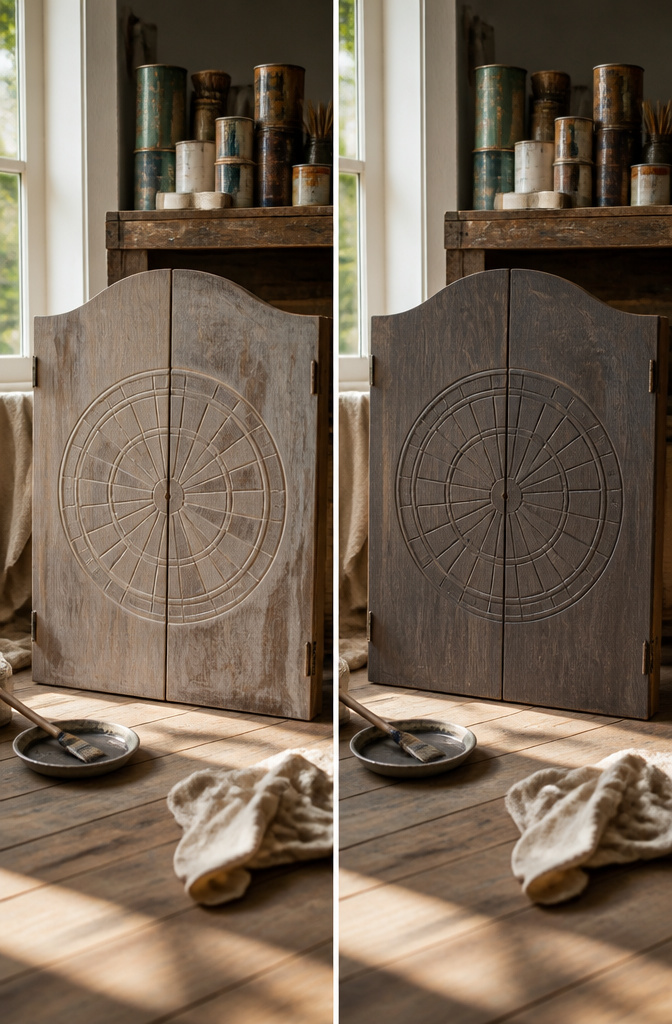
Martha Stewart’s Flagstone paint carries a gray-brown undertone that reads as decades of wear rather than a flat antique wash.
Two coats covered the stripped cabinet evenly, with the second layer pulling the color slightly darker into the grain lines where the first coat had settled.
The trick is letting the first coat dry four to six hours, until the surface loses its cool tack, before brushing on the second; rushing this traps moisture that will bubble the finish by week’s end.
I skipped the polyurethane topcoat entirely. On a piece meant to look handled and aged, the slight absorbency of matte latex does more of the work than any distressing technique.
The knobs and hooks will wear their own patina against the paint over time, which is the point of starting with a color that already looks lived-in.
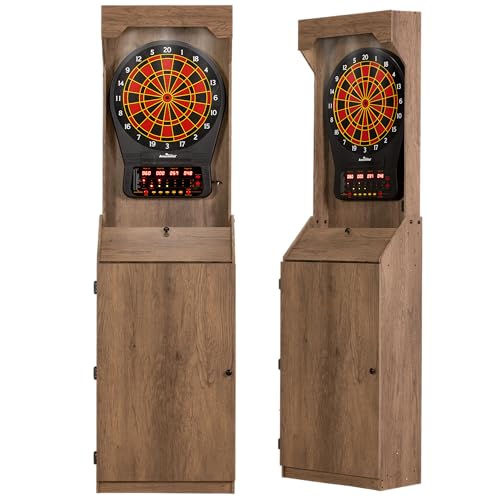
Freestanding LED dartboard cabinet in rustic tan wood grain. Features tournament-style lighting, 3 storage shelves, and dedicated dart organization. Perfect for décor and competitive play. Assembled dimensions: 20.47" x 11.02" x 82.68"

Rustic Farmhouse Design: The Howard Knox Farmhouse Dartboard Cabinet features a rugged, timeless farmhouse style that enhances the aesthetic of any game room, den, or living space.

COMPLETE DARTBOARD SET: Official size bristle dartboard and dartboard cabinet set with 6 premium steel tip darts. Everything you need to start playing right away. Pre-assembled LED wood display cabinet mounts to the wall in minutes; includes an 18" bristle board with staple-free bullseye and all mounting hardware.
Mark Knob Placement

Knob placement on cabinet doors is forgiving until it isn’t. The halfway mark is the standard starting point, measured from the bottom edge of the door to the center of where the knob will sit.
What convinced me, reading through a dozen of these builds, is that the gap between paired doors matters more than the height.
Too close together and rings snag when the doors close; too far apart and the piece looks off-balance when open. No one lists an exact spacing because cabinet widths vary, and the dartboard itself shifts where the visual center lands.
My approach: mark the halfway height on both doors, hold them in the closed position against the frame, then step back. The gap should look deliberate, not accidental, with enough clearance for the hooks you’ll add later.
Mark in pencil, drill one test hole, and hang the door to see it in context before committing to the second.

OFFICIAL SIZE BOARD – Regulation 18" x 1.5" bristle dartboard designed for recreational and local competitive steel‑tip play
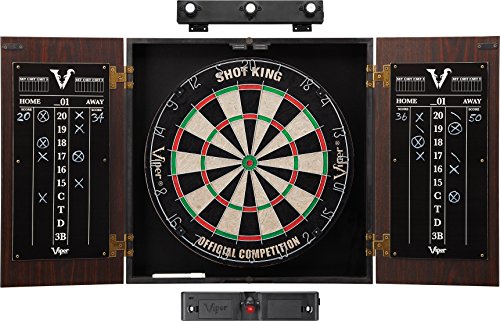
SHOT KING SISAL DARTBOARD: regulation 17.75 inch Shot King bristle dartboard made from compressed sisal fibers that close up after darts are removed, with a rotating number ring to spread wear

Bounce-Free Play: The EastPoint Cambridge Dart Board Cabinet Set transforms any room into a dartboard paradise. With a staple-free bullseye and steel spider, every shot counts more often, adding excitement to your indoor games for adults
Drill and Test Fit

A brad-point bit keeps the knob holes from wandering across the oak veneer, but the real test comes after the drill stops.
The cabinet doors need to swing past those new knobs without kissing the frame or each other, and that clearance is tighter than it looks once hardware adds its half-inch of proud metal.
Depth is where enthusiasm costs you. Go too far and the bit punches through to the finished face, leaving a splintered crater where the hinge side should be clean.
A strip of masking tape wrapped around the shank makes a quick depth stop when you do not have the collar on hand.
Width matters too: a hole opened up by wobble or by swapping to a larger bit for a "snugger" fit turns the knob into a spinner that no washer behind the plate will fix.
The back of the door is where you catch the blowout before it becomes visible. Hold a scrap block there while drilling, or at least peel away and check after the first hole.
Close the doors slowly, watching where the knobs arc. If they tap the frame, the placement shifts now, not after the epoxy sets.

🎯【Package Contents】The set includes 2 brackets, 2 long screws, 4 short screws, 6 black pads, 6 small nails. Sufficient number of accessories for your use and replacement.
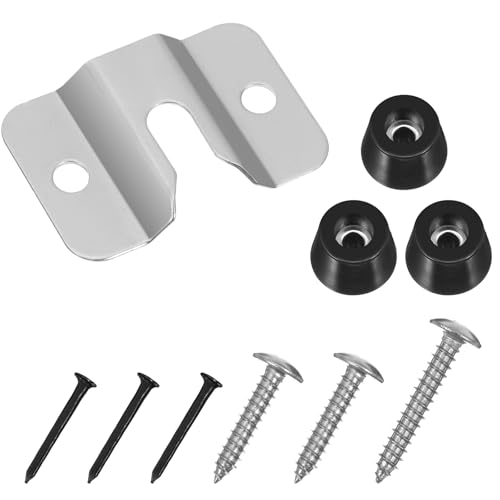
Complete Dartboard Mounting Solution: This comprehensive kit includes a stainless steel dartboard mounting bracket, screws, washers, and nails, providing essential hardware for securely installing standard dartboards on various wall surfaces without requiring additional components.

Sturdy Construction: Crafted with heavy-duty steel for exceptional durability and long-lasting performance.Dartboard Holder Wall Mounting Bracket hooks for hanging Screw Hook Set Accessories Kits
Attach Knobs and Hooks

Vintage tart tins pressed into service as earring trays, a strip of lace trim running along the inside edge, and a mismatched set of knobs: this is where the cabinet stops looking like a craft project and starts looking like something pulled from a Paris flea market.
The tart tins nail straight into the wood at the back, shallow enough that necklaces slide over them without snagging, deep enough that studs stay put.
Lace gives you a soft grid for hooking earrings through, and the contrast between metal and fabric is half the point.
The eclectic look comes from refusing to match.
One knob from a junk drawer, another from Hobby Lobby, a third that came off a dresser from the 1970s: the eye reads it as collected over time rather than bought in a set.
A doily works in place of lace, ribbon in place of either, and basic wood pegs or even nails will hold jewelry if you do not have knobs on hand.
What matters is thinking through the lengths first — long chains need the taller knobs, bracelets sit fine on shorter hooks, and nothing should hang where it will hit the mirror or stop the doors from shutting.
Upholstery tacks finish the lace, and the whole interior comes together for under $15.

Ultra-modern Frameless Mirror Design - Compared with the traditional jewelry cabinet with framed mirror, this superior jewelry cabinet comes with a frameless mirror that gives you a broader and clearer view. It is perfect for wearing jewelry or checking your makeup before you go out for an important event.
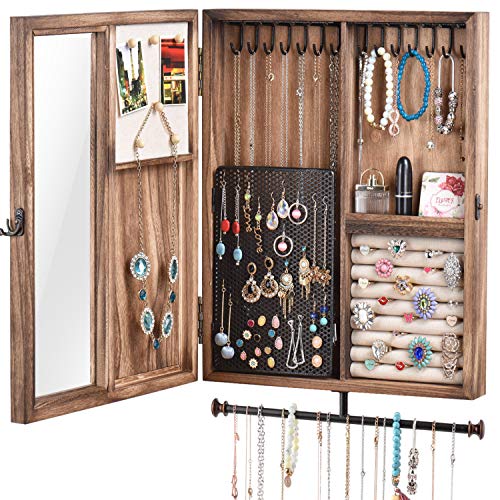
Large Capacity Jewelry Cabinet: Design with a 8.7x 5.8 inch wire mesh to hang earrings, 7 smooth hooks for necklaces, 7 smooth hooks for bracelet, 8 slots for rings, and a 12.6 inch removable bar for additional items such as bracelet, necklace, glasses, watch and more. Also comes with 6 press pins for notes, cards or photos on door. The top of cabinet can display some decoration or place other small accessories. Ideal jewelry box choice for Women,teen girls,Mother Day
A perfect piece to store all of your beloved treasures
Add a Mirror Inside

A vintage mirror mounted to the inside of the cabinet door turns the piece from a wall-mounted box into a proper dressing station.
The glass needs to sit about an inch narrower on all sides than the inner panel so the door still closes flush and the mirror edge clears the frame when it swings shut.
I learned that gap the hard way on a refinished medicine cabinet where the mirror caught the jamb and chipped at the corner.
For a dartboard cabinet, the interior door panel usually gives you something in the range of 16 by 20 inches to work with, though the antique ones vary.
A 12 by 16 inch mirror leaves enough wood border to look intentional and gives you room for hardware without drilling through the glass.
Securing it means choosing between mirror clips, which show, or a bead of silicone applied in an X pattern behind the glass, which does not.
The silicone route takes patience; the mirror slides until the adhesive skins, so painter’s tape across the face holds it in place for the full cure.
Clips are faster and let you swap the mirror later, but they break the clean line that makes the interior feel like a found piece rather than a retrofit.
OFFICIAL-SIZED DART BOARD - The 18-inch dartboard in this dart board cabinet set lets you play different dart games like the pros. Use the instructions to mount it at the right height and create a throwing line to adhere to the official rules of the game.

Keep your darts organized and displayed in style; holds up to 12 steel or soft tip darts

OFFICIAL SIZE BOARD – Regulation 18" x 1.5” sisal dartboard ideal for recreational and competitive steel‑tip play
Final Alignment Check

The last quarter inch of adjustment is where a dart board jewellery holder either feels finished or feels like a weekend project that got away from you. Stand back and look at the cabinet square on first.
If the doors hang even slightly crooked, the whole piece reads as salvage rather than storage.
A door that needs lifting to latch will wear the hinge screws loose in a month. Shim the lower hinge with a washer, or deepen the upper hinge mortise by a sixteenth.
Test the close ten times; the motion should feel the same on the tenth try as the first.
Knobs need more than hand-tight pressure. The wood inside a dartboard cabinet is thin, usually half inch or less, and the threads will strip if you torque them dry.
A drop of thin CA glue on the last two threads before the final turn sets the metal without swelling the surrounding grain.
Turn each knob fully, release it, and turn again; any grind means the insert is walking and will back out later.
Hook placement looks right until you hang an actual necklace.
The chains tangle where the spacing is under two inches, and a heavy pendant on a single hook will cant the whole strip if the screw bites less than five eighths into the backing.
Load every hook with something heavier than you own, let it sit overnight, and check for droop in the morning.
The mirror is the last thing in and the first to fail. Mirror mastic stays flexible, which sounds forgiving but means the glass can slide for hours.
A temporary brad at the lower edge, set shallow enough to pull after twenty-four hours, keeps the glass where you centered it. Remove the brad, touch the hole with a marker that matches the cabinet interior, and the fix disappears.

Transform your game room into a dedicated entertainment hub with this versatile dartboard cabinet, offering a complete dartboard setup including scoreboards and darts, alongside ample storage for accessories and beverages, ensuring a seamless and enjoyable gaming experience for players of all skill levels.

FITS ARACHNID CRICKET PRO DARTBOARDS - XL dartboard cabinet designed to fit the Arachnid 15.5” Cricket Pro Model Electronic Dartboards, including: Cricket Pro 450, 650, 670, 750, 800, and 900

Quality finger joint construction comprised of solid pine, featuring a oak finish
Materials and Sourcing
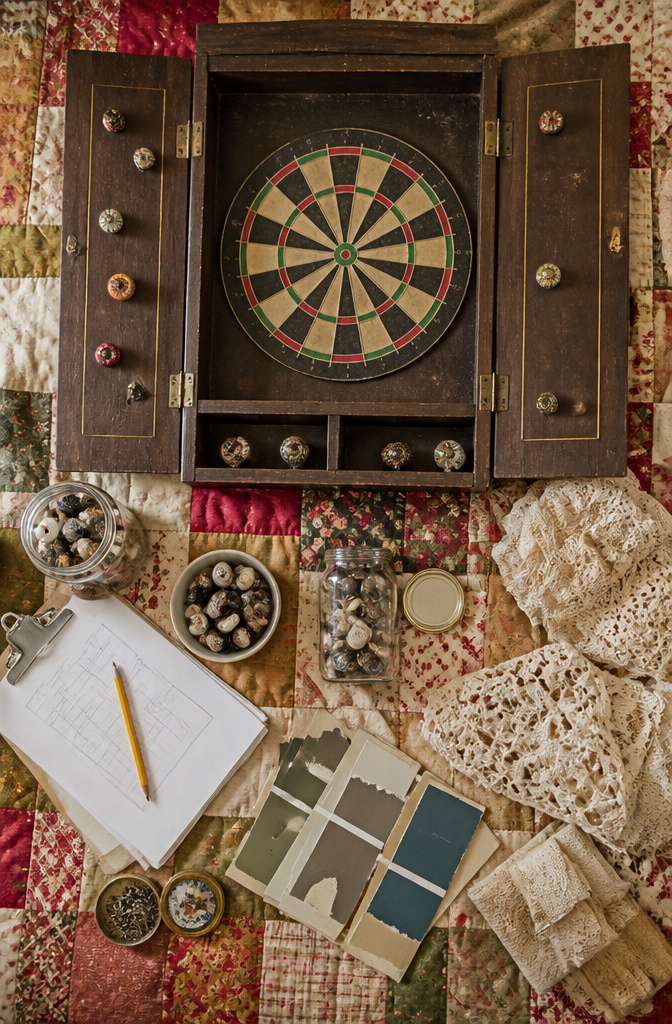
Most of what this build needs is already hiding in a thrift store or a craft-room drawer. Here is the full list:
- Dartboard cabinet – the shell of the project; gut the interior boards and hardware until you are left with the empty box and doors
- Paint – a small tester pot covers this; the sources used Martha Stewart’s Flagstone, but any leftover interior paint works
- Knobs and hooks – Hobby Lobby runs half-off sales on unique knobs constantly, and thrift stores, antique shops and garage sales turn up odd ones that give the piece its character; inside, basic wood pegs, tea cup hooks or even nails hold necklaces if that is what you have
- Lace trim or a doily – ribbon or twine substitute fine, but the textile layer softens the look against all that hardware
- Vintage tart tins – these become ring and earring dishes when nailed to the back panel
- Mirror – a thrifted one cost $0.50 in the build that inspired this; place it first and arrange everything else around it
The total came to under $15, and that figure only works because so much of it was scavenged.

The Ruthless Dartboard Cabinet is highly durable, featuring premium hinges and reinforced corners for extra strength and stability.

DURABLE AND STYLISH – This cabinet’s solid wood construction provides long-lasting durability while its rustic wheat-finished barnwood style doors add a unique flair.

COMPLETE DARTBOARD & CABINET SET: The Summit Set includes everything needed for a full darts experience. The ideal set up for casual games or competitive play.
What This Costs

The $2 cabinet sets the tone for the whole budget. That is the thrift-store find that makes the project possible, and everything else stays small because of it.
A quick coat of Martha Stewart’s Flagstone paint, already on hand, adds nothing to the tally.
The knobs run a few dollars at Hobby Lobby, especially if you catch them at half off, and the same hunt applies to thrift stores or garage sales for alternatives. All told, the spend stays under $15.
Sourcing secondhand is what keeps it there; the cabinet at full retail would swallow the budget before touching a tool.
Paint testers, the small pots meant for walls, work perfectly here for a few dollars and less waste than a full can. The aged look even benefits from the bargain, since imperfect coverage becomes part of the character.
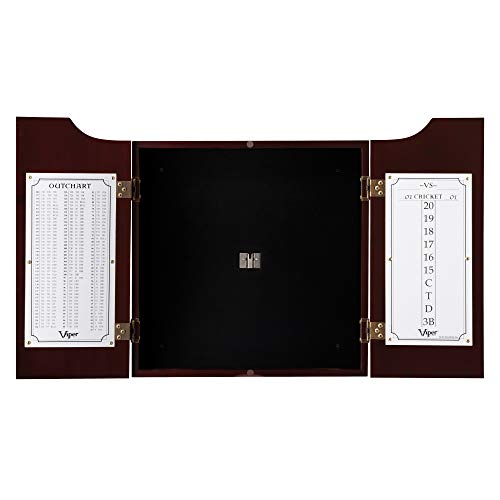
Premium Construction Materials: Crafted with solid pine, box joints and bronze hinges; quality construction provides lasting durability and complements the look of any room

FITS ARACHNID CRICKET PRO DARTBOARDS - XL dartboard cabinet designed to fit the Arachnid 15.5” Cricket Pro Model Electronic Dartboards, including: Cricket Pro 450, 650, 670, 750, 800, and 900

Defend your wall with classic style. Protect your home from errant dart throws, and will serve as a centerpiece to your game room
Mixing Styles for a Vintage Look

The vintage look lives in the mismatch.
A dart board jewellery holder built from a single style of knob reads like a store display; the same holder with four different pulls, a scrap of lace, and a dented tart tin reads like something hunted and assembled over time.
That is the goal.
Lace and doily scraps add the soft layer hardware cannot. Upholstery tacks pin them in place faster than glue, and the metal heads become part of the pattern.
A fifty-cent thrift mirror tucked between two hooks breaks up the grid and gives you a surface to check an earring against your lobe before you commit.
The tart tins are the find that makes someone lean in. Nailed flat to the cabinet back, their shallow cups hold rings or stud earrings that would vanish on a hook.
Ribbon or twine would work if that is what surfaces, but the metal catches light and carries the patina theme through.
Measure around the mirror first, then place knobs and hooks. Nothing kills the vintage mood like a door that thumps against a protruding handle.
The doorknob collector’s habit, the Hobby Lobby run for one more ceramic pull, the tart tin that came from a kitchen drawer: these specifics are what separate a prop from a piece with history.
Frequently Asked Questions
How do I make a jewelry holder from a dartboard?
Start with a dartboard cabinet, not just the board itself, since the doors become storage for necklaces and the closed box keeps dust out. Strip out the dartboard and foam interior, then sand the wood before painting.
Add knobs and hooks to the doors for hanging chains, line the inside with lace or a doily for earrings, and nail vintage tart tins to the back panel for rings.
A mirror mounted inside one door turns it into a full dressing station, and the whole project costs under $15 if you source secondhand.