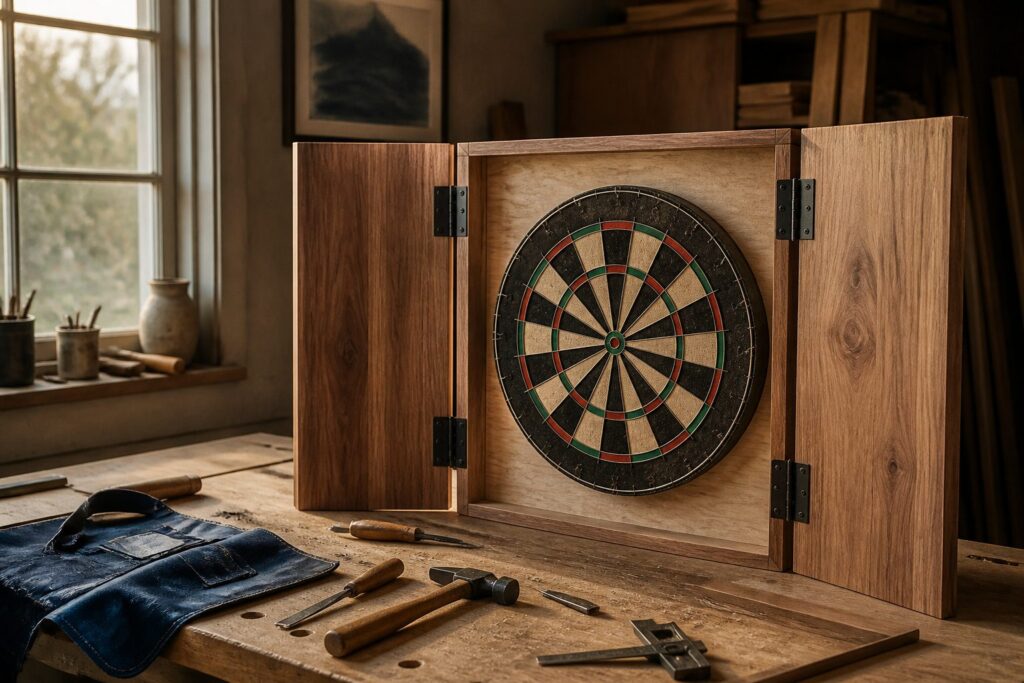
A finished dartboard setup runs about two hours of real build time, not the twenty minutes a basic surround takes.
Most people skip the cabinet and regret the drywall. The 3/4-inch plywood back panel and three hinges per door matter: two sag, and sagging doors miss the point of building furniture that stays up between rounds.
1. Build a Dartboard Cabinet
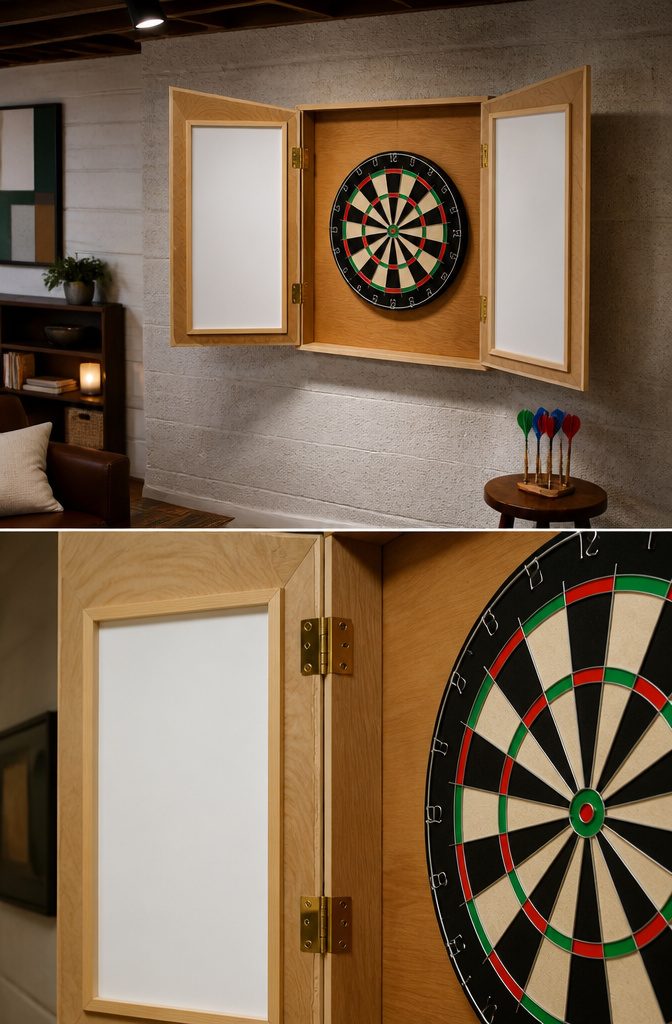
A cabinet turns a raw board into furniture that happens to hold darts. I build mine from 3/4″ plywood cut to 24″ x 24″ for the back panel, with door boards at 3/4″ x 12 3/4″ x 25 1/2″.
The frame uses 3/4″ x 5 1/2″ stock: two pieces at 24″ for top and bottom, two at 25 1/2″ for the sides. These dimensions give the doors full coverage with a clean overhang.
Assembly is straightforward wood screws through the frame into the back panel, then hinges set 3 inches from each door edge. I prefer three hinges per door at this height; two will sag eventually.
Whiteboard panels inside the doors cost maybe $8 at any hardware store and save the paper scoring mess, though a chalkboard works if you already have the markers lying around.
The cabinet does two jobs the backboard cannot.
It stops darts that miss the board entirely, which matters when you are throwing from 8 feet away in a basement with drywall. It also gives the setup a finished look that justifies leaving it up between rounds.
My trade-off: the extra build time is real, maybe two hours versus twenty minutes for a simple surround, and you need a table saw or a very steady circular saw hand to keep those 5 1/2″ rips straight.
For a game room you actually live in, the cabinet wins.
2. Customize a Store-Bought Dartboard
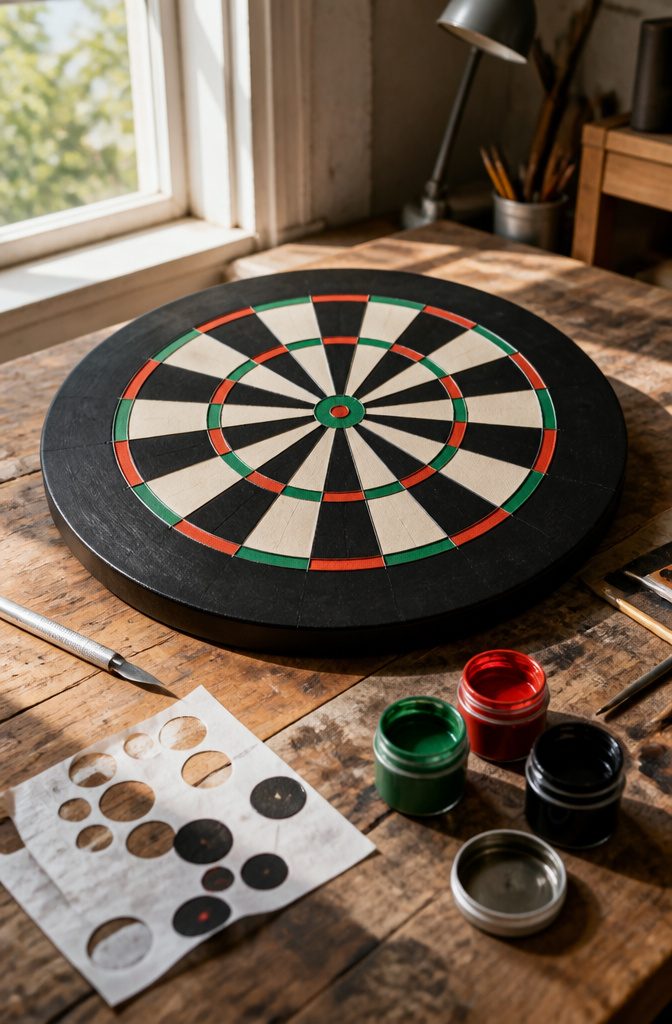
A standard bristle board comes with a metal wire ring and factory branding that screams basement rec room.
Removing that ring takes patience: work a flathead screwdriver under each staple, pry gently, and save the ring to use later as a guide for the number order.
Once the surface is bare, two coats of craft paint cover the original logo completely. I lean toward matte acrylic in a dark base with a single contrasting wedge, but the real decision is the number ring itself.
Print the template onto an 8.5 x 11 inch sheet of contact paper, then cut each digit with a craft knife.
Starting from 20 at top center, stick the stencil down smooth so no paint bleeds underneath, stencil each number, and peel the contact paper while the paint is still slightly wet for the cleanest edge.
The original metal ring keeps the sequence straight if you set it beside you as reference.
For materials, you need craft paint, contact paper, and a craft knife.
Glitter on the darts and a spray sealant coat are optional extras that read more party game than serious setup, but they work if that is the look you want.
One limit worth noting: plastic-tipped darts handle this painted surface far better than steel tips, which will chew through fresh paint and leave the board looking worn inside a week.
3. Make a Dartboard Backboard
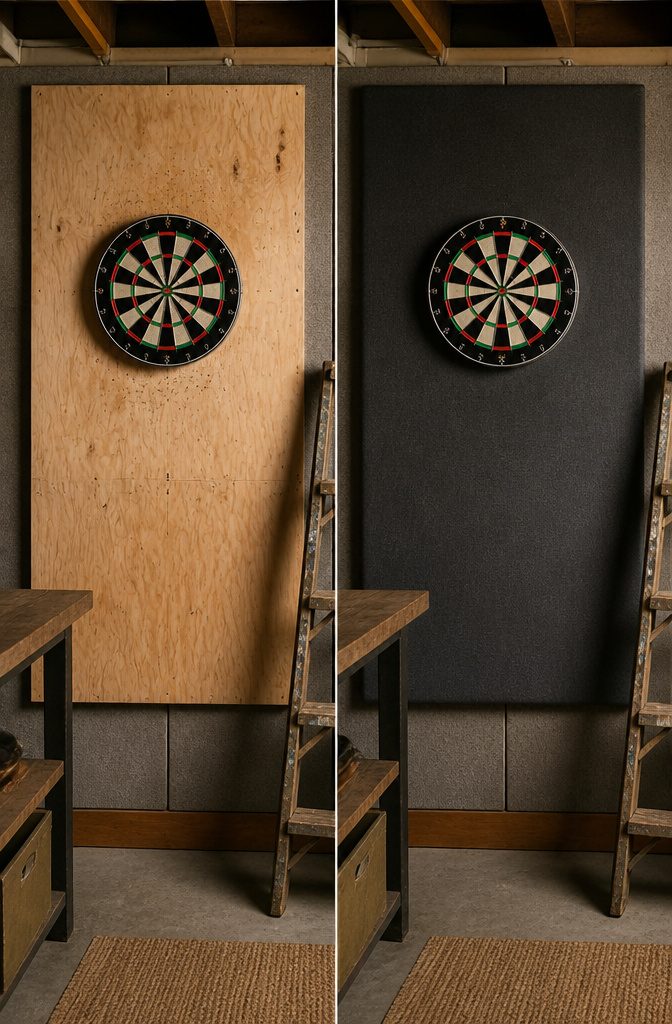
A backboard saves drywall and gives stray darts somewhere to land besides the floor.
The finished size that works in most basements or garages is about 4 ft by 6 ft, mounted behind the board with the bullseye centered roughly in the upper third.
For sound dampening, acoustic ceiling tiles glued to plywood backing and wrapped in felt do the job quietly.
Construction adhesive bonds the 2 ft by 4 ft tiles to the plywood, then felt gets trimmed and glued around the edges with a glue gun.
Cut a slit in the felt before drilling mounting holes so the bit does not snag the fabric.
Old license plates screwed in overlapping rows give a rustic garage look that collects over time. Small finishing nails or screws tack them directly to the wall around the dartboard case.
I would skip this if kids or beginners play there regularly; the gaps between plates leave drywall exposed, and missed throws punch holes in the decor rather than the backboard.
Cork flooring planks interlock for a traditional pub feel and self-heal better than the other two.
The tongue-and-groove edges lock together on the same plywood backing, no fabric layer needed. Cork costs more than scavenged ceiling tiles or plates, but it lasts longer under steel tips and does not rattle on impact.
4. Hang the Board at Regulation Height
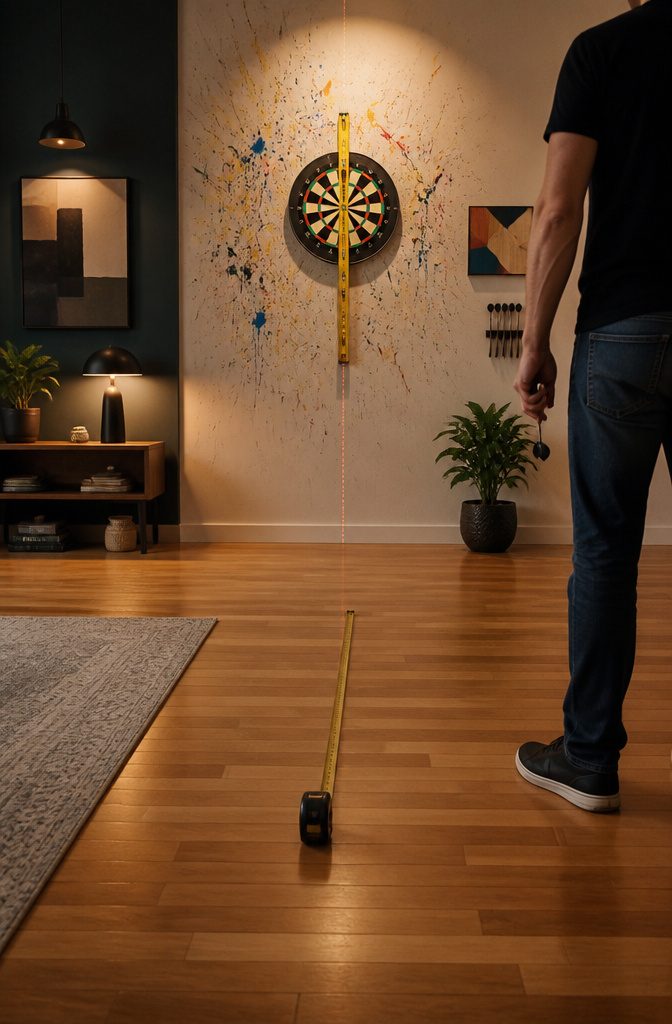
The bullseye sits at 5’8" from the floor to its center, a measurement I mark first and build everything else around.
That height comes from official darts regulation, and I hang every board to it whether the player is serious or just killing an hour on weekends. Consistency trains your eye and your arm the same way.
The throw line, or oche, changes based on what you’re throwing. Steel tip darts need 7’9.25" from the board face.
Soft tip darts need 8′ flat. I round to nothing; those quarter-inches matter when you’re diagnosing why your grouping drifted.
A cabinet or surround with the board already mounted saves you the wall-protection math, so this step is pure placement. I use a level across the face, not the wire number ring, since the ring can sit slightly off true.
Two measurements: height confirmed, distance marked, level checked. Then I step back and throw a few to verify the sight line before I call it done.
5. Maintain the Board and Darts
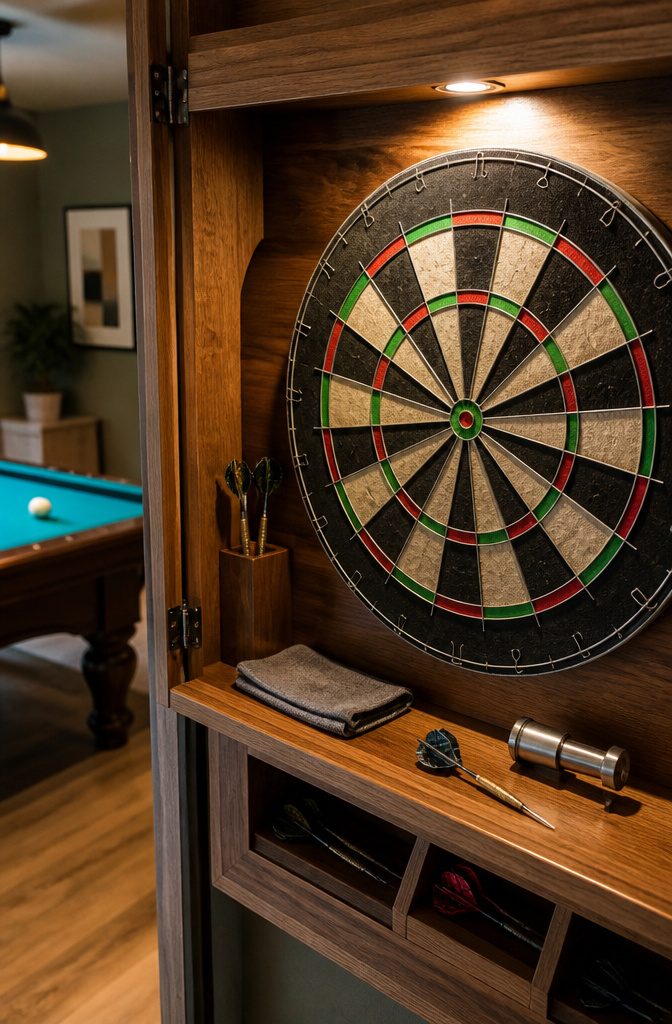
Sisal boards self-heal, but only if the fibers get time to close around the holes. Regular rotation gives them that chance.
I rotate mine about once a month with steady use, which spreads wear across the whole face instead of carving ruts into the 20 bed. A turned board lasts noticeably longer and plays truer because the surface stays even.
Steel tips flatten with impact, and a flattened point tears fibers rather than sliding between them. That damages the board and causes bounce-outs that waste a good throw.
A dart sharpener fixes the point in a few seconds and costs almost nothing. I keep one in the cabinet and run each tip across it before serious sessions.
The maintenance is quick work.
Rotation takes two minutes, sharpening maybe thirty seconds per dart. Skip either step and you are buying a new board sooner and hitting more random deflections while you wait.
Materials and Tools
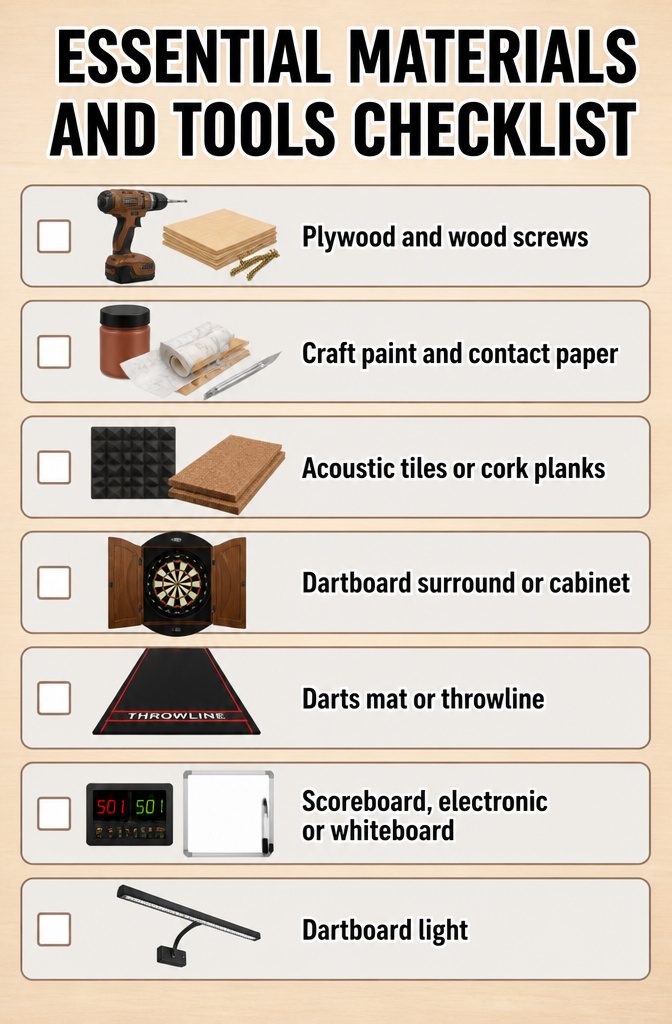
Most of these projects lean on a short list of tools that cross over between builds. A drill, measuring tape, pencil, craft knife, and hammer or miter saw will carry you from cabinet to backboard to custom finish.
Materials and tools:
- Plywood and wood screws for building the cabinet frame
- Craft paint, contact paper, craft knife, and spray sealant for stenciling numbers or adding color to a store-bought board
- Acoustic tiles, license plates, or cork flooring planks plus adhesive or drywall screws for the backboard; cork planks lock together for a cleaner edge than rolled cork
- Dartboard surround or cabinet to catch errant throws
- Darts mat or throwline to mark the toe line and protect the floor
- Scoreboard, electronic or whiteboard
- Dartboard light to cut shadow on the face
I keep the surround and mat in the must-have column even for a basic build; drywall repair costs more than either, and the mat saves the finish where people stand.
Steel Tip vs. Soft Tip Setup
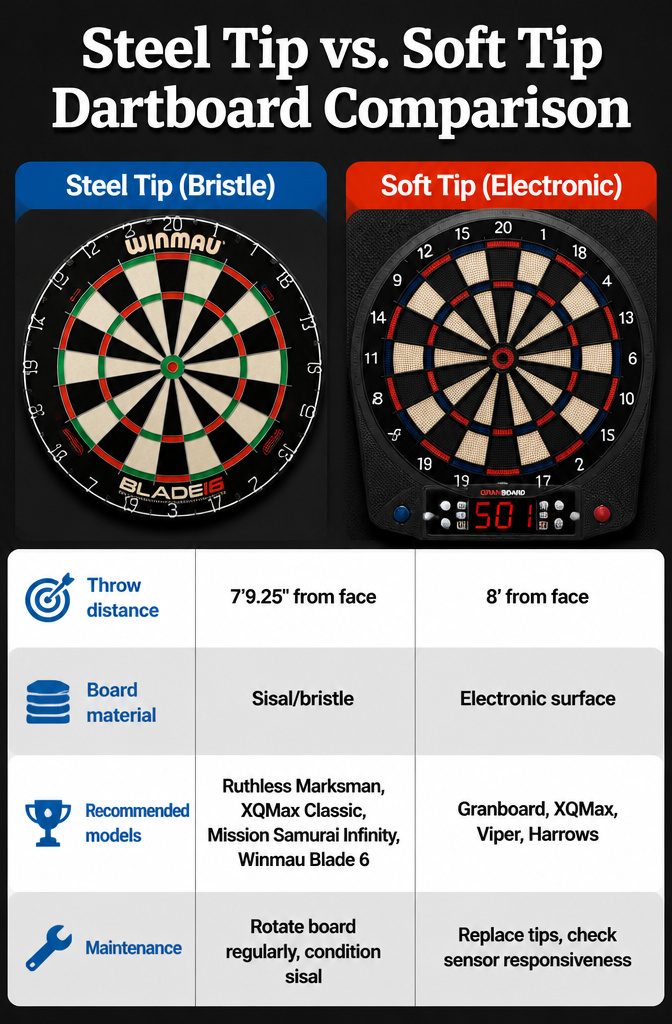
Steel tip darts pair with traditional bristle boards and call for a 7’9.25" throw line, measured from the board’s face to the floor.
Soft tip setups use electronic boards and push that line back to 8 feet. The cabinet and backboard builds work either way, but the board choice changes your hanging math and your maintenance routine.
| Feature | Steel Tip (Bristle) | Soft Tip (Electronic) |
|---|---|---|
| Throw distance | 7’9.25" from face | 8′ from face |
| Board material | Sisal/bristle | Electronic surface |
| Recommended models | Ruthless Marksman, XQMax Classic, Mission Samurai Infinity, Winmau Blade 6 | Granboard, XQMax, Viper, Harrows |
| Maintenance | Rotate board regularly, condition sisal | Replace tips, check sensor responsiveness |
I would take the steel tip route for a permanent game room. The Ruthless Marksman or XQMax Classic handle casual play at entry-level cost, while the Mission Samurai Infinity’s ultra-thin wire and dense sisal give near-tournament feel.
The Winmau Blade 6 is the PDC tour standard if you want exactly what the pros throw on.
Soft tip saves your walls from errant stick damage, but the electronic boards demand more fuss over time: tips flatten, sensors drift, and the unit itself becomes obsolete faster than a bristle board ages.
Setup Accessories Worth Adding
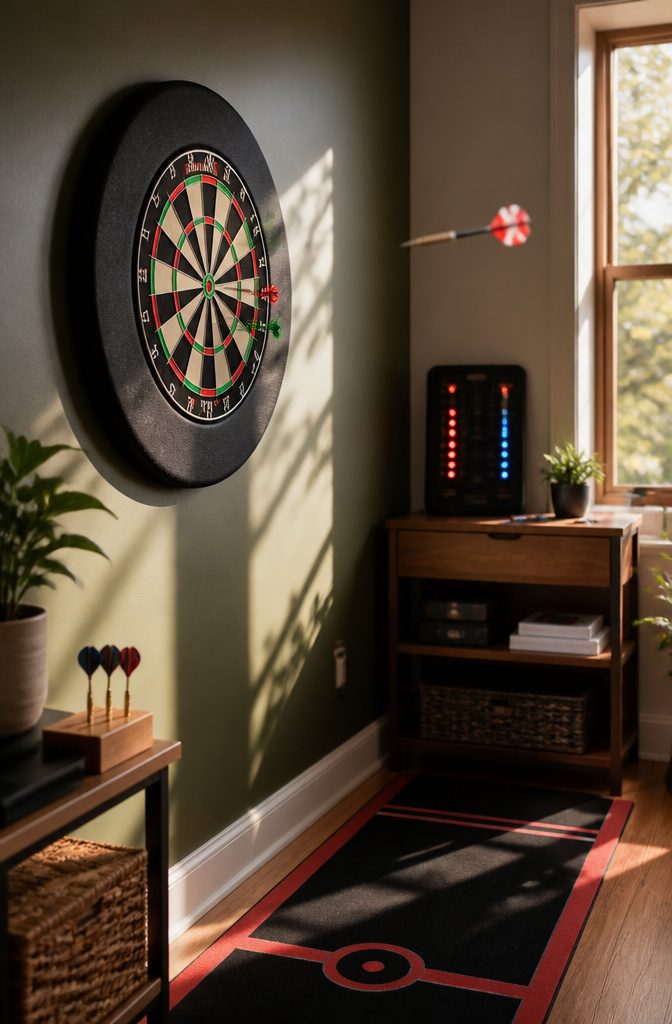
A dartboard surround is the accessory that saves your drywall.
Stray steel tips punch holes in plaster fast, and even a cabinet back only covers so much area. The surround extends that protection outward in a ring, catching the throws that glance off the wire or miss the board entirely.
For a diy dart board setup, it is the single piece that keeps the project from turning into a wall repair job.
The darts mat does two jobs at once. It marks the throw line at the proper distance so you are not measuring tape before every session, and it gives your feet a consistent, flat surface.
Hardwood or carpet underfoot changes how you plant and release; the mat removes that variable. It also keeps the floor clean of the tiny dings and scuffs that steel tips leave behind.
A scoreboard matters more than most beginners expect.
Electronic scorers handle the arithmetic for cricket and 301, which speeds up play and cuts arguments. Traditional chalk or whiteboard works if you prefer writing scores yourself, though it slows the game between throws.
Lighting is the one most people skip and later regret. A dartboard light mounted above the board eliminates the shadow your own body casts, and that shadow grows severe in basement or evening play.
Without it, you are guessing at bed placement. With it, the treble twenty is actually visible.
Frequently Asked Questions
How do you make a darts board quieter?
A dartboard stand absorbs more impact noise than a wall-mounted board because the legs dampen the thump of each hit.
For wall setups, glue acoustic ceiling tiles to plywood backing and wrap the edges in felt. Cork flooring planks also muffle sound better than hard surfaces and self-heal under repeated throws.
How to play darts at home without damaging the walls?
Mount a backboard at least 4 ft by 6 ft behind the board, or install a cabinet or dartboard surround to catch stray throws.
Soft tip darts on an electronic board eliminate wall damage entirely since the plastic points do not penetrate drywall. A darts mat protects the floor where you stand and throw.
How do you hang a dart board in your house?
Mark the bullseye center at 5’8" from the floor, then measure the throw line at 7’9.25" from the board face for steel tips or 8′ for soft tips.
Use a level across the board face rather than the wire number ring, since the ring can sit slightly off. Drill mounting holes through a slit cut in any felt or fabric backboard so the bit does not snag.
What is the best material for a dart board?
Sisal fiber is the standard for steel tip play because the dense strands self-heal around dart holes and keep the surface true for years.
Electronic boards use a plastic sensor surface designed for soft tip darts. For backboards, cork flooring planks last longest under steel tips, while acoustic tiles wrapped in felt cost less and dampen sound.
What is the proper distance and height for a dart board?
The bullseye center hangs at 5’8" from the floor.
The throw line sits at 7’9.25" from the board face for steel tip darts, or 8′ flat for soft tip darts. Those quarter-inches matter for consistent groupings, so measure precisely rather than rounding.
How can I make my own homemade darts?
For a full DIY approach, you would need to source barrel stock, flights, and shafts separately, then assemble and balance each dart for consistent flight.
Most home builders buy darts ready-made and focus custom work on the board, cabinet, and backboard instead.
How to build an outdoor dartboard?
An outdoor build would need weatherproofing for both board and cabinet, plus a stand or covered structure to shield sisal from rain and sun, which warp and fade the fibers.
The hanging height and throw distances stay the same, but the materials list changes entirely.





