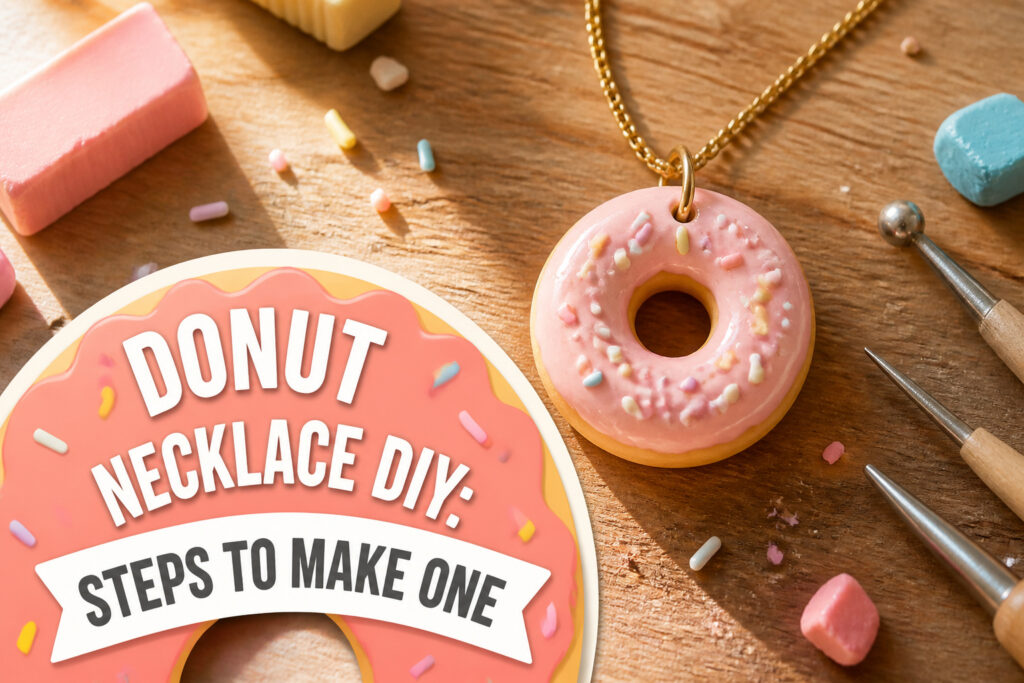
A finished donut necklace reads as playful without looking childish, and the scale lets you wear something handmade that does not announce itself as handmade.
The catch is the drying time between stages; the active work runs about two hours, but the glaze needs to sit without dust settling in.
I learned the hard way that the center hole must be wider than looks right in raw clay, since it shrinks to a pinprick during baking.
What This Project Is and When to Make It

The first time I shaped oven-bake clay into a ring, I pressed too hard and left fingerprints that survived baking.
A finished donut necklace is a small circle of clay, maybe half an inch across, with a hole in the center and a glaze that catches light like real pastry glaze.
Someone makes one because it reads as playful without looking childish, and because the scale lets you wear something handmade that does not announce itself as handmade.
Active work runs about two hours, plus however long your clay brand needs in the oven and however long the glaze layer needs to dry without dust settling into it. One necklace is a Saturday morning project.
Three or four, if you are making gifts, fill a weekend without feeling rushed.
The drying time is what actually paces you; the hands-on part moves fast enough that you will want to have your chain and jump rings ready before the clay goes in.

STAYS SOFT UNTIL BAKED: Does not air dry. Remains soft and flexible until it is baked in your home oven - No kiln needed. Store extra clay to use later.

Size: 8”Lx2.5”Wx1.25”H of rack, 3.5”Lx0.06”diameter of skewers(20pcs)
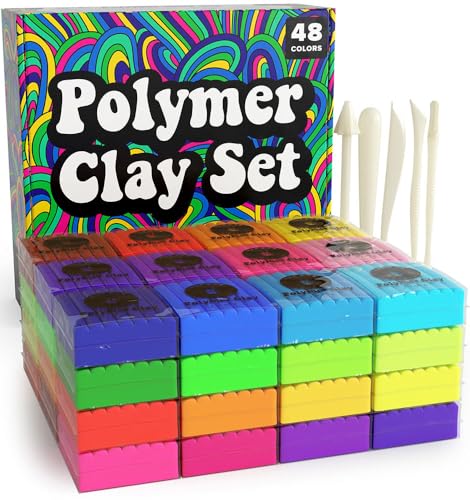
VIBRANT & BRIGHT COLORS: Our premium quality polymer clay set includes 48 colors of 1oz bulk pieces of clay polymer in exciting and vivid colors dark & white. Smooth and pliable to be blended to create custom colors with our clay polymer clay kit!
Materials

You do not need much to start, and most of it sits in a kitchen drawer already. Here is the full list:
- Tan oven-bake clay — the kind that hardens in a home oven, not a kiln
- Acrylic paint for the icing and sprinkles after baking
- String or ribbon to thread the beads; tie a knot at each end so nothing slides off
- Optional oven clay glaze — brush it on once the paint is completely dry
- Basic tools: a rolling pin or flat glass for smoothing, a small round cutter or bottle cap for the outer ring, and something narrower, like a straw, for the center hole
The center donut starts from a ball about the size of a 50-cent piece. Roll it flat, punch the rings, and you have your first bead.
If clay feels too matte or toy-like, resin is the other path. EasyCast Clear Casting Epoxy poured into EasyCast Resin Jewelry Molds gives a glossier, heavier charm that looks closer to actual bakery glaze.
The tradeoff is setup time and a few extra supplies: measuring cups, stir sticks, protective gloves, and mold release so the shapes pop free without tearing.

Package Include: You will received 2pcs molds ------Size: Round & Donut Pendant Molds: about 104x74x5mm, hole: 1.6mm, inner diameter: 20~40mm & Disc Beads DIY Silicone Molds: about 100x100x5mm .

Resin Jewelry Making Kit: Shynek metal jewelry resin molds kit comes with totally 60 pieces of bezels in 10 different geometric hollow shapes and 3 colors. Great resin kit for jewelry making

Hand Making Package: you will receive 2 polymer clay molds, with ice cream, lollipop, donut, chips, other patterns and more, suitable for crafting dessert themed crafts and making your delicate earrings; Please refer to the picture steps for correct use
Shape the Donut

Polymer clay needs a little warmth before it cooperates. I knead a palm-sized lump until it softens, then roll it against the table into a smooth ball.
For the center donut, the one that anchors the whole pendant, aim for about the diameter of a 50-cent piece. Smaller beads can flank it, but that middle piece sets the scale.
The hole is where most first attempts go wrong. A toothpick works if you turn it slowly, but the clay grips and the walls collapse inward if you rush.
I press straight through from one side, then meet it from the back with a second toothpick so the opening stays clean.
A crooked hole means the bead hangs tilted on the cord, and sanding it straight after baking risks cracking the whole piece.
Hairline cracks usually mean the clay was too cold or rolled too thin at the edges.
If the rim starts splitting while you work, ball it up and start over; polymer clay forgives re-kneading, but it will not heal a crack once baked.
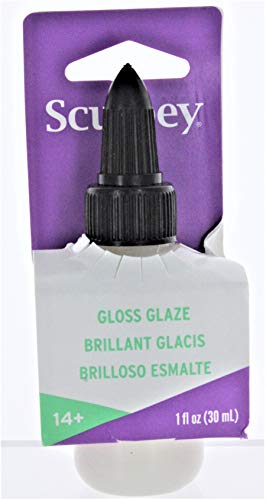
Provides a smooth seal to cover imperfections, improve durability and set your clay.

NEW FORMULA FOR BRIGHTER AND BETTER RESULTS: our air dry clay glaze adheres firmly to surfaces to form a protective layer, Specially designed to protect air-dry clay and other materials. our varnish ensures your pieces shine beautifully and endure the test of time.

【Versatile Set】 This clay glaze set includes 120ml matte varnish, 120ml gloss varnish and two brushes to meet your different needs. The matte varnish has a lower sheen for a more natural, delicate effect, while the gloss varnish is high gloss for a more vibrant, vivid finish and enhanced color.
Bake the Clay

Polymer clay brands print their baking instructions in a narrow range, usually somewhere between 265°F and 275°F for fifteen to thirty minutes depending on thickness.
The donut halves from the last step are thin, so they sit at the lower end of that window. Underbake and the clay stays rubbery; it will bend instead of snap and the paint will chip off later.
Overbake, and you get a darker, brittle piece that smells like a chemistry lab and tends to crack at the hole.
The packaging matters more than any general number. One brand I used ran ten degrees hotter than another, and switching without checking produced a batch of tan-colored disks I had to sand down and re-shape.
A toaster oven works, but the heating cycles spike, so I set it ten degrees low and put the pieces on plain copy paper on a ceramic tile to even things out.
Done pieces look matte and feel hard when you tap them, not resonant.
Let them cool on the tile for at least twenty minutes before you handle them; warm polymer clay is still slightly flexible and will fingerprint or warp if you start painting too soon.


Material: Made of high quality stainless steel material,durable and sturdy,not easy to deform

【Polymer Clay Tools Set】Pottery tools clay cutter pounches set including 40pcs circle shape cutters moldst; Complete set of all 8 sizes of Round Clay Cutters ranging in size from 1cm to 10.3cm diameter!
Paint the Donuts

Acrylic paint gives clay donuts their personality, but the order of operations matters more than the colors chosen.
A thin base coat in the dough tone goes on first, and it needs to sit until completely dry before any frosting layer touches it.
Rushing this is where colors bleed; the second pigment sinks into the first and both end up muddy.
The frosting effect comes from a slightly thicker application, worked in a loose swirl that stops before the edge to leave that bare dough rim. Non-pariels pressed in while the paint is still tacky stick without glue.
Let that layer dry fully, too. Details added too soon smudge, and the tiny dots end up dragged across the surface like a fingerprint through wet icing.
Two thin coats with patience between them beat one heavy coat that cracks or stays soft underneath. The source material mentions oven clay glaze as a final step, not a paint substitute.
Paint carries the color; glaze seals it. Skip the glaze, and the sprinkles will flake off in a week.

Crystal Clear Resin and Hardener: With a 1:1 volume mixing ratio, our epoxy resin is simple to use, even for beginners and hobbyists. This resin kits Includes 32oz crystal clear resin+32oz epoxy hardener

【1:1 Ratio By Volume & Self leveling】Mixing is simple with a 1:1 ratio of resin to hardener,and self leveling save a lot of time,beginners as well as experienced artists can achieve satisfactory results with this easy-to-use and self leveling resin epoxy.

Complete Starter Kit with Accessories: Everything you need in one box! Includes 10 plastic cups, 4 mixing sticks, 2 droppers, and 2 pairs of gloves – no extra tools required. Perfect for beginners and pros alike, designed to streamline your resin projects from start to finish
Glaze
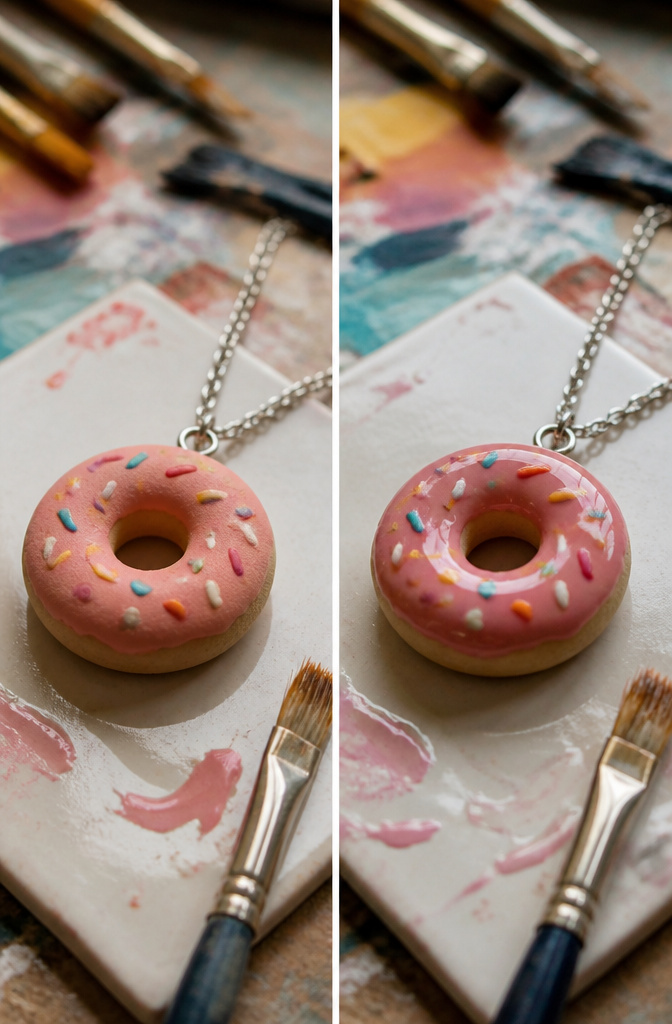
Glaze is the thin, clear coat that turns a painted donut from craft-project glossy to something that looks like actual confectionery.
It also seals the acrylic so the paint doesn’t chip where the charm knocks against keys or a phone in a pocket.
Polymer clay artists usually reach for a water-based varnish or a UV resin, and after testing both on scrap pieces, the varnish won the evening.
Resin gave a deeper glass look, but it pooled in the frosting swirls and took three tries to get level.
The trick to no drips is brushing in one direction, one thin layer, then walking away.
The back of the donut, where the eyelet sits, is the drippiest spot, so hold the piece by the finding and let gravity work with you, not against.
A second coat goes on only after the first is fully dry to the touch, usually a couple of hours in normal room humidity. Rushing it with a hair dryer left me with foggy streaks once, and once was enough.
A matte donut skips this entirely. The paint stays slightly porous, which means the color can soften and wear at the high points faster.
For a necklace that gets daily wear, that matte finish starts looking loved within a month. For something kept for occasional outfits, the bare paint holds up fine.

SIZE: The diameter of this clay spacer bead is about 6 mm, the thickness is about 1 mm, and the hole is about 2 mm. There are 20 strings in total, and each string has about 330 pieces


Fun Clay for Kids: 24 colors, 24 blocks — each weighs 0.35 oz (10g) and measures 1.18" x 0.78" x 0.39". Total package weight is 8.47 oz (240g). Perfect for sparking your child's imagination and creativity. Makes a great gift for holidays like Christmas, Halloween, and more
Assemble the Necklace
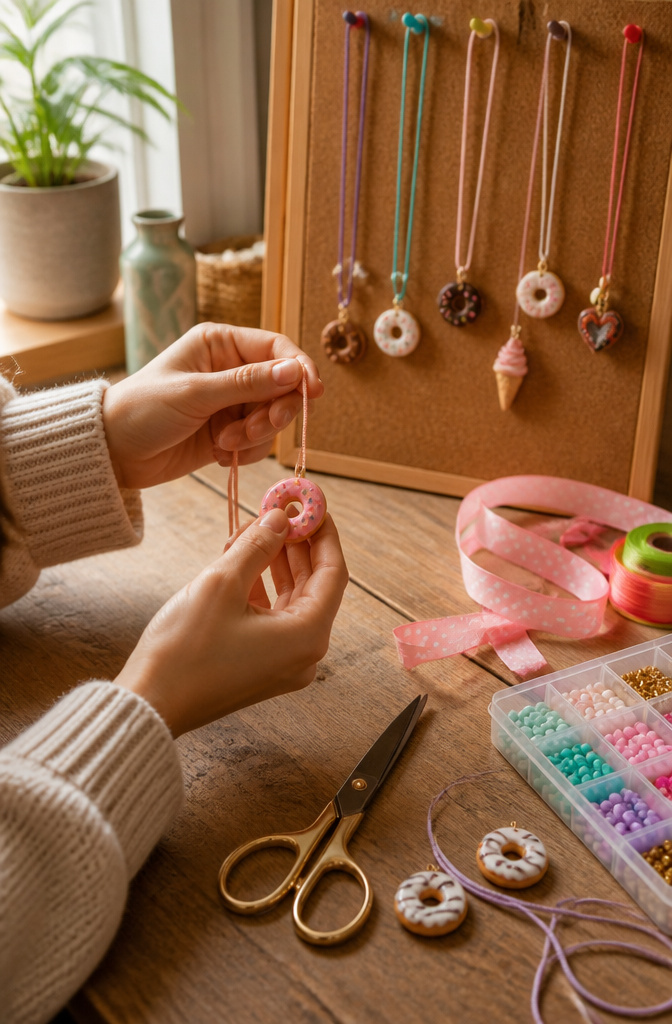
String length depends on where the donut sits. For a pendant that hangs at the collarbone, 16 inches is the usual starting point; add two inches if you want it to drop lower.
The gemstone donut method folds the cord in half, pushes the loop through the center hole, then threads the ends back through so the piece hangs from the middle. That leaves both ends free for beads or for tying off.
Spacing between beads is a judgment call. Tight clusters keep the donut from flipping; gaps of half an inch or more let each piece turn and catch light.
Either way, a surgeon’s knot at each end keeps beads from sliding, and a second knot on top of the first adds insurance.
Ribbon frays less than cotton cord but still benefits from a dot of clear nail polish on the cut.
Clasps need a looped jump ring or a simple overhand knot with a lobster clasp threaded on before the final tie.
For resin donut pendants, jewelry adhesive secures the bail or hook to the back after the piece has fully cured overnight. The adhesive bond is stronger than any knot when the donut itself is the heaviest element.

【Adorable Foodie Theme】: Get 2 molds packed with over 30 cute food charms. This set includes a huge variety of desserts and snacks: ice cream, cupcakes, donuts, pizza, lollipops, candy, bread, and more for endless kawaii nail art designs.
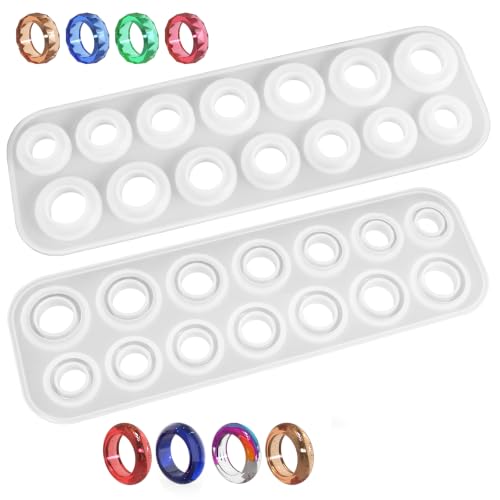
- 【Two styles】our silicone ring molds for resin include 7 dome face rings and 7 diamond face rings (17mm-23mm), perfect for creating unique resin jewelry, pendants, and gold foil epoxy resin rings. Ideal for resin kits rings and mens wax ring molds

Multi-Shape & Size Cabochon Gems Resin Molds Kit: The epoxy resin molds include 2 pcs epoxy molds with 36 cavities, It is perfect for a variety of DIY uv resin molds projects. Note: The 16 pendant bases in the set fit only the small-size molds. Note: Only small-size molds come with a metal pendant tray.
Yield and Storage

A single batch of polymer clay yields roughly six to eight donut pendants, depending on how thick you roll the slabs and whether you punch the holes close together.
The leftover clay stays usable for months if you wrap it in wax paper, then seal it inside a ziplock with the air pressed out.
I learned that second layer matters the hard way; a single wrap lets the edges crust over anyway.
For finished necklaces, hanging beats coiling every time. A strip of corkboard with push pins, spaced wide enough that the pendants do not knock together, keeps the chains from tangling into the knot you will never undo.
If drawer storage is your only option, lay each necklace flat in its own small paper envelope, the kind jewelry ships in, so the glazed faces never touch.
Paint on polymer clay does not chip the way cheap enamel does on metal, but a jewelry box with other hard pieces rattling around will score the surface over a year or two. The glaze buys you time, not armor.

New Version 2×100ml Transparent Air Dry Clay Glaze - Boost DIY Creations: Our 2×100ml Air Dry Clay Glaze (New Version) is a craft upgrade! This clear high gloss sealant delivers a crystal-clear, mirror-like finish. Made for air dry clay projects, its upgraded formula boosts adhesion, keeping pottery, acrylic art, wood & polymer clay pieces bright and intact for years—no dull/faded DIYs.

Provides a smooth seal to cover imperfections, improve durability and set your clay.

SOFT UNTIL BAKED – EASY TO SHAPE: Polymer clay stays soft, flexible, and easy to mold until baked in a standard home oven—no kiln needed. Perfect for sculpting, figurines, ornaments, and beginner-to-advanced crafting projects.
Substitutions and Variations

Clay and resin each carry a different weight in this project. Polymer clay keeps the process forgiving; you can press fingerprints smooth and rebake if the shape warps.
Resin demands a level batch and patience with cure times, though the finish is harder and more glasslike once set. Wire-wrapping sits at the far end of effort.
Studio73’s method calls for 12 gauge red copper wire at 22 inches paired with 18 gauge brown copper for the frame, or 14 gauge red copper with 22 gauge brown copper for a lighter build.
That 12 gauge takes real hand strength to bend cleanly; beginners should start with 14 gauge and skip the stepped bail-making pliers until the basic wrap feels natural.
| Method | Skill Level | Finish | Best For |
|---|---|---|---|
| Polymer clay | Beginner | Matte, paintable | Custom colors, easy fixes |
| Resin | Intermediate | Glossy, durable | Translucent effects, durability |
| Wire-wrapping (14 gauge) | Advanced | Metallic, open | Stone or ceramic donuts |
| Wire-wrapping (12 gauge) | Expert | Heavy, sculptural | Permanent, statement pieces |
Decoration runs from a single acrylic wash to layered cane slices pressed into raw clay. The Kernowcraft examples show donuts hung as earring drops with charms added below; that extra movement is simple to bolt on later.
What to skip at first: resin tinting with alcohol inks (they bleed unpredictably), and any wrap requiring diamond needle files for finishing. Add those after ten or so clean wraps.
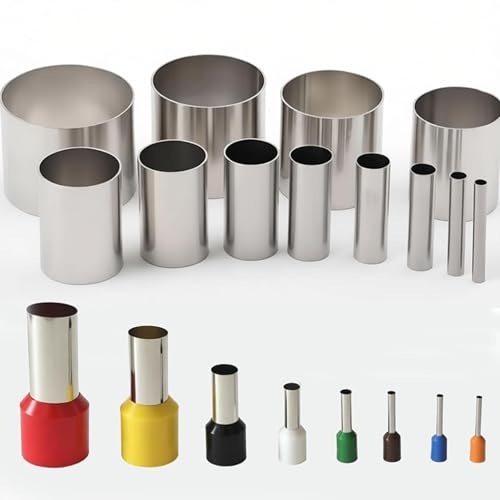
Polymer Clay Tools Set:Pottery tools clay cutter pounches set including 20pcs circle shape cutters moldst; Different sizes meet your various craft projects needs.

【Complete Crafting Set】This circle clay cutter set includes 16 pieces of round circle shape cutters, providing a comprehensive range of sizes for diverse project needs. The combination of stainless steel and plastic cutters offers versatility for both intricate jewelry making and larger craft applications. As essential pottery tools, they are designed to handle various materials from polymer clay to fondant, ensuring you have the right tool for creating earrings, pendants, or decorative elements with precision and ease

Cookie Cutters Made of Food-Grade Plastic and Lightweight; Convenient to Use and Easy to Wash; You will get 3pcs Heart Cookie Cutters,3pcs Square Cookie Cutters,4pcs Oval Cookie Cutters, 3pcs Circular Cookie Cutters, 3pcs StarCookie Cutters,4pcs Hexagon Cookie Cutters.
What I Got Wrong
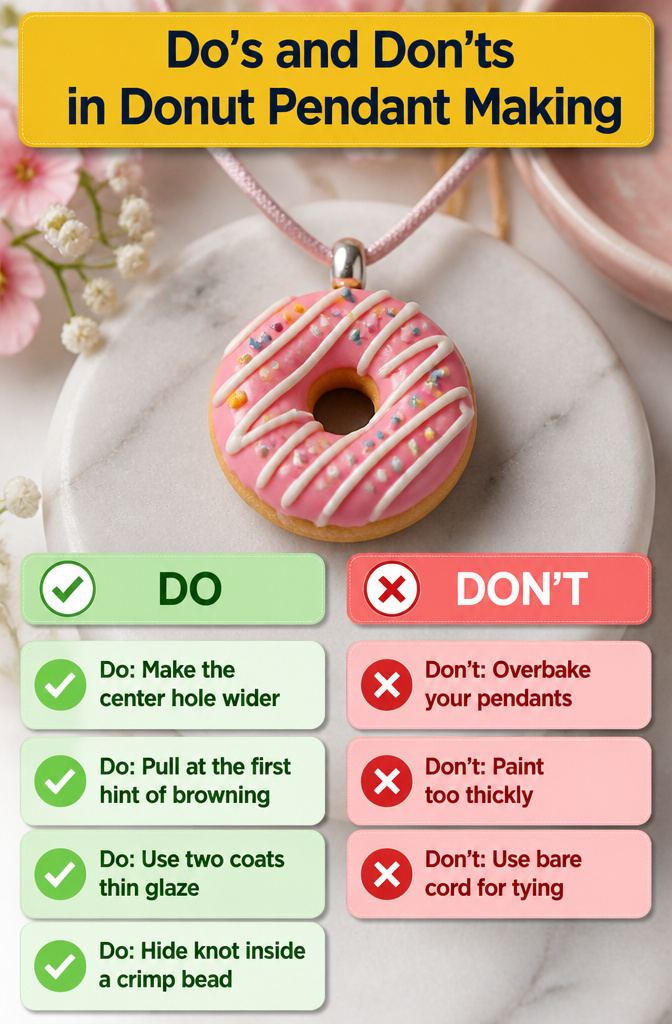
My first batch of donut pendants taught me more than any tutorial. The holes shrank to pinpricks during baking, so the center opening needs to be wider than looks right in raw clay.
Overbaking turned the edges brown and brittle; pulling them at the first hint of color around the rim fixed that.
Paint went on too thick in places, hiding the texture entirely, and the glaze pooled in the icing drizzle like syrup on a real donut, dripping off the sides. Two coats thin beats one coat heavy every time.
The satin cord frayed where I tied it, so the knot now hides inside a crimp bead instead of rubbing against skin.

ARTISAN APPROVED QUALITY - Unlock your artistic potential with Craft Resin. Premium clear epoxy resin kit and hardener allows you to create beautiful pieces with a glass-like finish and no yellowing over time. Popular for DIY art, tabletop coating, mold casting, canvas, coasters and jewelry making.

15 Vibrant Colors Resin Dye: Total of 15 beautiful translucent colors of epoxy dye in the bottled package, each bottle contains 0.35oz of odorless liquid resin dye.

Frequently Asked Questions
What materials do I need to make a donut necklace?
You need tan oven-bake clay, acrylic paint, string or ribbon, and basic tools like a rolling pin, bottle cap, and straw. Optional oven clay glaze adds a glossy seal.
If you prefer resin, you will also need EasyCast Clear Casting Epoxy, EasyCast Resin Jewelry Molds, mold release, measuring cups, stir sticks, and protective gloves.
How do I make a donut necklace?
Knead and roll polymer clay into a ball about the size of a 50-cent piece, flatten it, punch outer and inner rings, then bake at 265°F to 275°F for fifteen to thirty minutes.
Paint with acrylics, add glaze once fully dry, then thread onto cord and knot the ends so beads stay put. Active work takes about two hours, plus baking and drying time.
Can I use resin to make a donut necklace?
Yes. EasyCast Clear Casting Epoxy poured into EasyCast Resin Jewelry Molds produces a glossier, heavier charm that looks closer to real bakery glaze.
The tradeoff is longer setup time and extra supplies including measuring cups, stir sticks, protective gloves, and mold release to help shapes pop free cleanly.