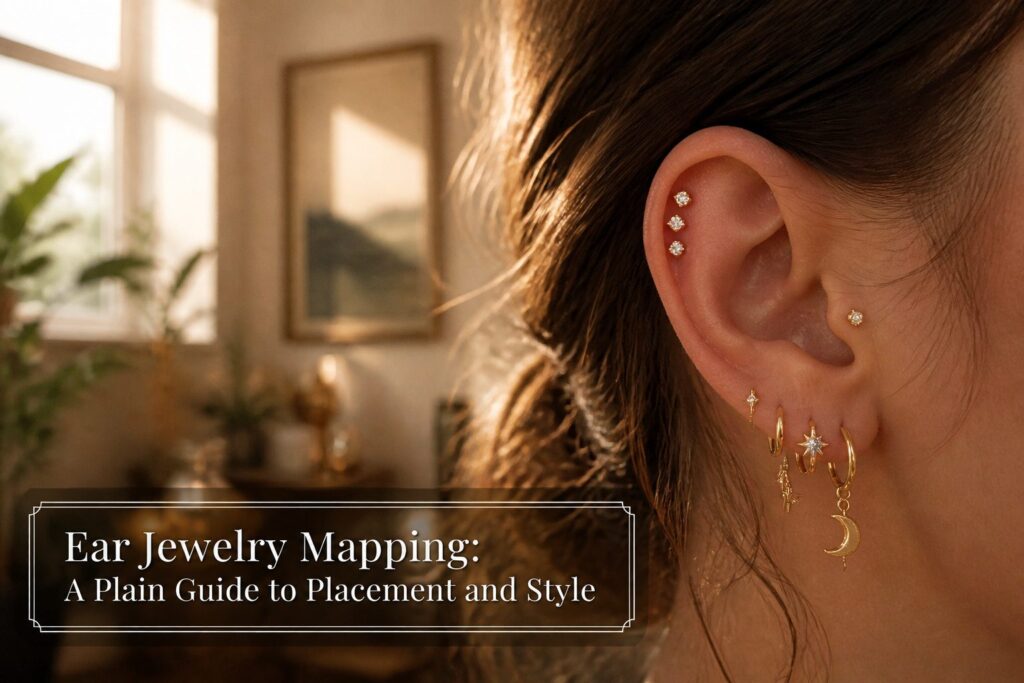
Ear jewelry mapping is the practice of planning where each earring sits so the whole ear reads as one arranged piece rather than a random collection.
Spacing must account for swelling and healing time, or newly placed piercings drift together and ruin the plan.
A helix cluster of three studs, for instance, only builds deliberate geometry if the tissue is fully calm when the next hole goes in.
Read Your Ear Shape
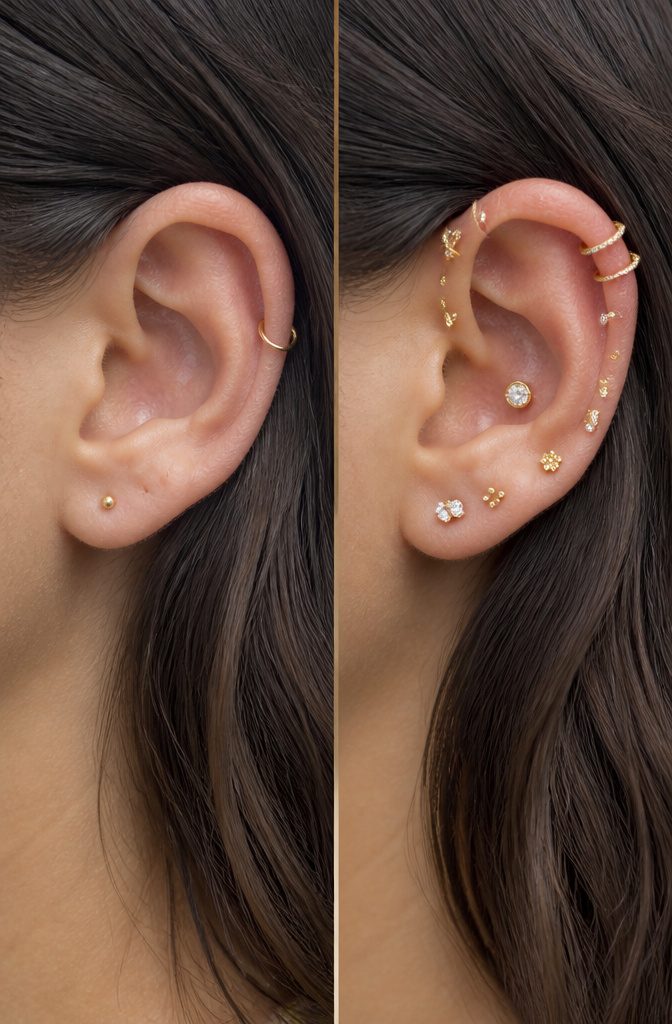
A broad ear gives you real estate to work with, and that width rewards a deliberate spread rather than a tight cluster.
A conch stud sits well here, anchoring the center while smaller pieces trace the outer rim in a constellation pattern. Let the eye travel across the full width instead of bunching everything toward the front.
A narrow ear flips the logic.
The lobe carries more vertical room, so stacking 3 to 5 lobe piercings keeps the balance from feeling top-heavy. Dainty studs and small hoops work better than one oversized piece that would dwarf the whole ear.
Round ears soften every angle, which means piercings that create structure, a defined helix or a sharp rook placement, keep the silhouette from turning shapeless.
Pointed ears already draw the eye upward, so excessive upper cartilage stacking competes with the natural line. I would keep the drama lower, in the lobe or a single conch, and let the tip stay clean.
Attached earlobes sit flush against the head, which limits the visual depth a dangling earring can create.
Small, close-fitting studs or huggies read better here than long drops that disappear into the neck. The earlobe attachment point is the detail that decides whether a stack reads as layered or crowded.
Broad or narrow, attached or free, the same rule holds: place the first piercing where the natural fold or curve already leads the eye, then build outward in steps a professional can mark before the needle goes in.
Pick Piercings That Fit
Lobe piercings give you the most room to layer, and that matters because they sit where every ear shape has flesh to spare.
I start here when I want a base that holds hoops, studs, or both without fighting cartilage curves. Helix piercings add height and draw the eye upward, which flatters a rounder ear but can sharpen one that already runs angular.
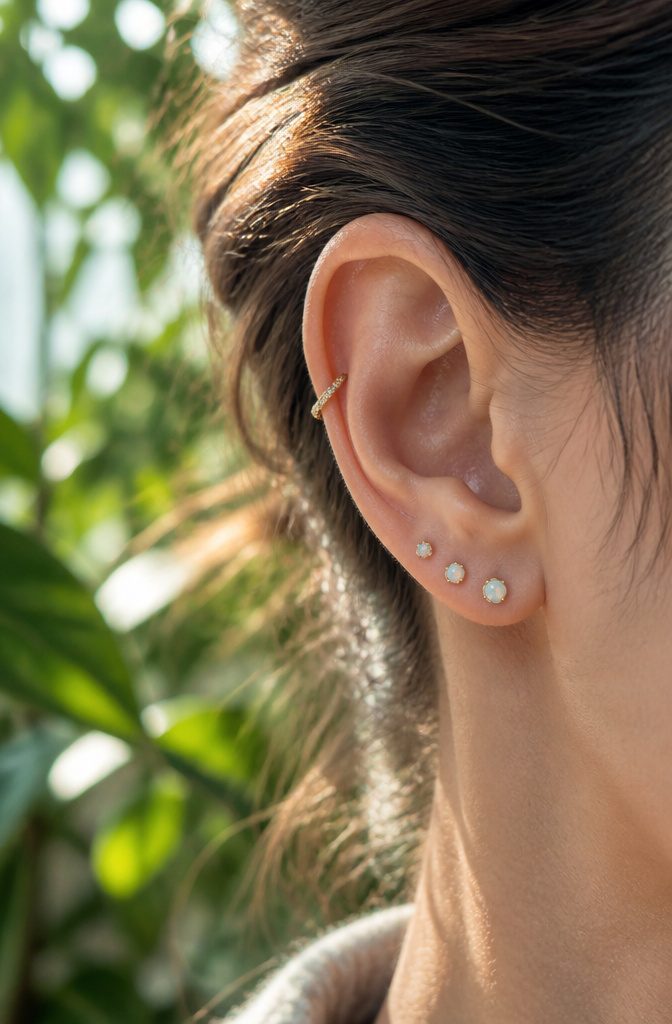
A three-stud helix cluster, say a mini lightning bolt paired with ball trinity studs, builds deliberate geometry rather than scattered sparkle.
Conch, tragus, rook, and daith placements work as focal points that anchor the whole arrangement, though each demands something specific. Conch sits deep enough for a statement stud that reads from the front.
Tragus frames the face but limits you to tiny pieces. Rook and daith tuck into folds that hide larger jewelry, so they reward close inspection more than distance.
Cartilage piercings take months to heal, so committing to several at once means living with swelling and sleep adjustments far longer than lobes demand.
Your piercer should map this against your actual ear shape, not a template. What balances on one ear looks crowded on another, and spacing between piercings determines whether your earrings sit in conversation or collision.
Match Metals and Textures
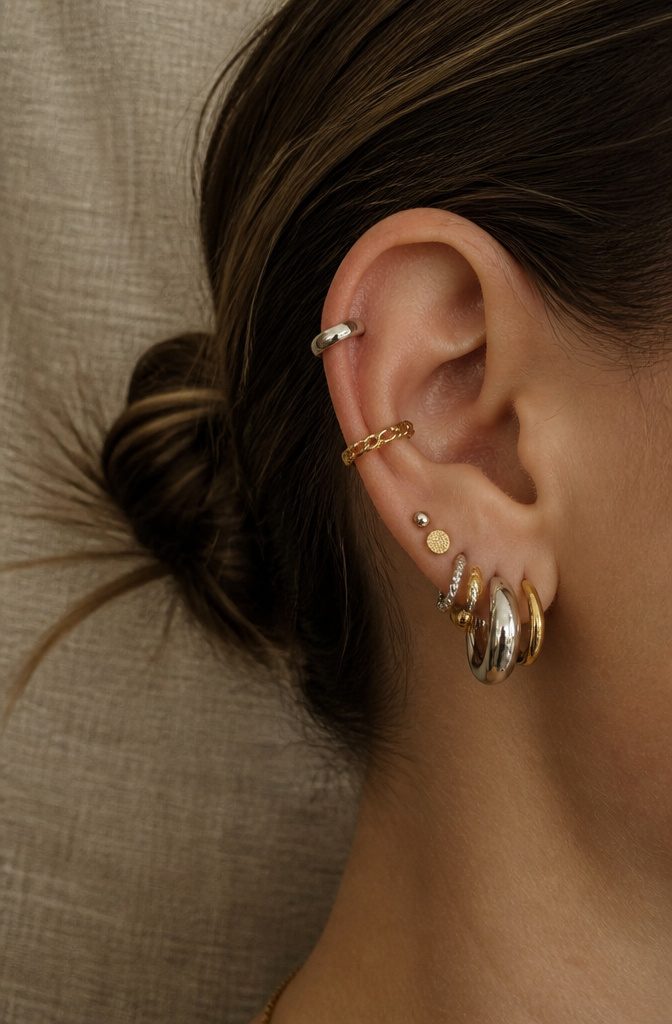
A mixed-metal ear stack only works when the combination looks intentional, not like you grabbed whatever was clean.
I pair silver and gold deliberately: one metal anchors the look, usually the one that dominates my neckline or my ring stack, and the other appears in one or two pieces for contrast.
Too even a split, and the ear reads busy; a 70-30 balance keeps the eye moving without losing cohesion.
Texture matters as much as color.
Smooth huggies against a hammered stud, or a matte flat-back beside a high-polish hoop, create depth that reads as curation rather than clutter. Mixing textures adds dimension, and whole stacks can be built around contrast and shine.
Keep metals unified when your jewelry is delicate or clustered tight; three piercings close together with conflicting finishes fight each other.
Save the deliberate mixing for lobes with breathing room, or for a single statement piece that can carry the second metal alone.
One mixed-metal design, worn as a bridge between a silver stud and a gold hoop, does more than alternating every piece.
Space Them Over Time
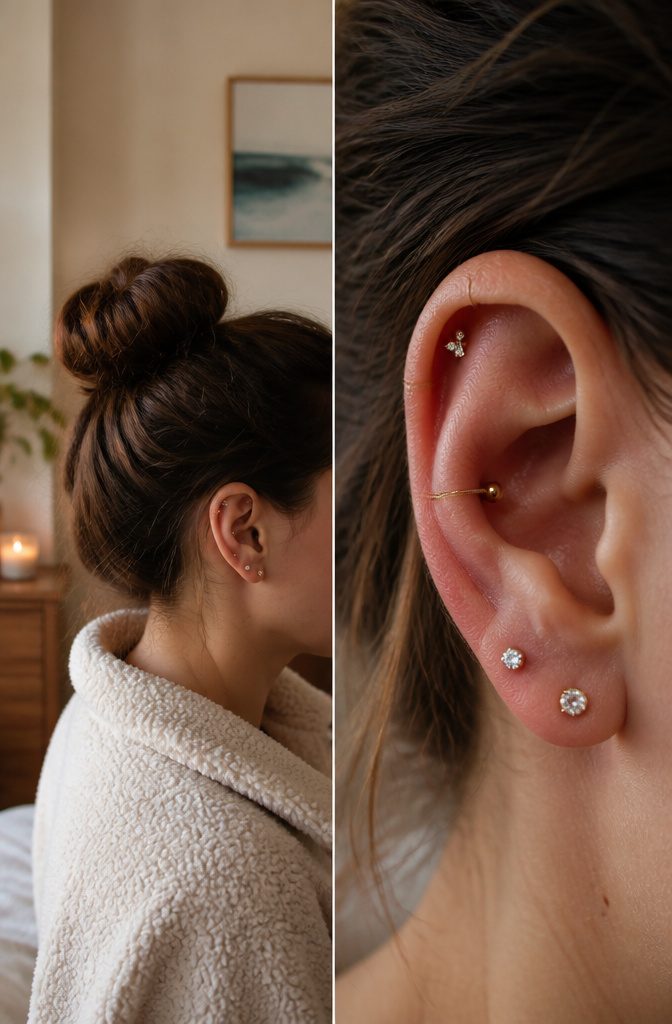
A fresh cartilage piercing needs six to twelve months before it is fully settled, and lobes still ask for six to eight weeks.
Stack two sessions too close and the swelling from the second piece throws off how the first one sits, so the spacing you mapped starts to drift.
I have seen ears where three new holes placed in one summer healed tight together because tissue was inflamed across the whole curve, and the planned triangle of studs ended up a crowded line.
Wait long enough to see the jewelry in daylight, with your hair up and your glasses on if you wear them.
The stud you thought would anchor the look might read heavier than expected once the redness fades, and that changes what belongs above it.
Cartilage especially shifts color as it calms; a silver flat back can look surgical against pink skin and entirely different against healed flesh.
Rushing also costs you the option to pivot. A piercer working on a fully healed ear can place the next hole to millimeter precision, but on swollen tissue they are estimating.
I would rather add one piece every two to three months and keep the plan intact than save a few weeks and distort the whole map.
Stack the Full Ear
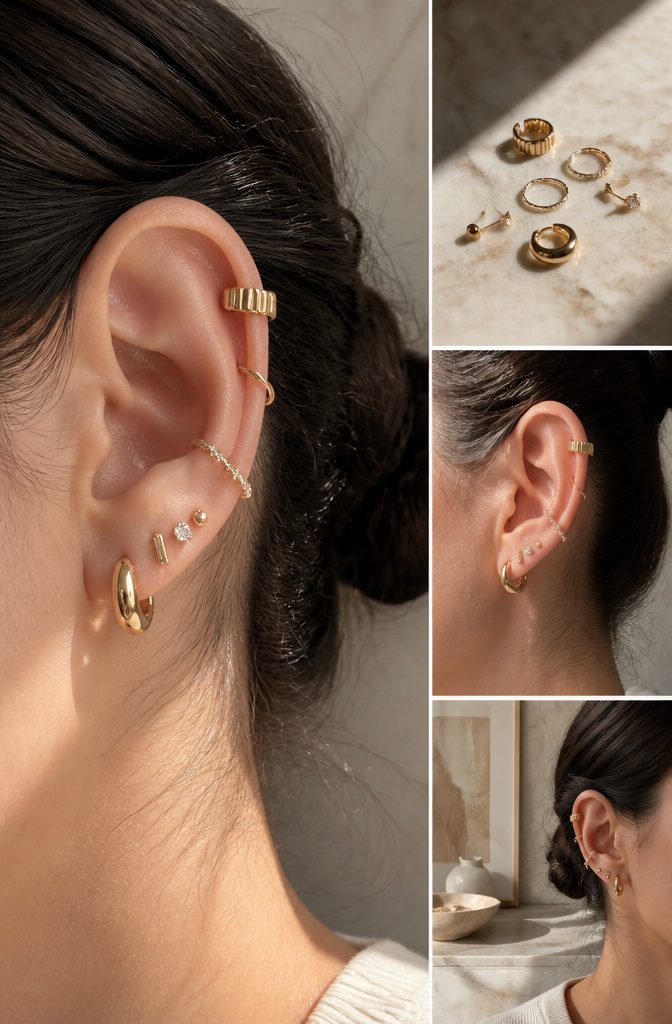
A full ear stack needs a mix of shapes to keep the eye moving.
I start with studs in the lobe and helix to anchor the look, then add huggies or small hoops in the conch or upper lobe for a curve that breaks up the straight lines.
Ear cuffs slide in last, sitting on the rim without any piercing at all, which lets you build upward even if your ear is only pierced in two spots.
The balance depends on how much real estate you have.
A broader ear carries a stud constellation across the flat and a conch piece without looking crowded, while a narrower shape reads cleaner with one bold cuff and a single hoop below it.
Density should heaviest at the bottom and lighter as you move up, or the whole ear tilts visually forward.
Mixing metals works here in a way it rarely does elsewhere.
Silver and gold in the same stack creates contrast that reads intentional rather than accidental, especially when you repeat both tones at least twice so nothing looks like the odd piece out.
Two cuffs in one metal and a hoop in the other, with studs split between them, ties it together without matching.
Studs and Flat Backs
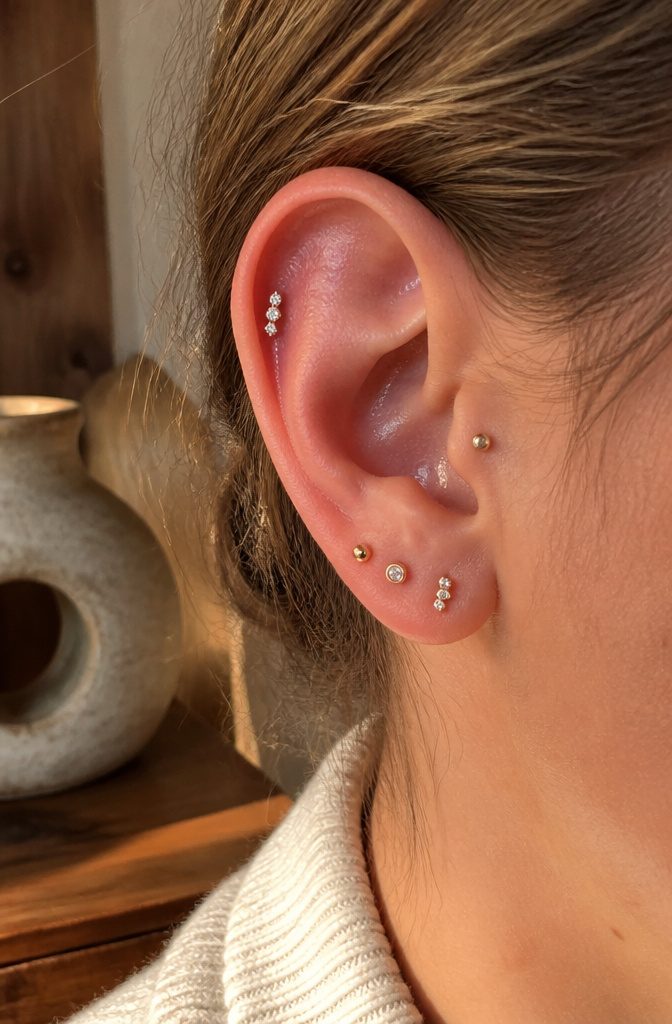
Studs and flat back earrings are the workhorses of any mapped ear.
They sit flush against the lobe, helix, conch, or flat with a backing that does not poke outward, which makes them the piece you can actually sleep in and forget about.
I reach for them first when building a stack because they anchor the arrangement without competing for attention.
A second or third lobe piercing holds a stud beautifully, and the narrow ear with extra lobe space can stack three to five of these in a clean vertical line.
The flat and helix placements also suit them well, though I think the pointed ear gets more out of drops or chains that follow its natural slope.
A 3mm ball flat back or a tiny opal stud suits the helix or conch as a tonal accent, but the limit is visual weight: a stud reads as a dot of color, not a shape, so it will not carry a stack on its own.
It needs a hoop or huggie nearby to give the eye something to travel toward.
Flat backs win on comfort for 24/7 wear, which matters if your ear mapping is also your daily uniform.
They disappear from a distance. I use them as the quiet rhythm between louder pieces, never as the solo statement.
Huggies
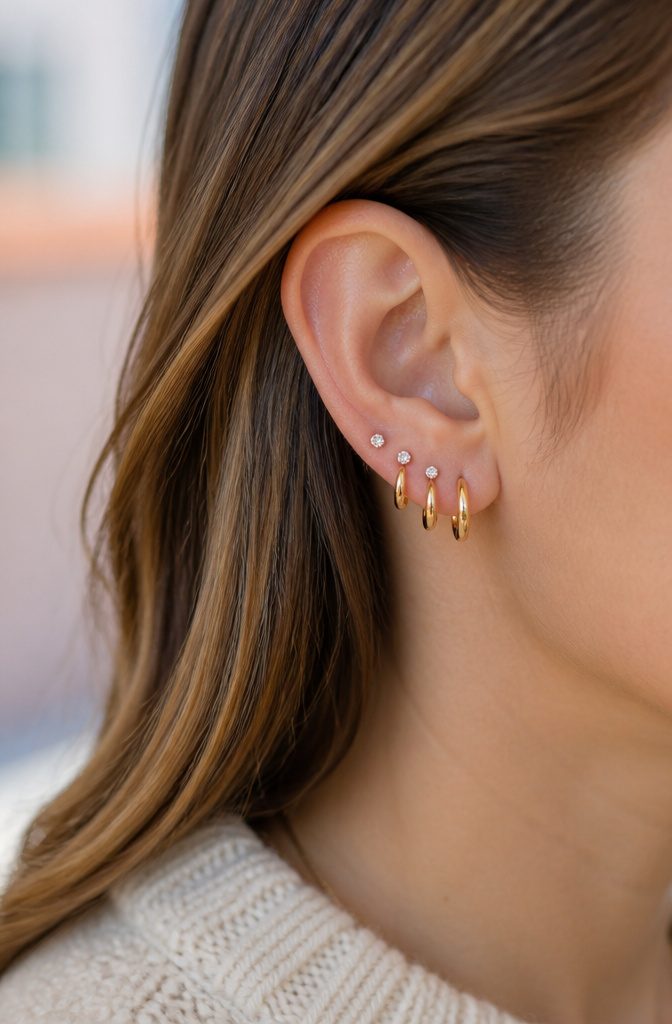
Huggies sit almost flush against the lobe, which makes them the piece I reach for when someone wants a stack that feels finished without constant adjusting.
Their hinge closure is small and low-profile, so they work in second or third lobe piercings without fighting for space with a stud or standard hoop above them.
I also place them in cartilage spots like the forward helix, where a dangling earring would snag but bare metal looks unfinished.
For 24/7 wear, huggies beat anything with a post that pokes or a hoop that can torque while you sleep. Nurses, new parents, anyone whose hands are occupied half the day, this is where I’d direct the budget first.
You do not get the drama of a drop or the graphic line of a long chain. What you get is the frame.
A plain gold huggie below a gemstone stud draws the eye up without competing. Two or three in a row, graduating in diameter, build density without clutter.
Sleeping in them is practical, not just possible, though I would avoid anything with exterior stones or charms for truly set-and-forget wear. Smooth metal bands hold up; catches, pavé, and dangling details do not.
Charm Hoops
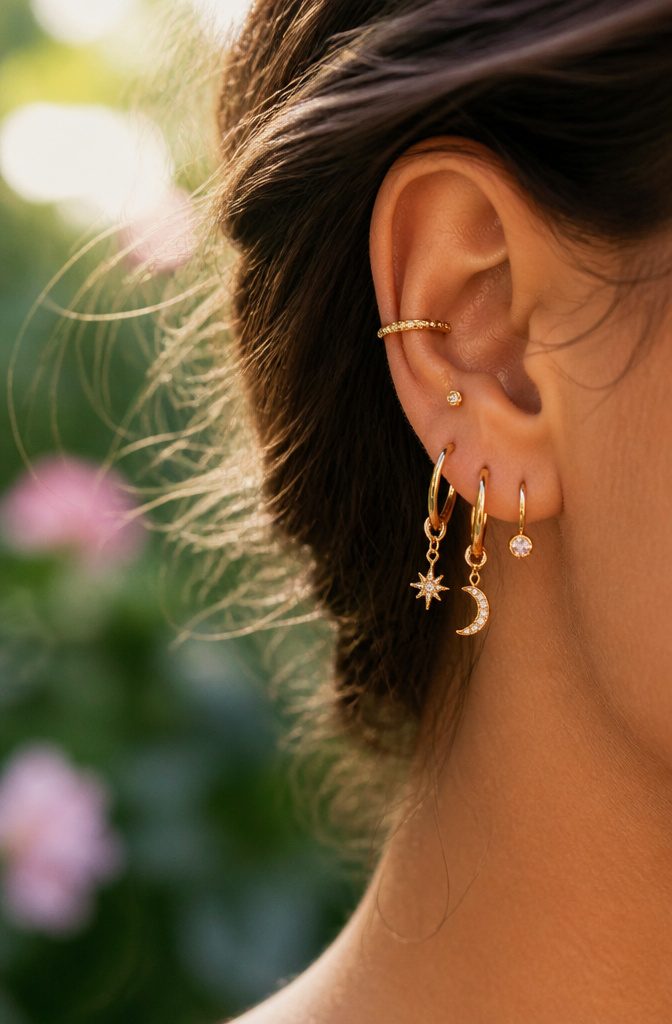
Charm hoops occupy more vertical territory than plain hoops because the dangle extends the silhouette downward, which means they read as the dominant piece in any section of the ear they sit in.
I treat them as intentional centerpieces and build everything else around them.
A small stud or flat back in the lobe below keeps the focus up where the charm moves, and a simple huggie above stays quiet so the hoop itself does the talking.
The removable charm option is what separates these from fixed designs. One earring becomes two or three looks depending on what you clip on, which helps when you are mapping an ear on a budget.
Sterling silver with rhodium plating holds up to daily rotation better than bare silver, which tarnishes fast against skin oils.
The mistake is pairing a charm hoop with another charm hoop. Two dangling elements in adjacent piercings compete for the same eye movement and the ear looks cluttered instead of composed.
I keep one charm hoop per ear, usually in the lower lobe or first helix, and let simpler shapes carry the rest of the placement.
What you gain over plain hoops is narrative: a star, a heart, a stone drop gives the eye something to follow, which turns a collection of piercings into something that reads as designed.
Ear Cuffs
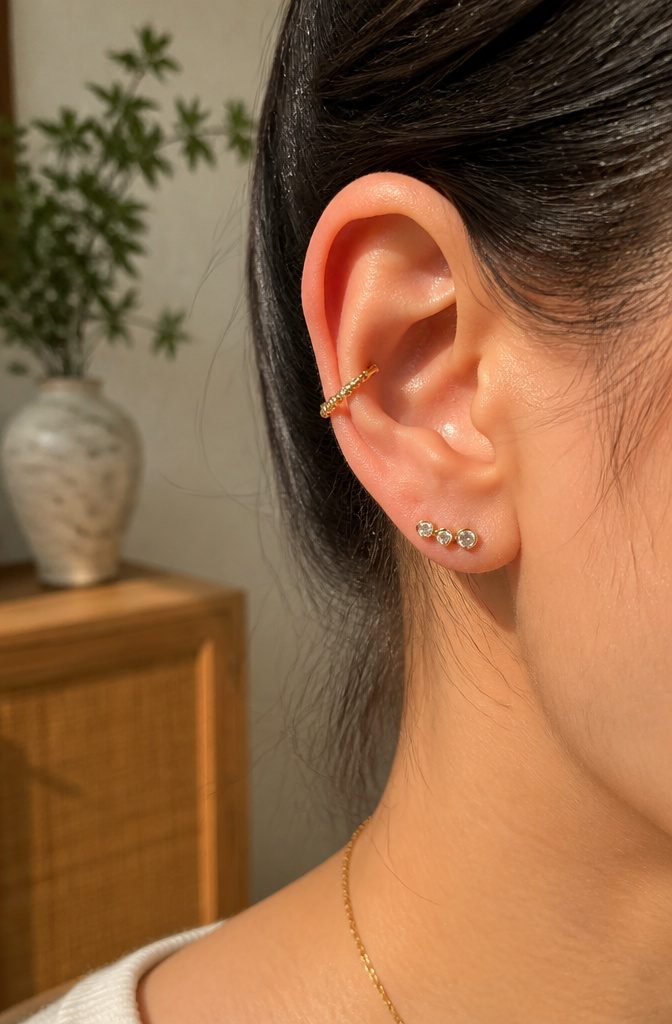
An ear cuff sits on the upper cartilage and grips the ear’s natural ridge, no needle required. That makes it the fastest way to fill a gap in your piercing plan without committing to the healing time or the permanence.
I see them as the test drive of ear jewelry mapping: you place one where a helix or conch might go, live with the look for a day, and decide whether the placement earns a real hole.
They stay put through tension, a spring-loaded clip or a pinch fit that uses the ear’s own shape.
The lighter the cuff, the less you feel it; heavier ones with stones or chains look dramatic but start to ache after a few hours.
For someone building a curated ear slowly, cuffs layer in twos or threes above the lobe line, extending the stack upward while the lower piercings stay permanent.
Mix metals, keep them all one tone, or use a single bold cuff as the accent above a row of studs. The range of designs means you can shift from minimal to statement without changing anything but the cuff itself.
Minimalist and Statement Pieces
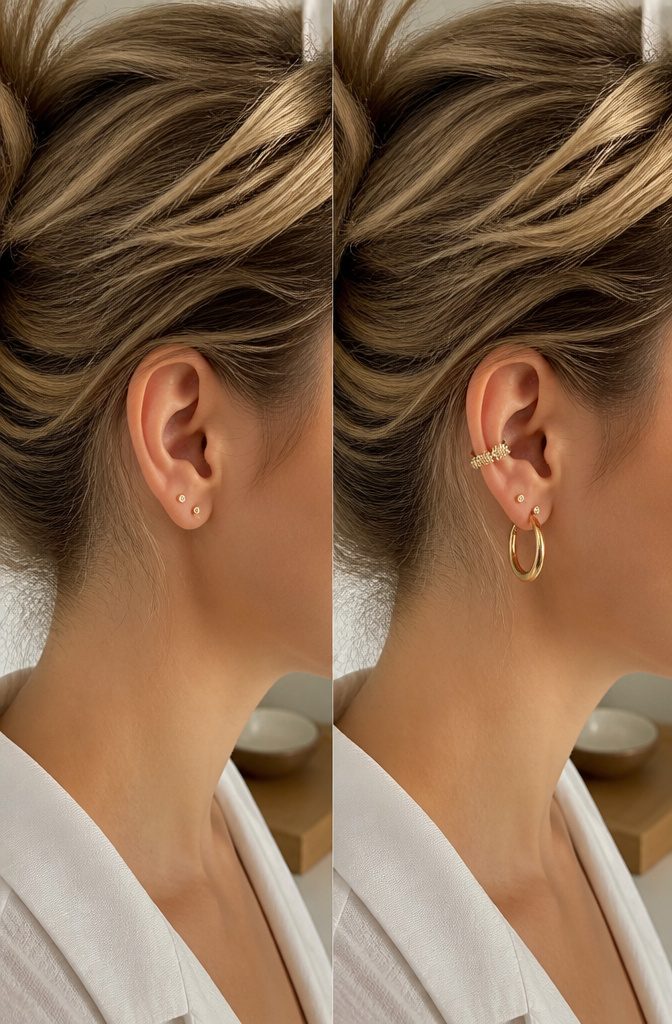
Minimalist and statement pieces work as opposing tools in the same kit, and the ear needs both to read as intentional rather than cluttered.
A slim plain stud or a classic dainty stud settles the eye; it creates quiet space so a bold piece, placed higher or lower on the same ear, actually registers as a choice rather than noise.
Simple designs serve as rest. I use them on days when one strong element, a sparkling gemstone or an intricate hoop, carries the whole look.
The minimalist base keeps the ear from competing with itself. When I want the reverse, a full statement moment, I still anchor it with something small and sleek nearby so the bold piece has context.
Balance in one ear comes down to weight and position. A classic hoop at the lobe paired with a slim plain ear cuff higher up gives the ear a vertical line without crowding.
Adding clear stone huggie earrings or a slim sparkling ear cuff to that same ear works only if the shapes echo each other; otherwise the sparkle fragments the eye.
Mixing metals or textures adds depth, but I stop at two competing ideas per ear. Three, and the curation collapses into costume.
Frequently Asked Questions
How do I start my ear curation?
Start by reading your ear shape: broad ears suit a spread-out constellation, narrow ears need stacked lobe piercings, round ears need structural piercings like a defined helix, and pointed ears keep drama lower to avoid competing with the natural tip.
Your piercer should map placements against your actual anatomy, not a template, building outward from where a natural fold already draws the eye.
What types of earrings should I choose for my curated ear?
Studs and flat backs anchor the arrangement and suit 24/7 wear; huggies frame without competing and work well in second or third lobe piercings or forward helix; charm hoops serve as centerpieces but limit to one per ear; ear cuffs fill gaps without healing time.
Match the piece to the piercing’s visibility and your daily routine.
How long does it take for different piercings to heal?
Lobe piercings need 6–8 weeks, while cartilage piercings take 6–12 months to fully settle.
Wait long enough to see healed jewelry in daylight before adding the next piece; swelling from stacking sessions too close throws off spacing and can collapse a planned arrangement into a crowded line.





